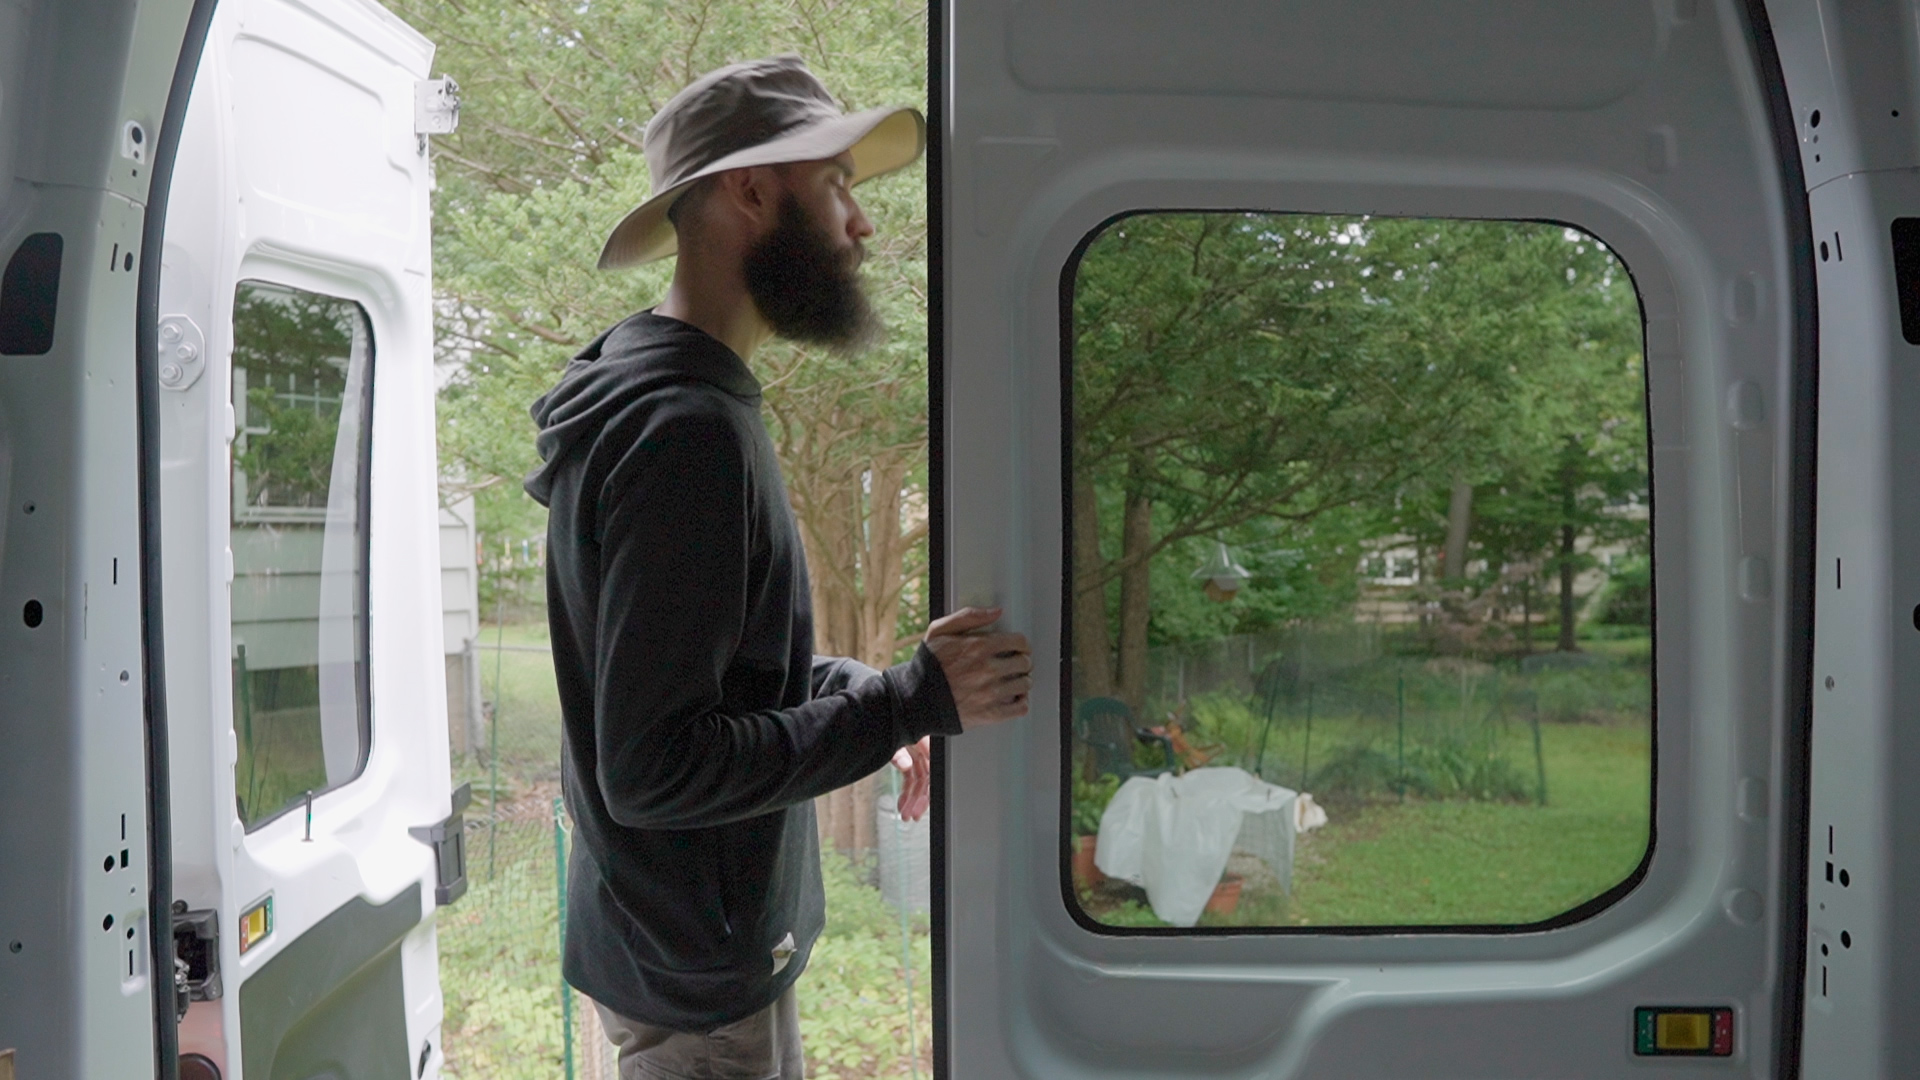
Hi, my name’s Andrew, this is my van, Morpheus, and today we’re installing a pair of rear door bonded windows to let some stereo sunlight in for van life.
Preparation
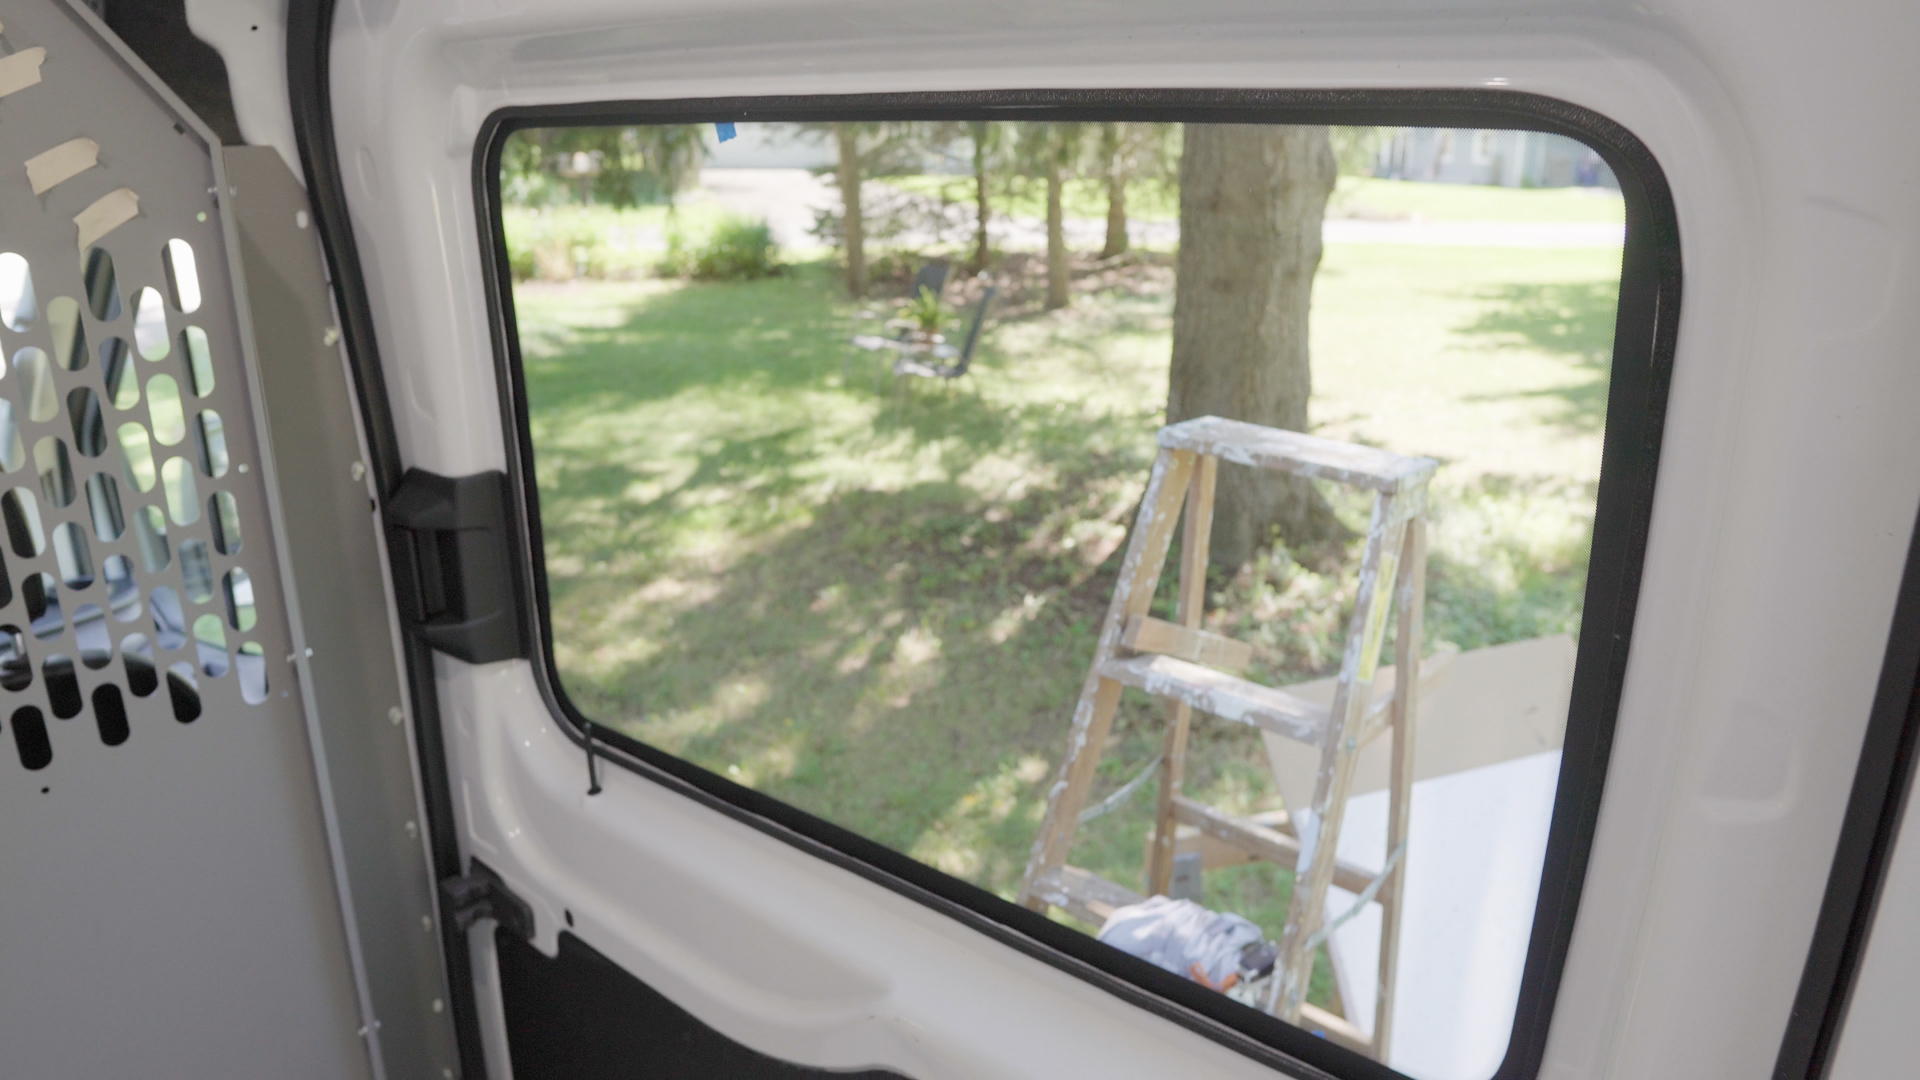
Last video I kicked off my Ford Transit build by installing a massive cargo door window, but, although the view was great, the solar tint definitely limited the amount of light that was able to get into the van.
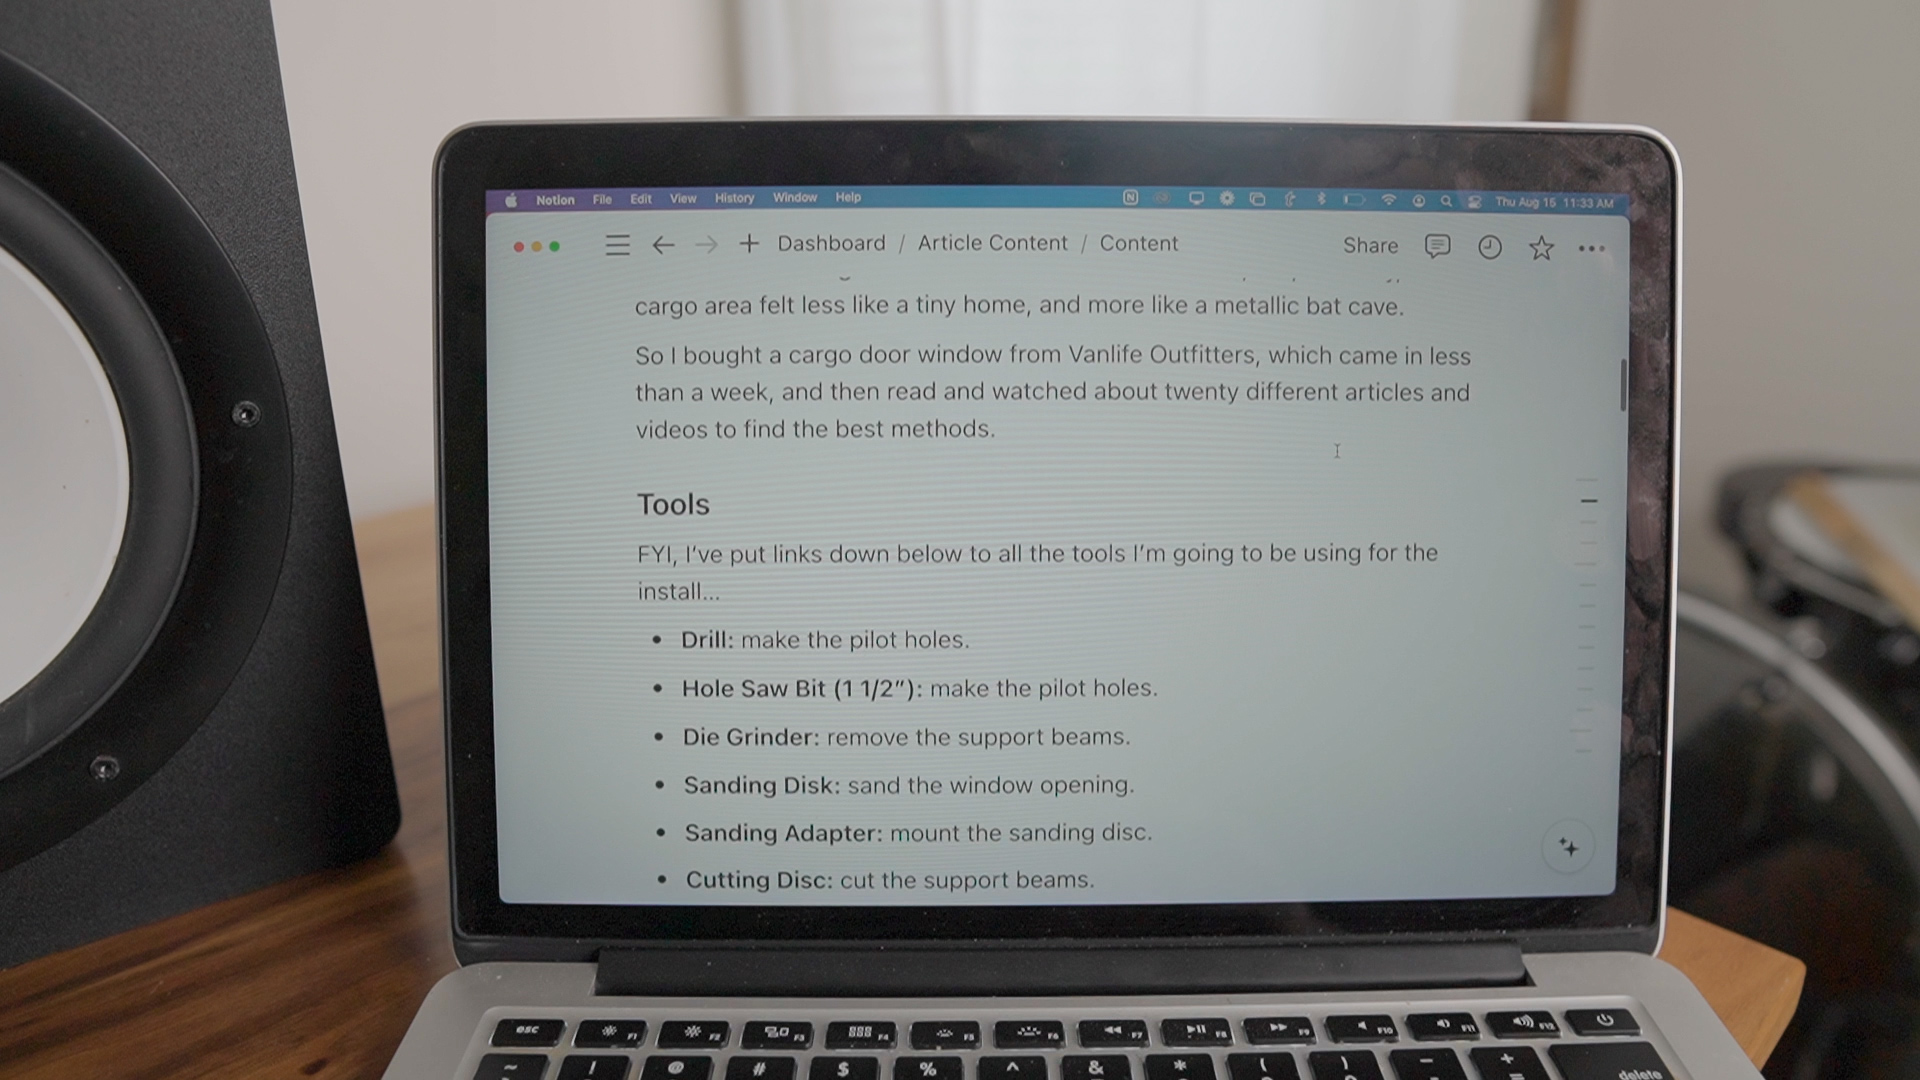
Tools
FYI, here’s a list of tools I used for the install…
Materials
Also, for the cargo window I went with bonded vs clamped, because it fits seamlessly on the outside of my Ford Transit (or the Mercedes Sprinter and Ram Promaster), but I also picked up a few other supplies, like…
Planning
Finally, before starting the install, I found it helpful to write down a step-by-step plan, check it against the manufacturer instructions, and then pick a day where it was going to be dry for at least 24 to 48 hours after finishing.
The ideal setup is to have someone experienced helping you, but I actually found the cargo window pretty easy to install on my own with proper safety precautions.
So I’m going to be flying solo this time too!
Installation
If you’ve never installed a van window before, then it’s a good idea to deal with any potential distractions ahead of time and take some deep breaths, so you don’t get pressured into taking shortcuts.
1. Marking
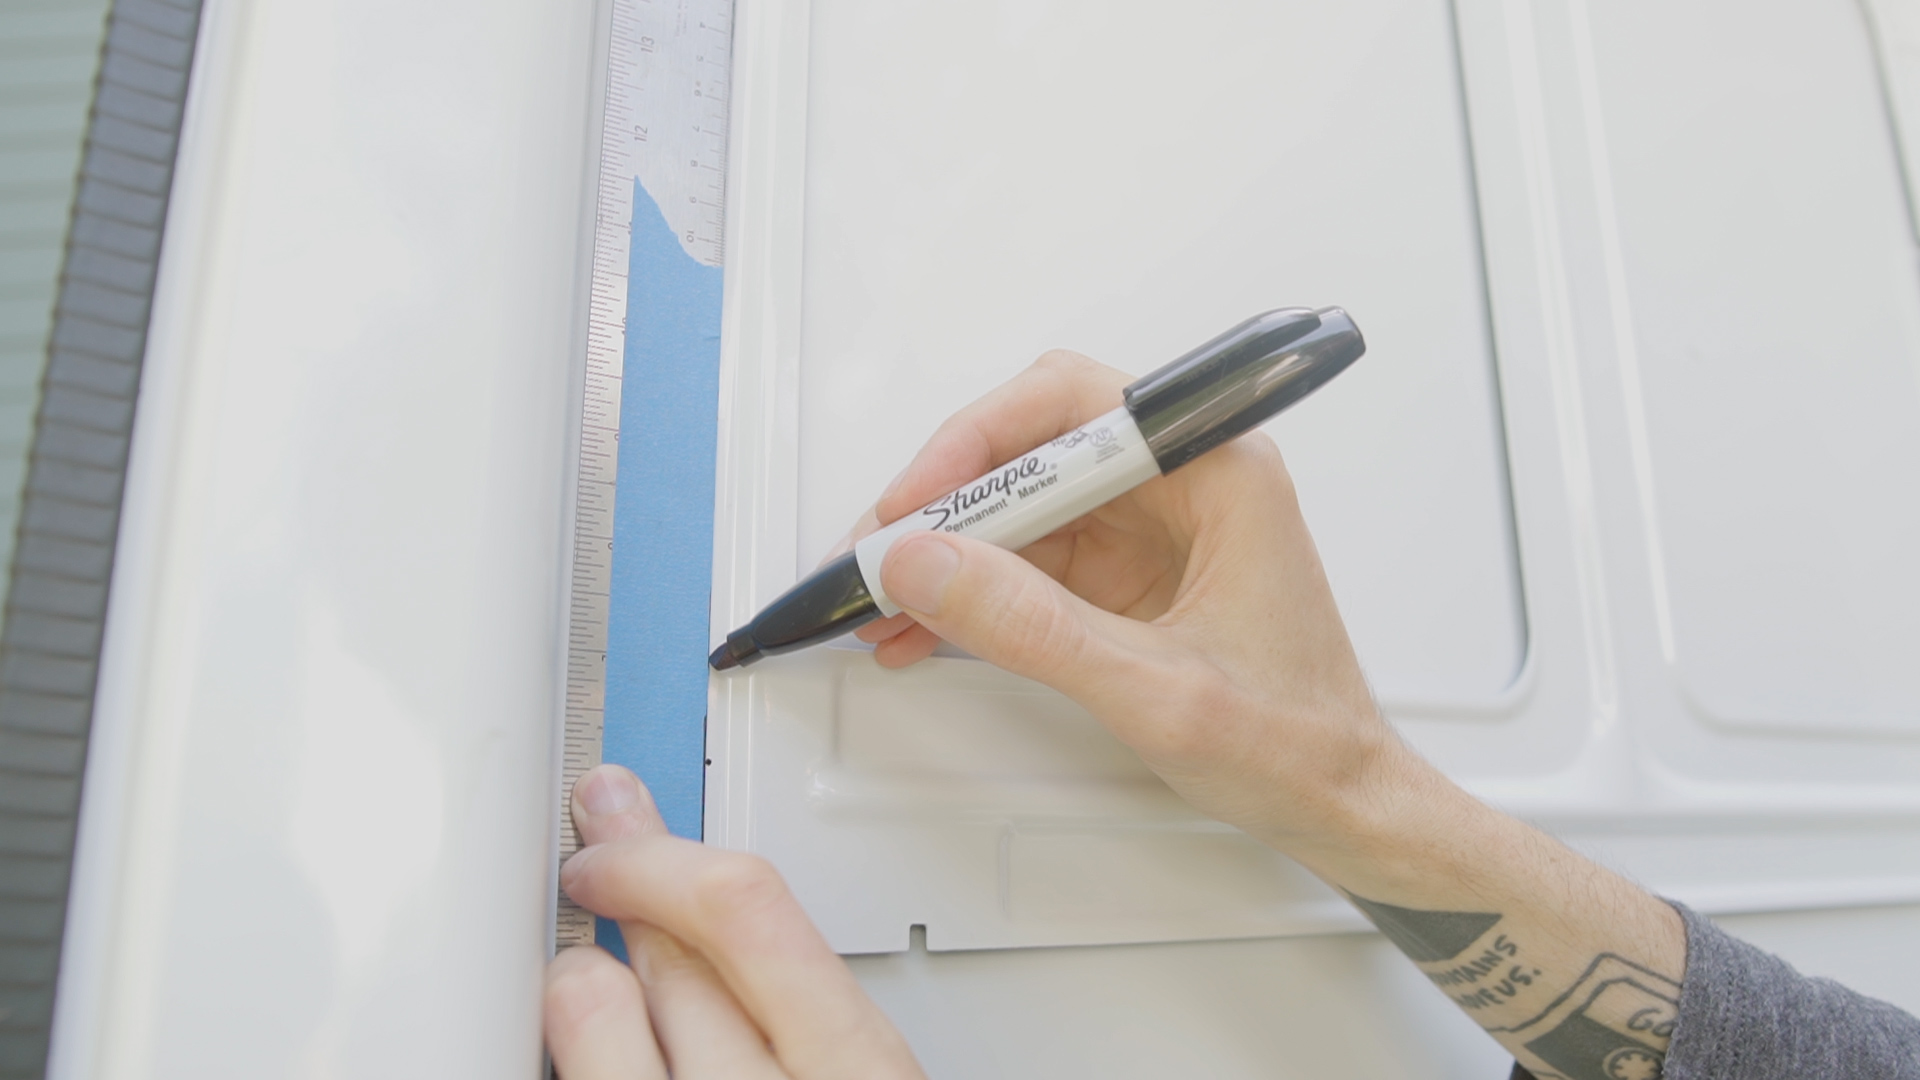
For starters I used a marker and straightedge to make a dotted outline all the way around both window frames, following the outside ridge of the cutout frame, and used rubbing alcohol to clean up any mistakes.
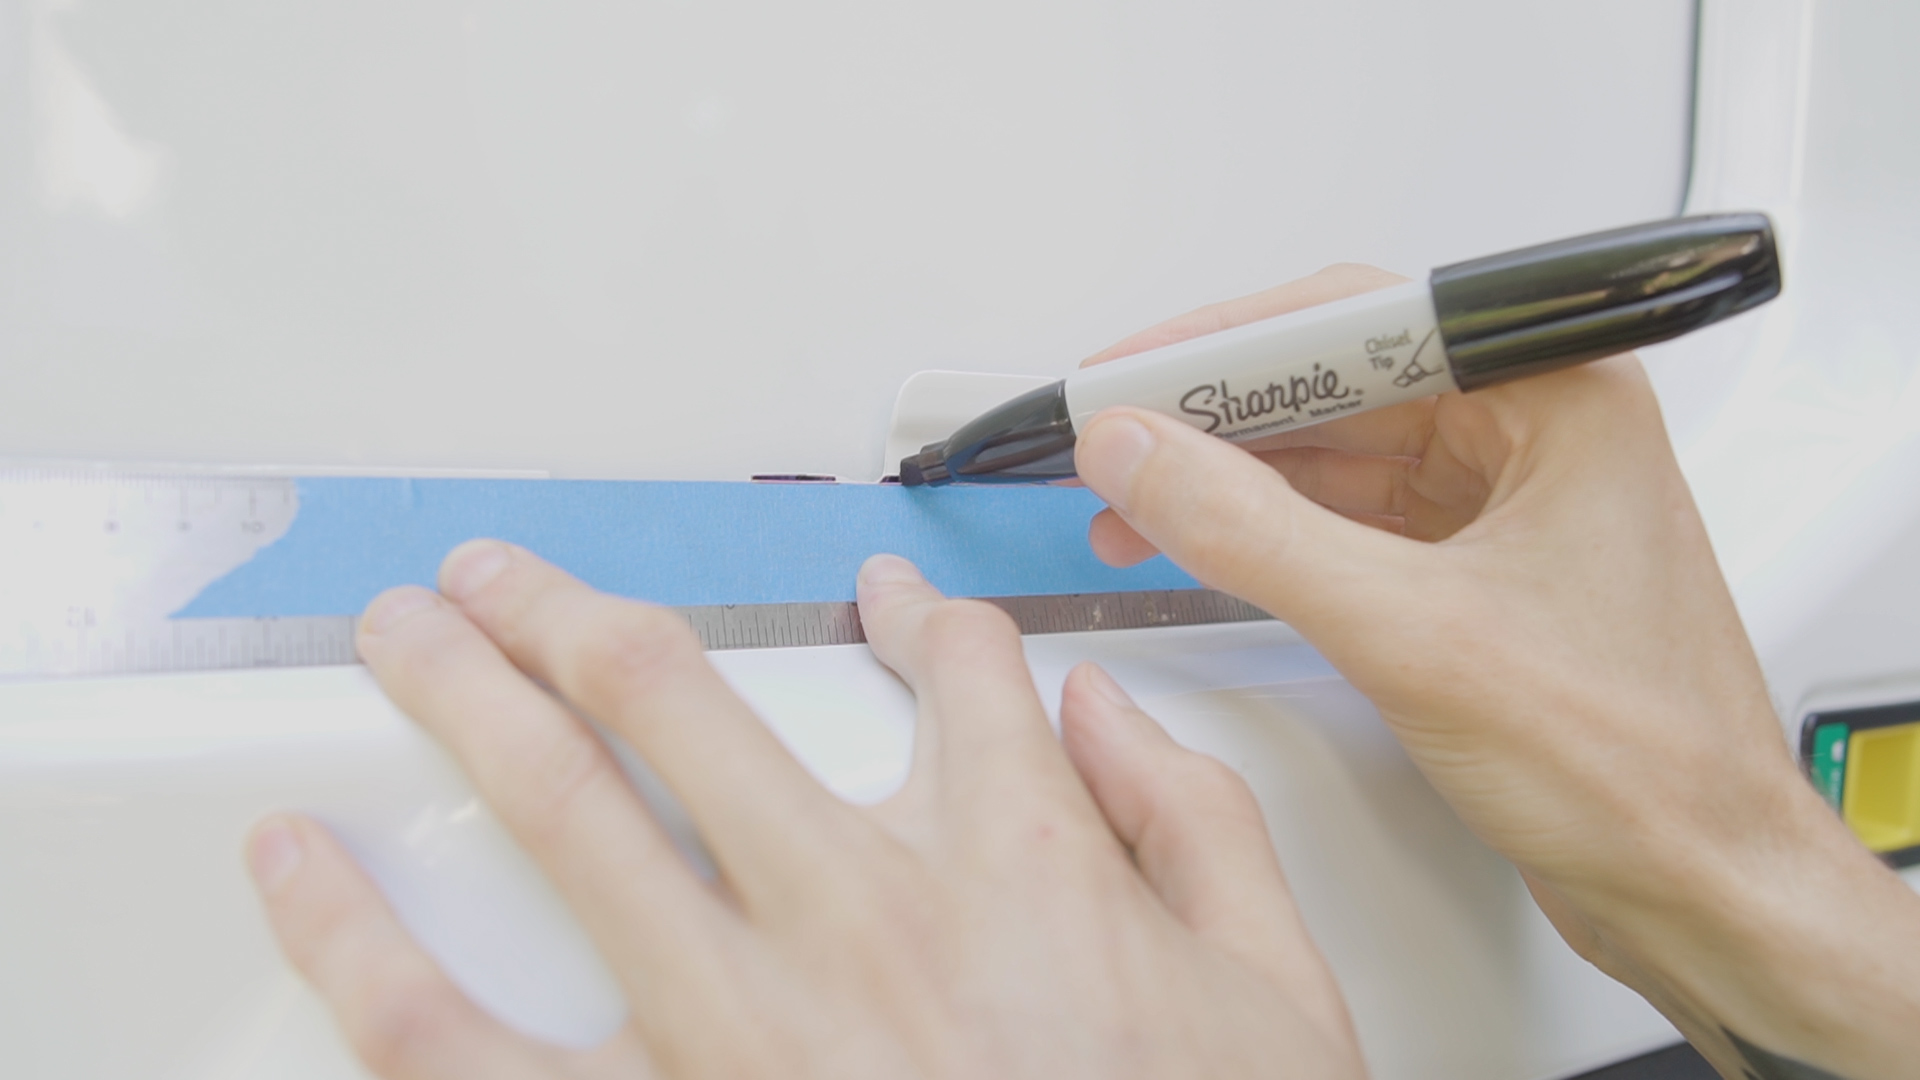
Unfortunately, the 2022 Ford Transit has this weird notch at the bottom, so I spaced my dots going up from that area around an inch and a half away from the door’s edge, and then curved them in by hand, so they ran into the top corner of the cutout frame.
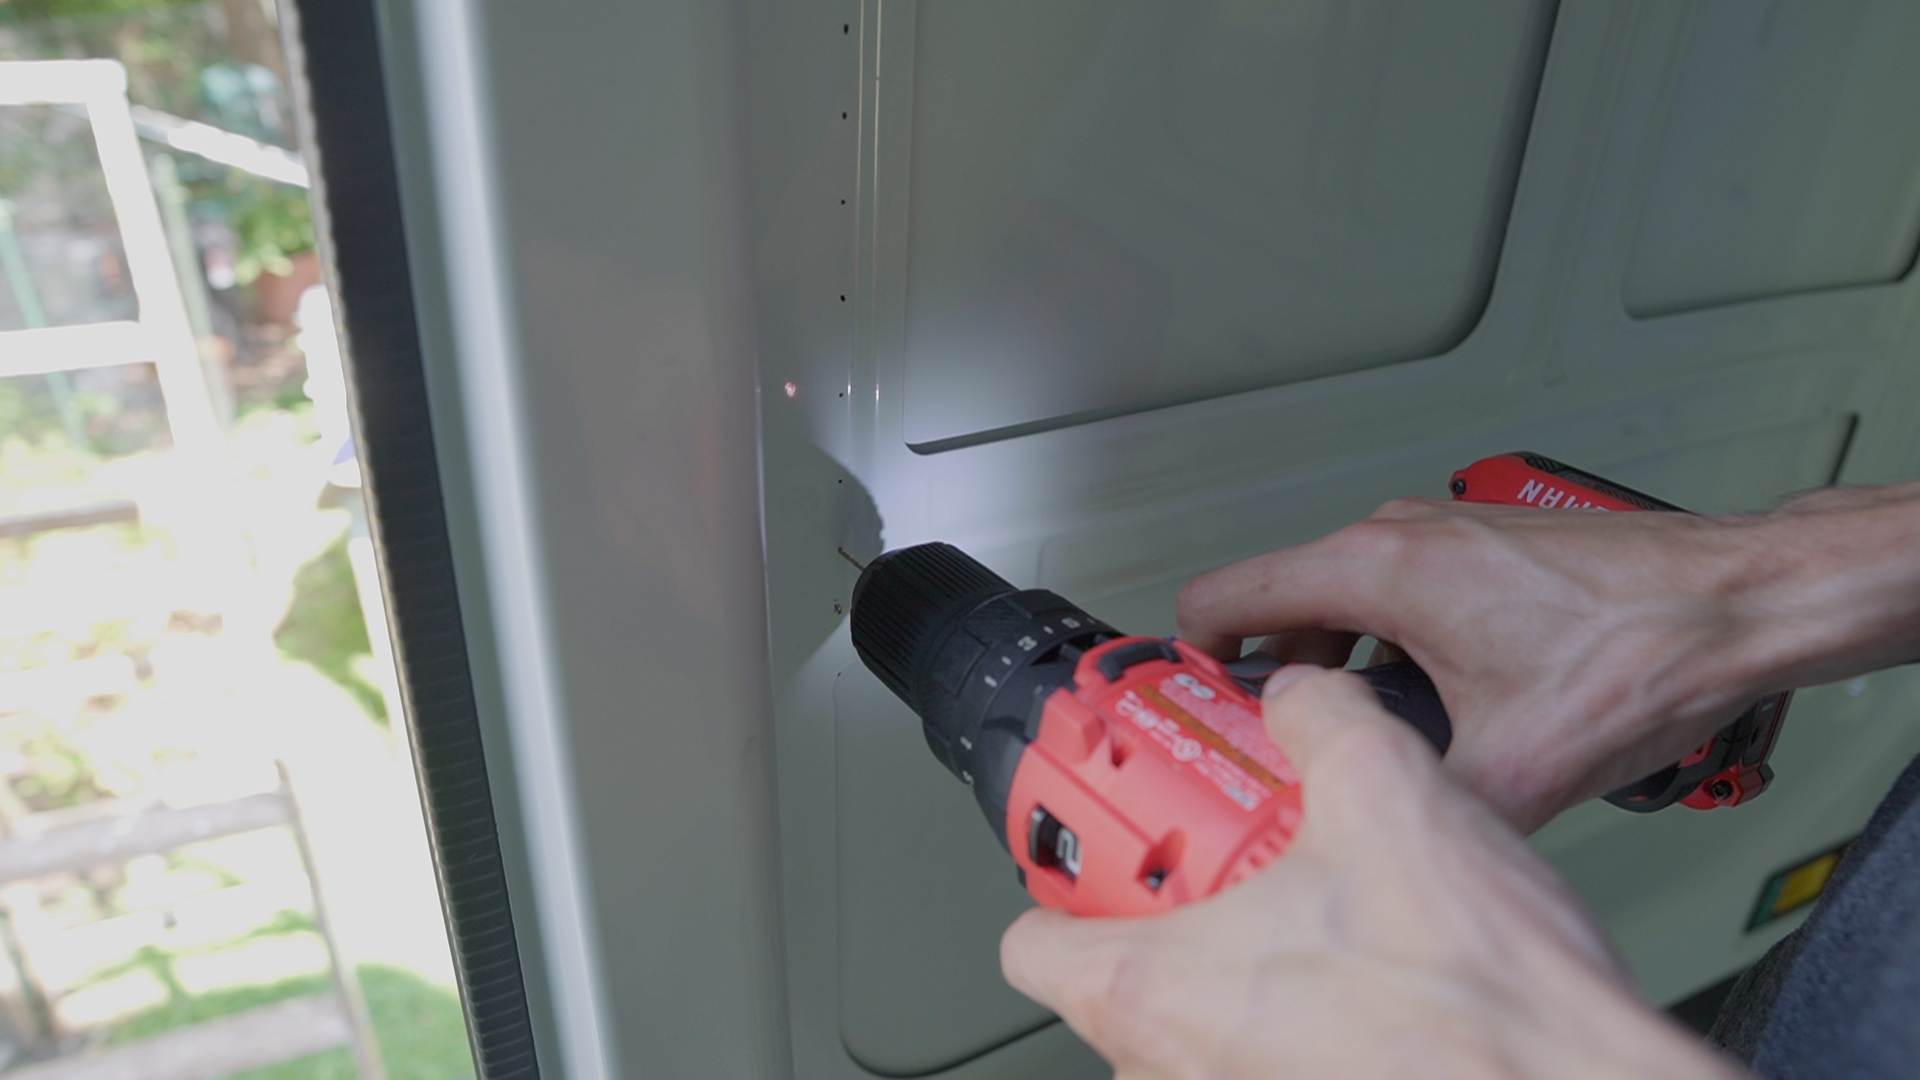
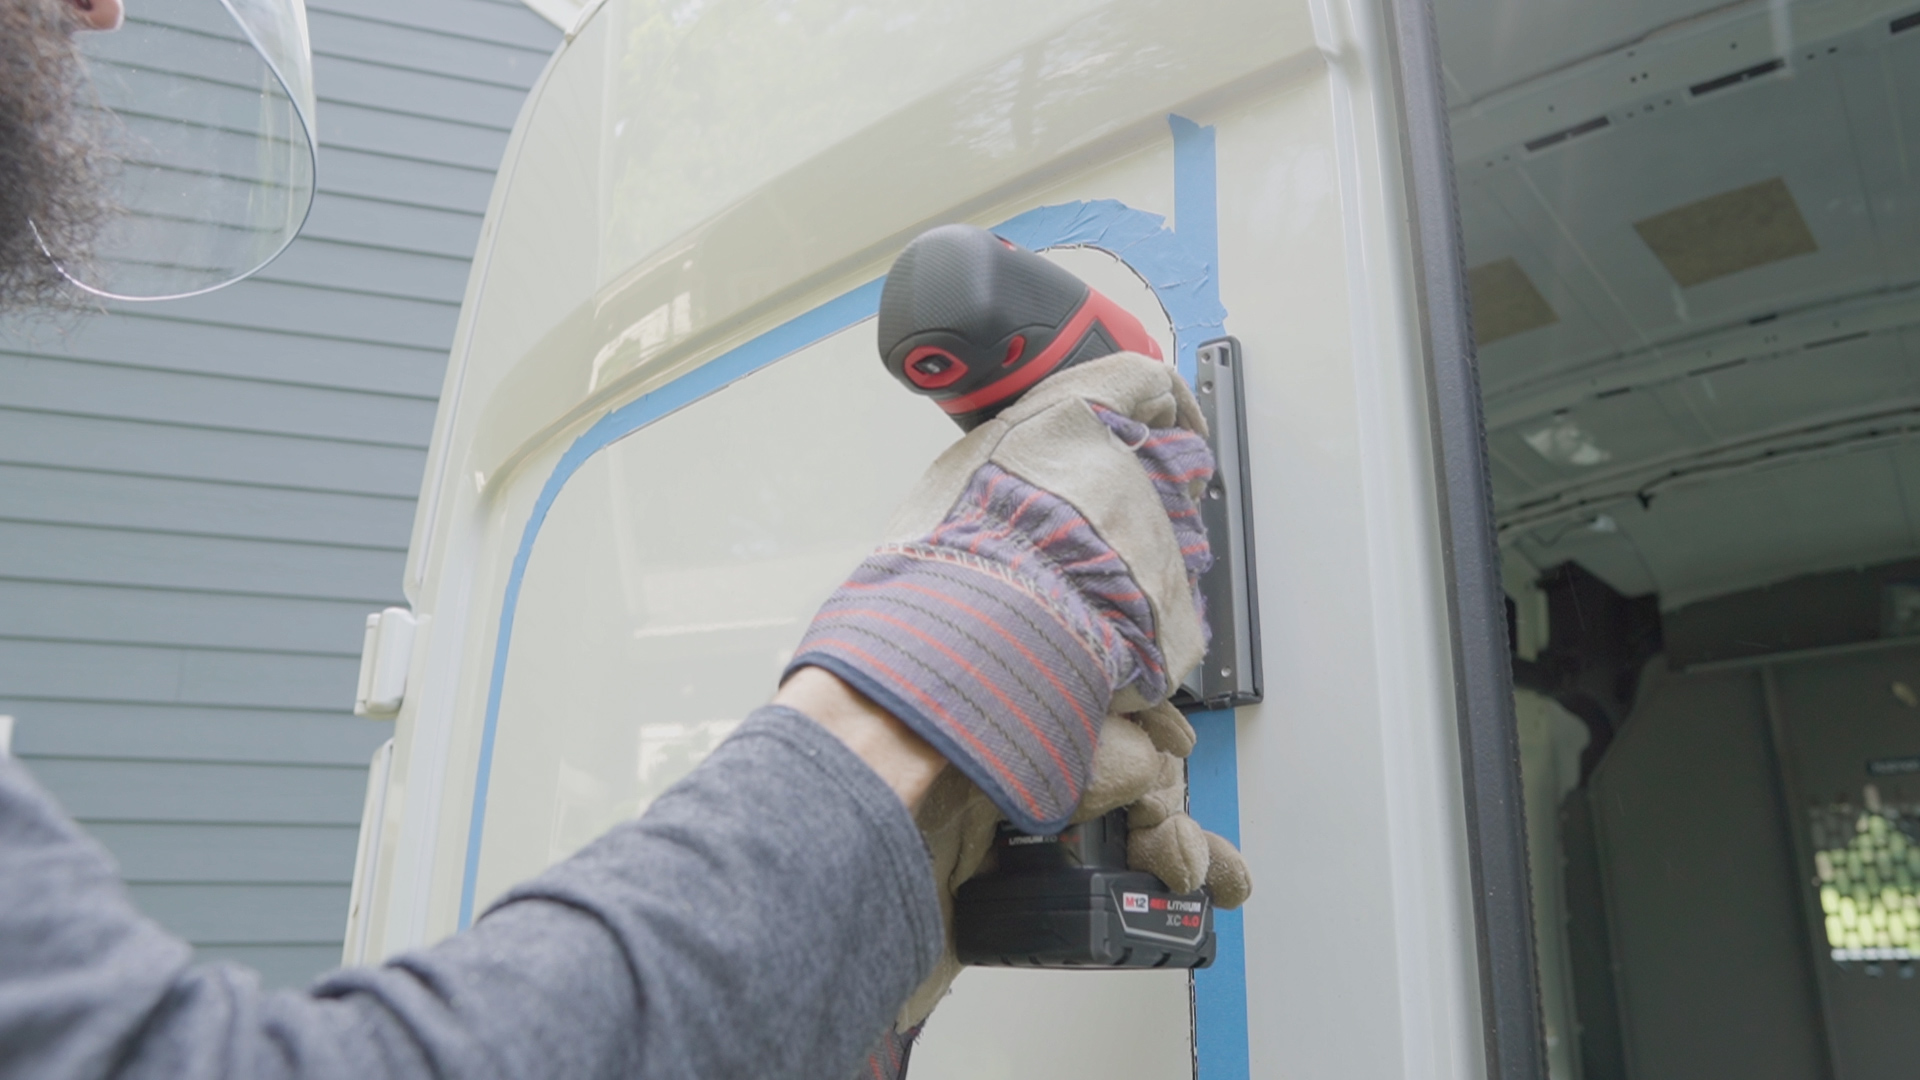
Next, I used the dots to drill marking holes every inch or so around the perimeter using an thin metal bit, which was easier and faster, but broke too easily, so for the second door I went with a larger 1/4” inch bit, which was more durable.
2. Cutting
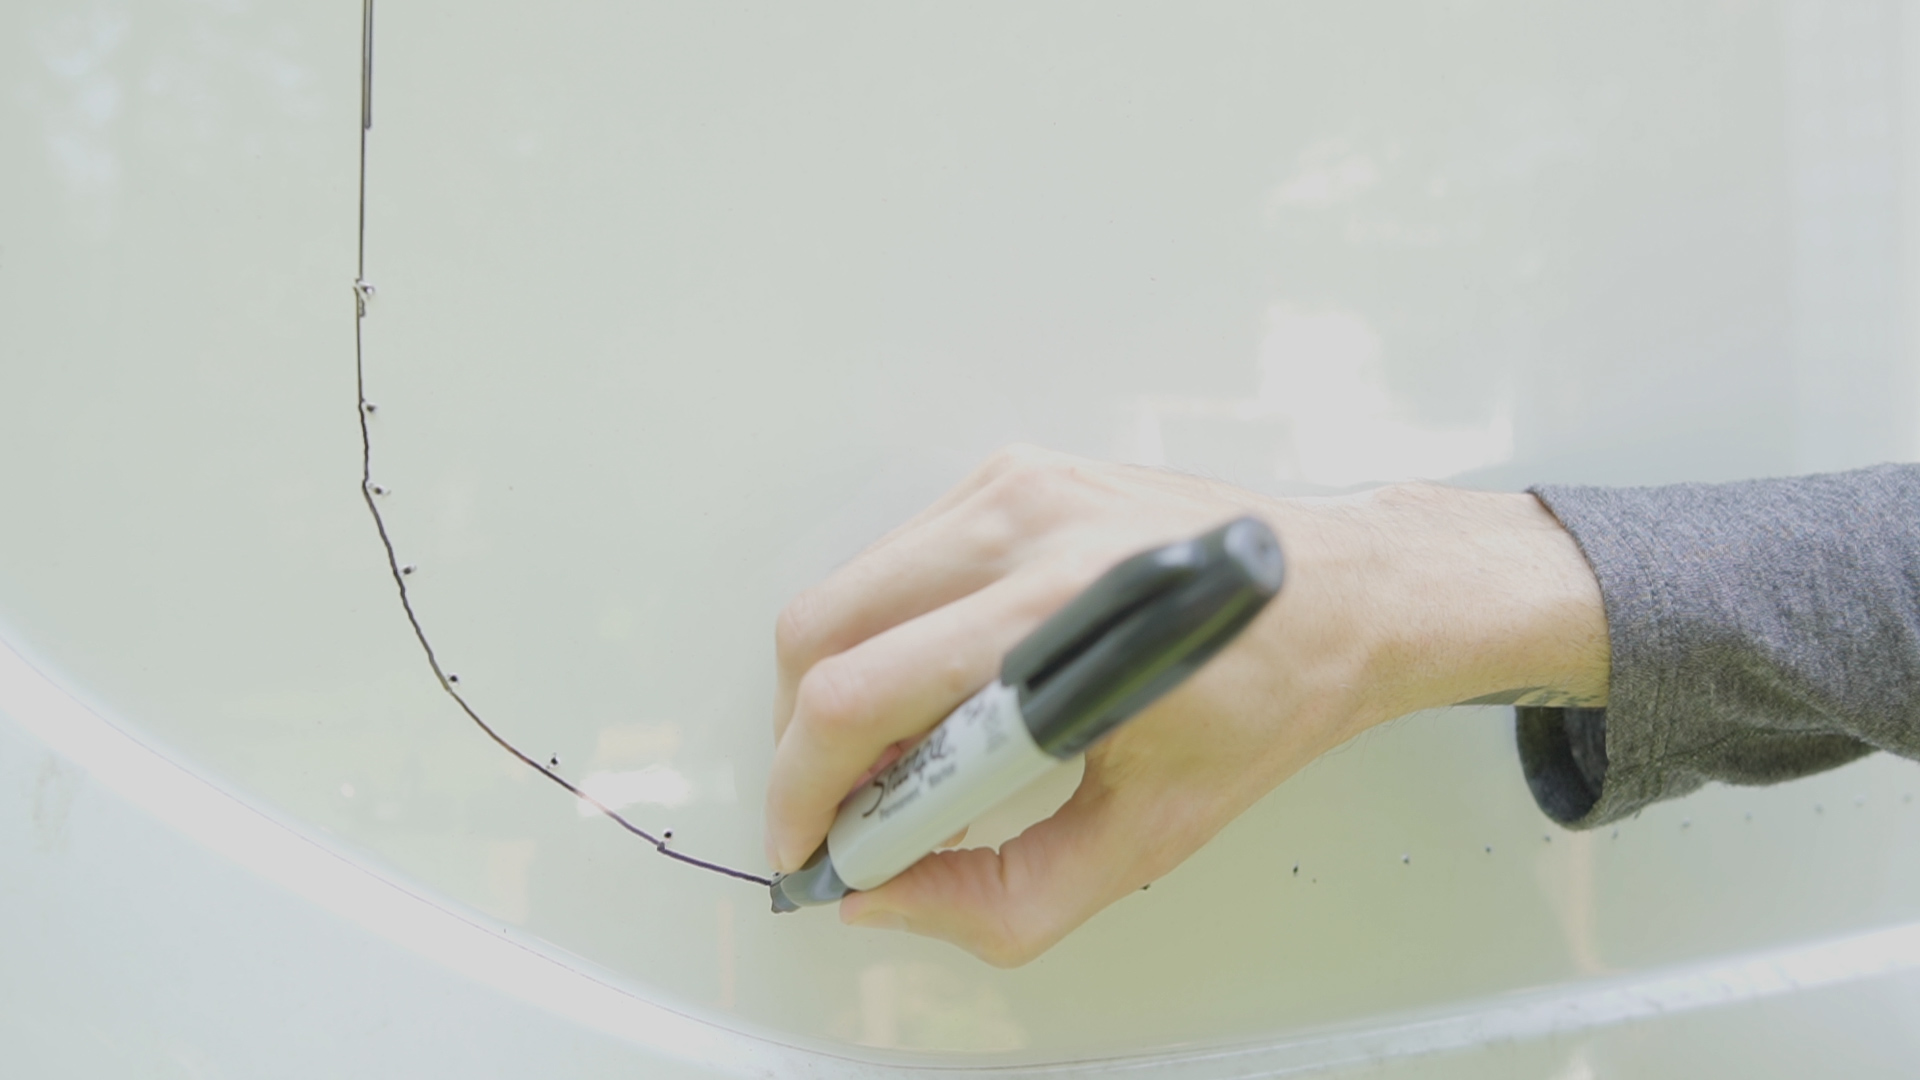
After that I moved to the outside, connected the dots with a marker, added some painter’s tape for protection…
…and then started cutting the door with a jigsaw, moving from the bottom up, adding extra painter’s tape to prevent wobbling as I went, and then switching over to the other side, so that I was left with a small section at the top to finish.
Having worked both ways now, I definitely prefer cutting from the outside, because there’s way more room, and the jigsaw is a lot easier to use with the guide on versus taking it off to fit in tight corners.
3. Cleaning
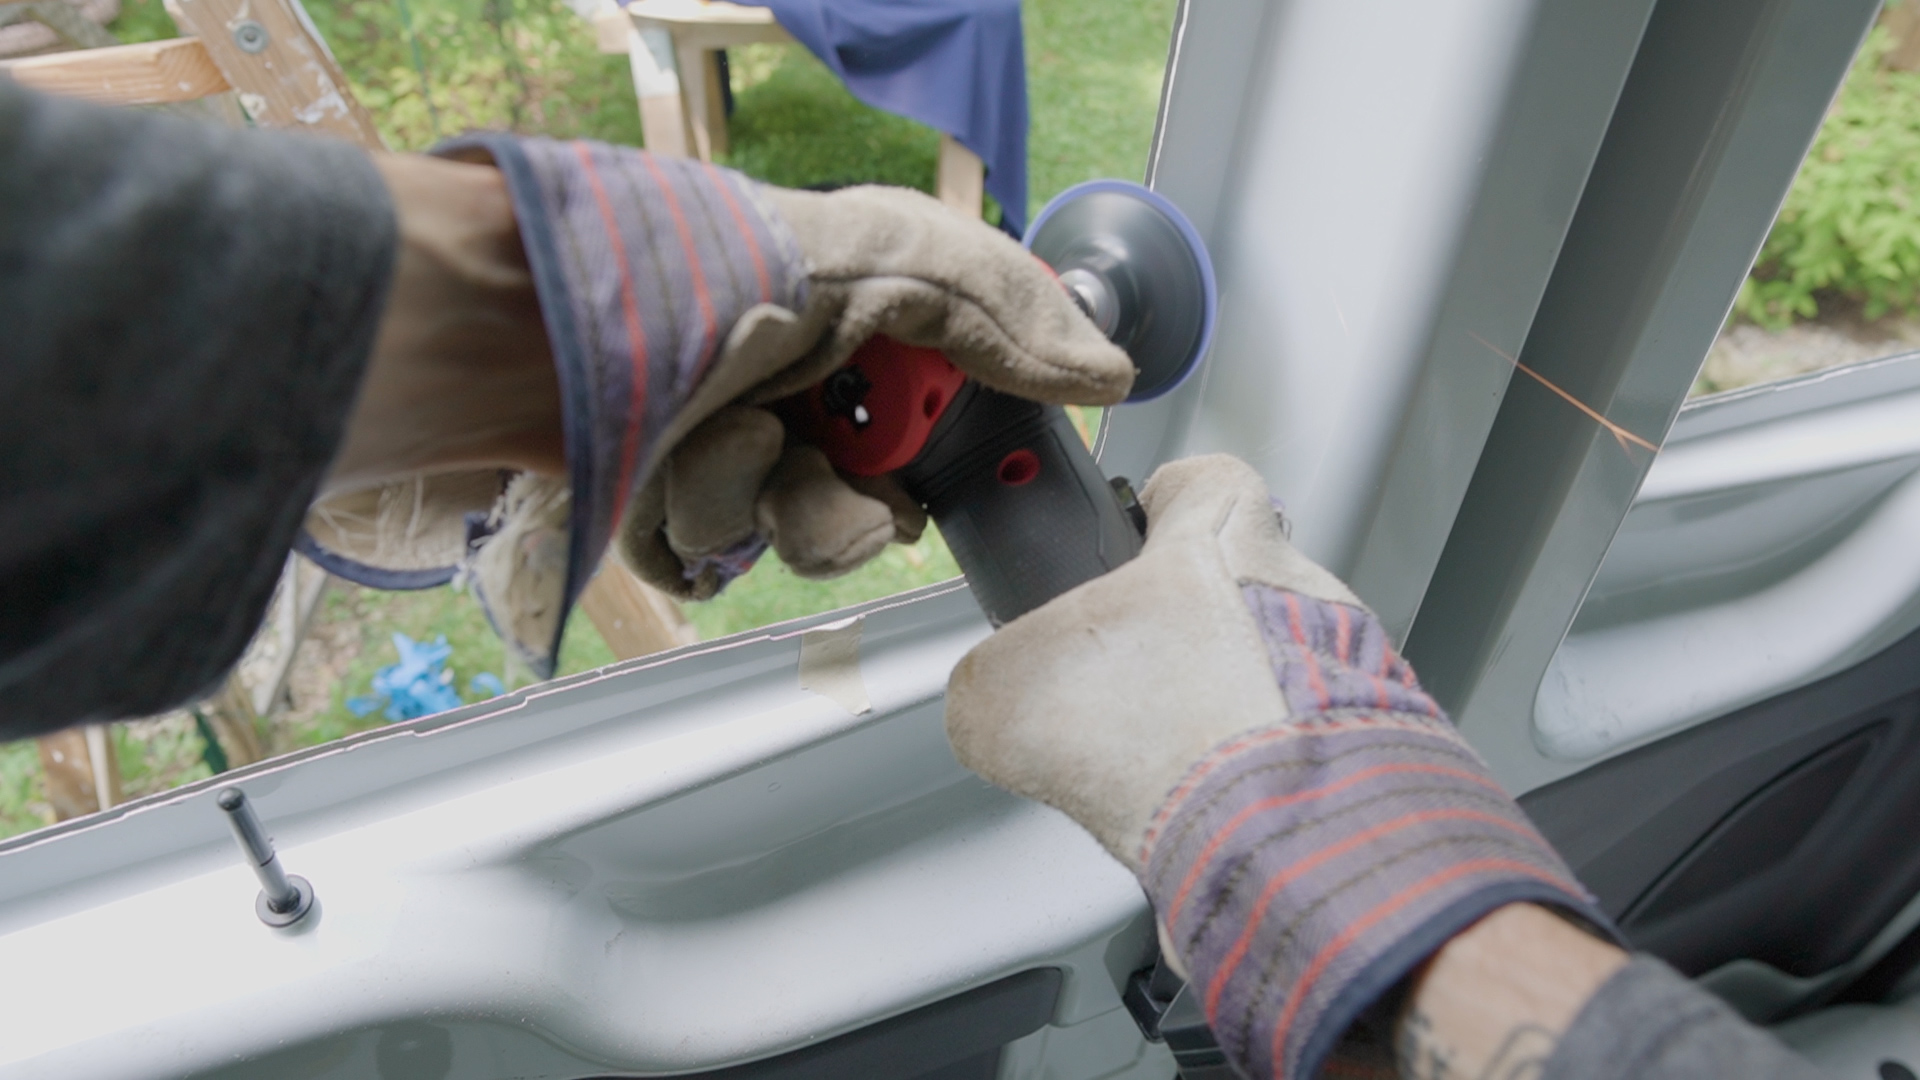
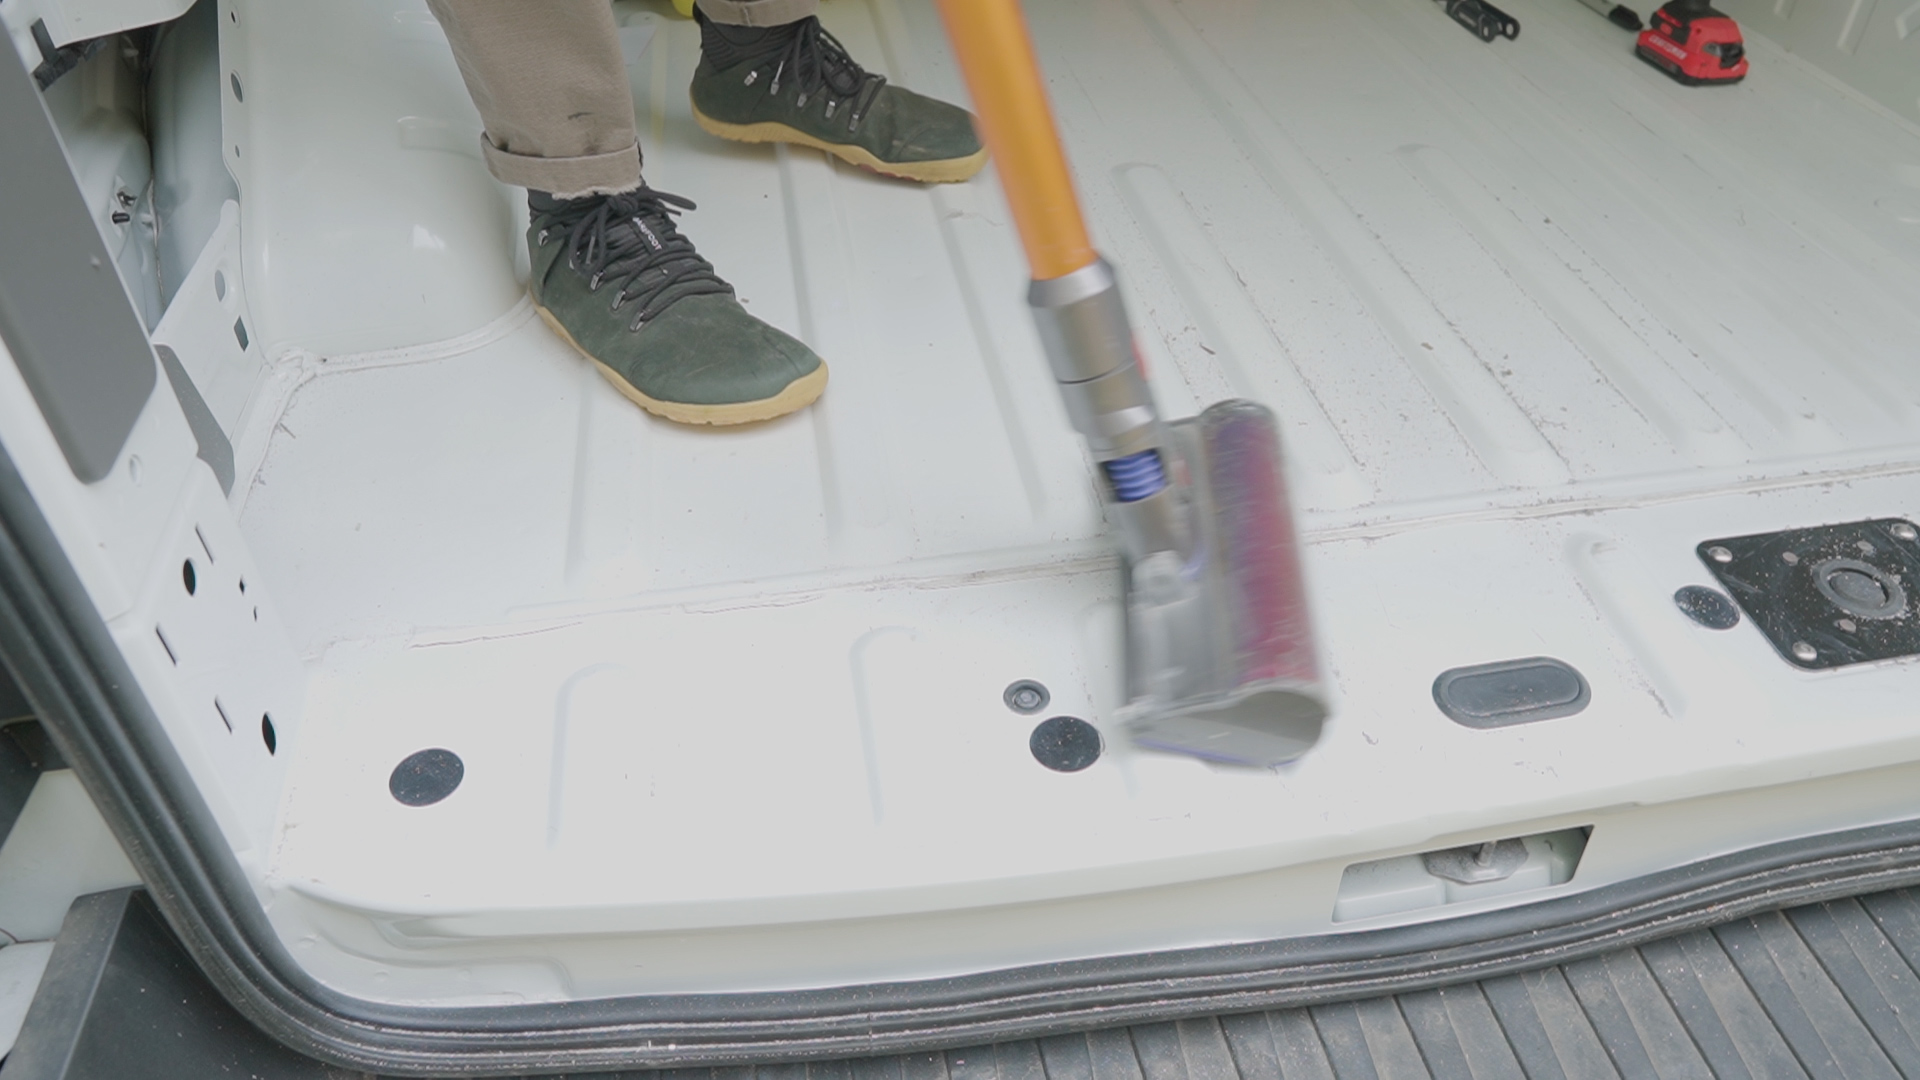
Not wanting to leave jagged exposed metal I smoothed the edge out with die grinder and sanding disc (a metal file can be useful too), blew any stray shards out of the crack with a shop vacuum (a compressed air can also works)…
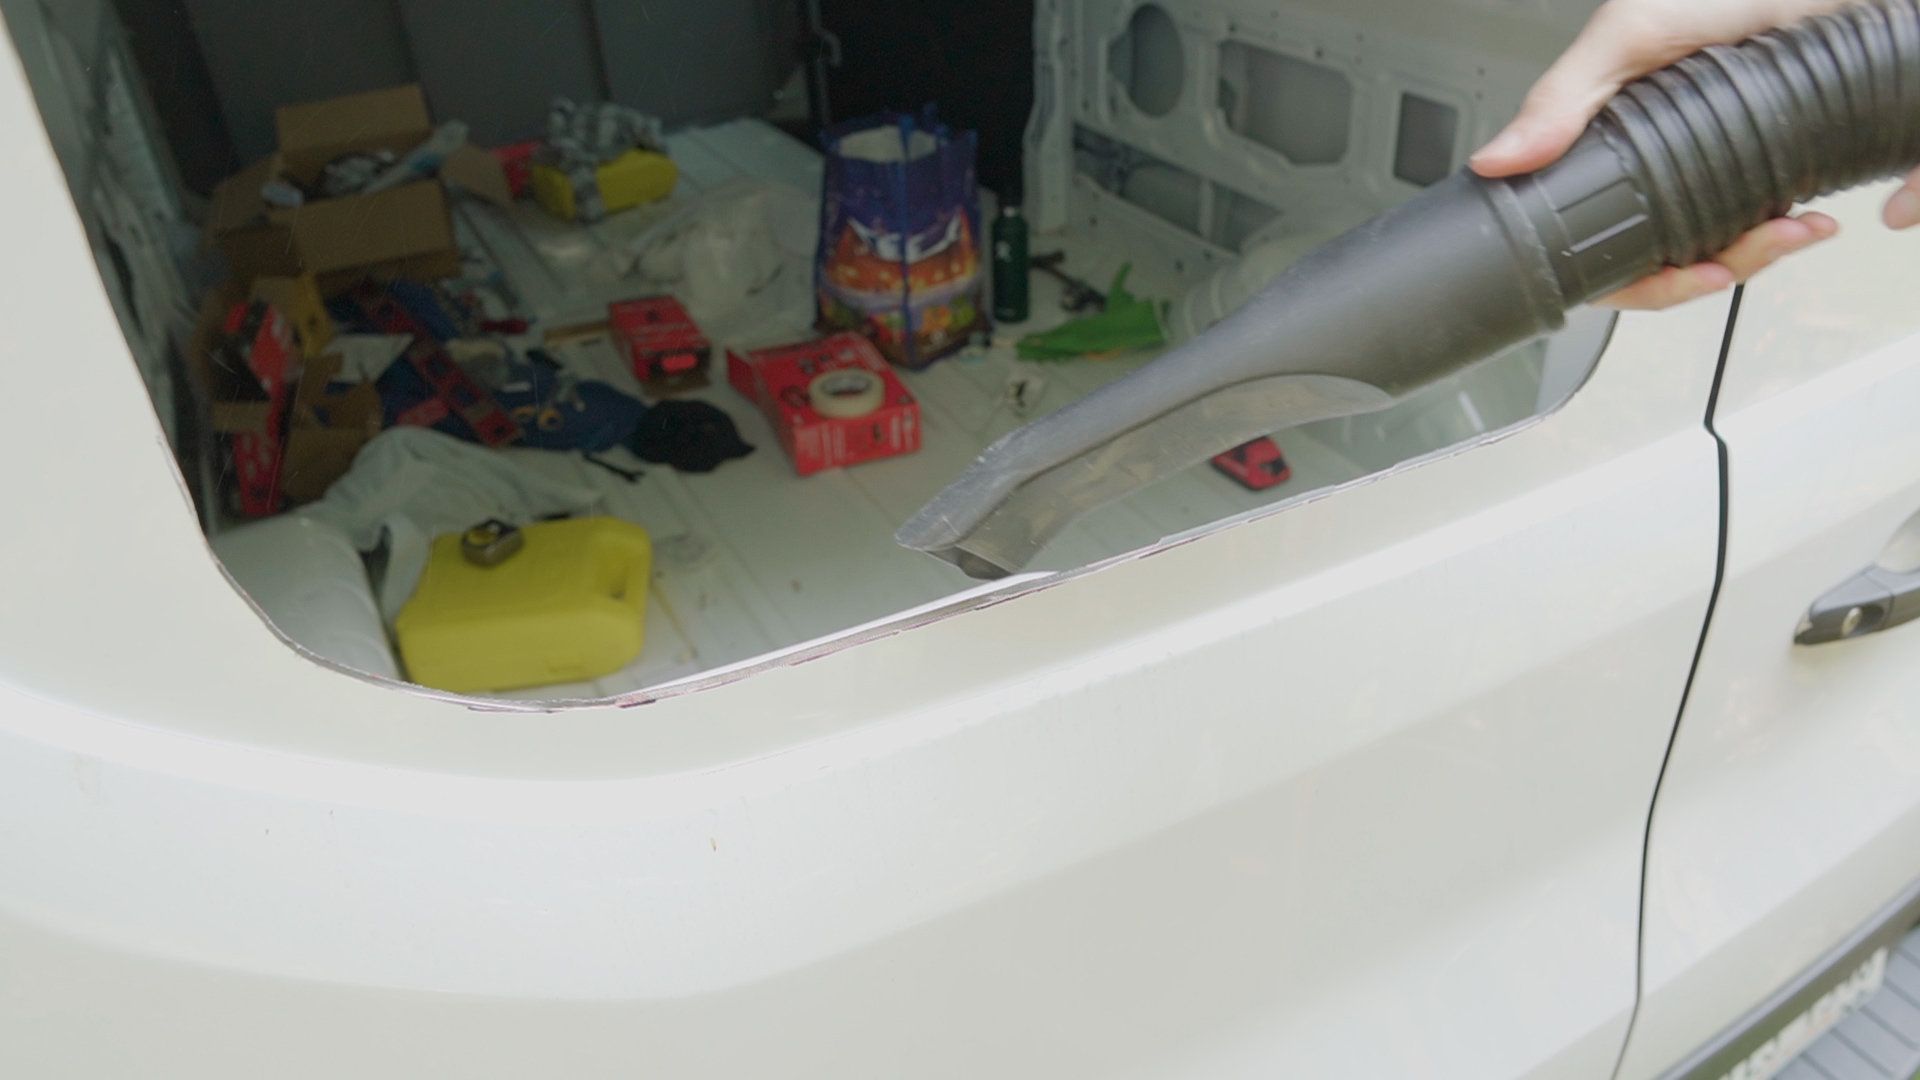
…then picked up the floor debris with a HEPA filter vacuum, wiped the window frame down with rubbing alcohol, which I let dry for a few minutes, and then covered the raw metal with a tiny bit of rust paint using a foam brush.
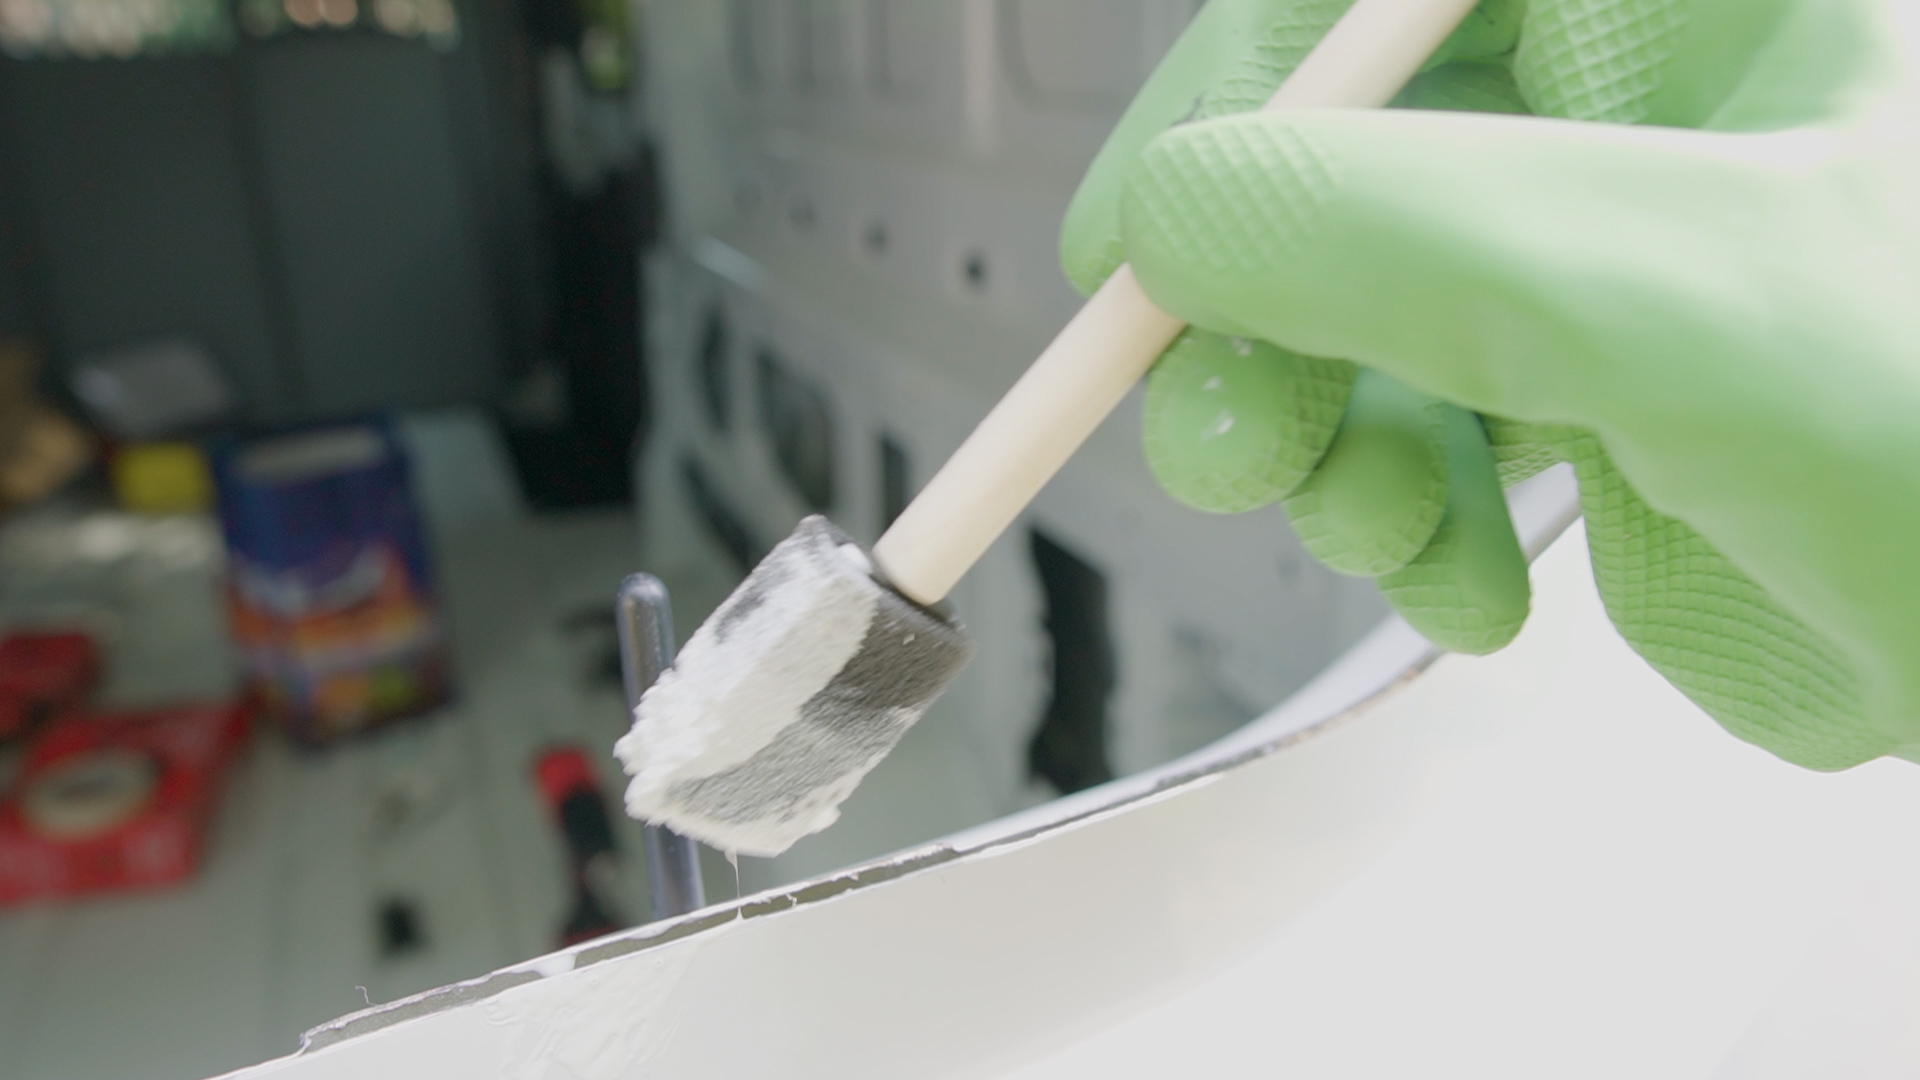
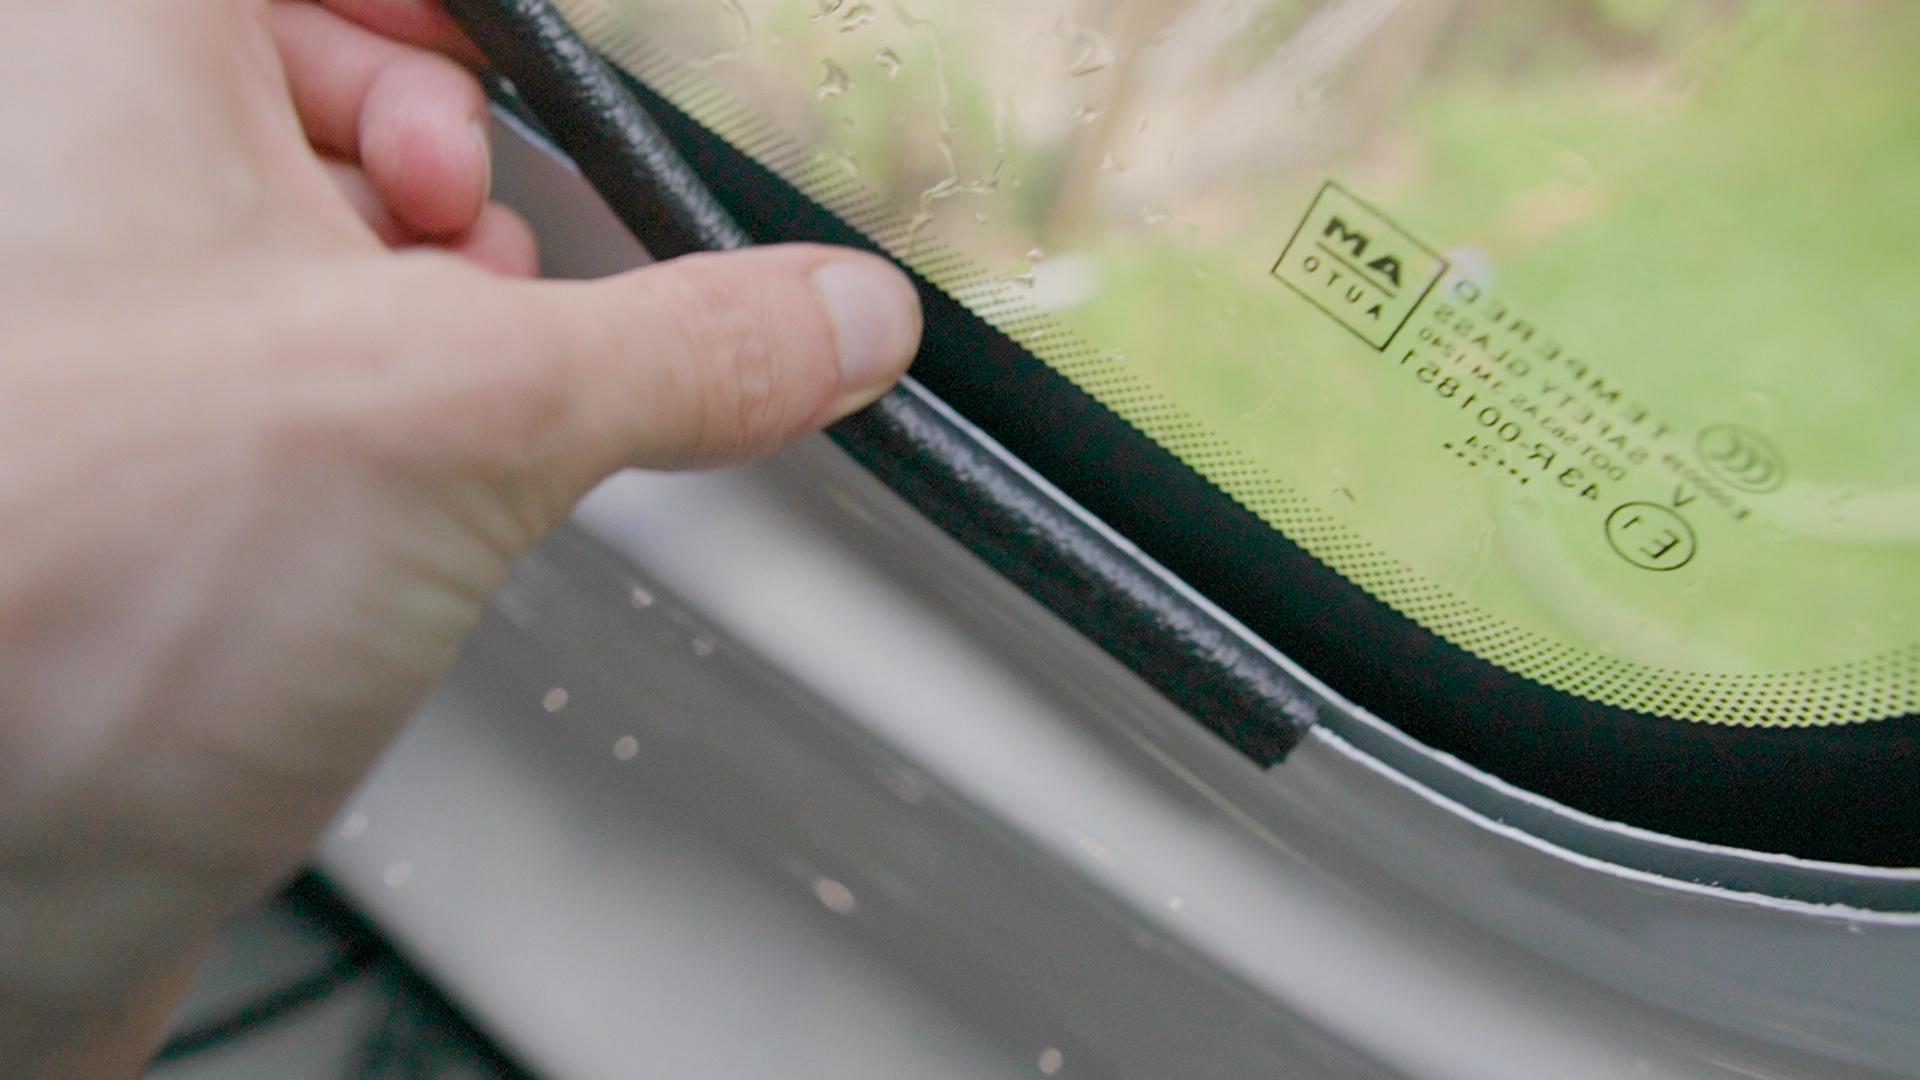
Some people put the rubber trim on immediately, but I found it worked better to let the paint dry for 2–5 hours, and then come back to it later after I was done with installing the windows.
4. Fitting
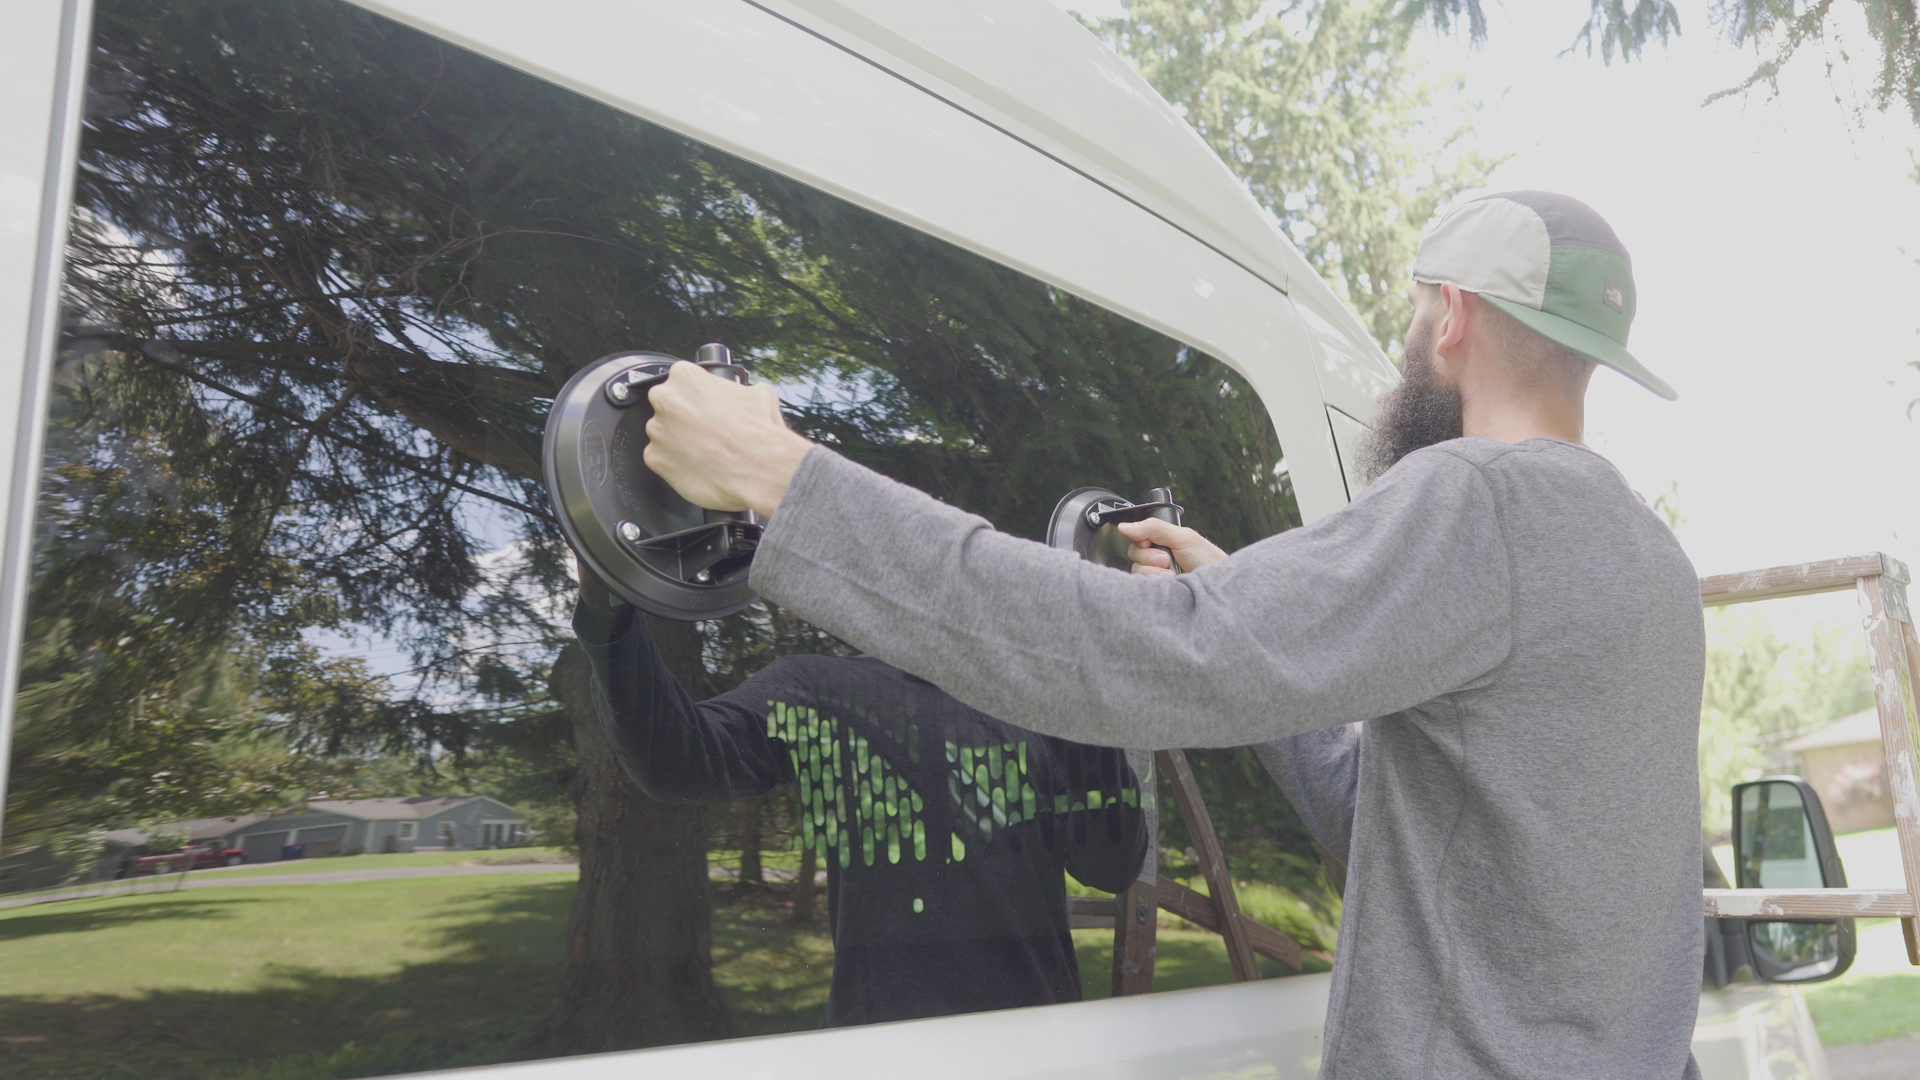
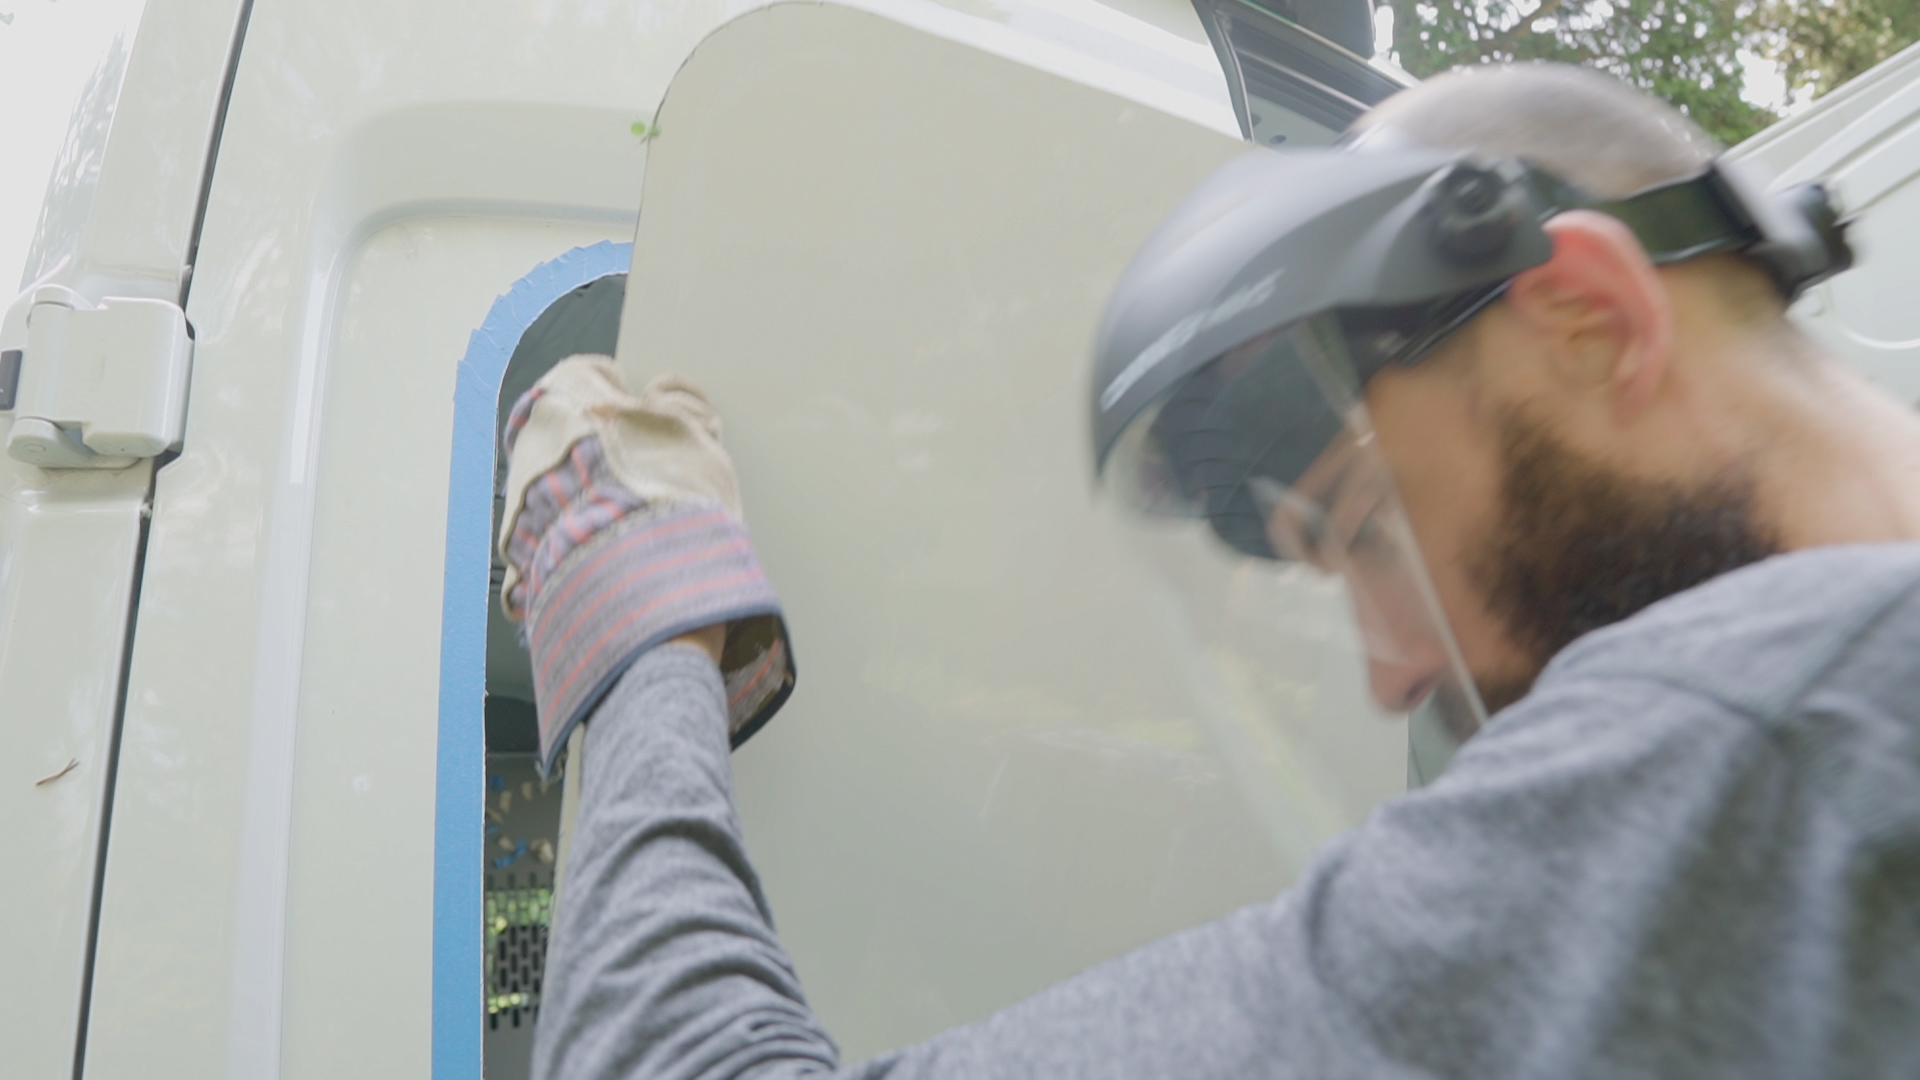
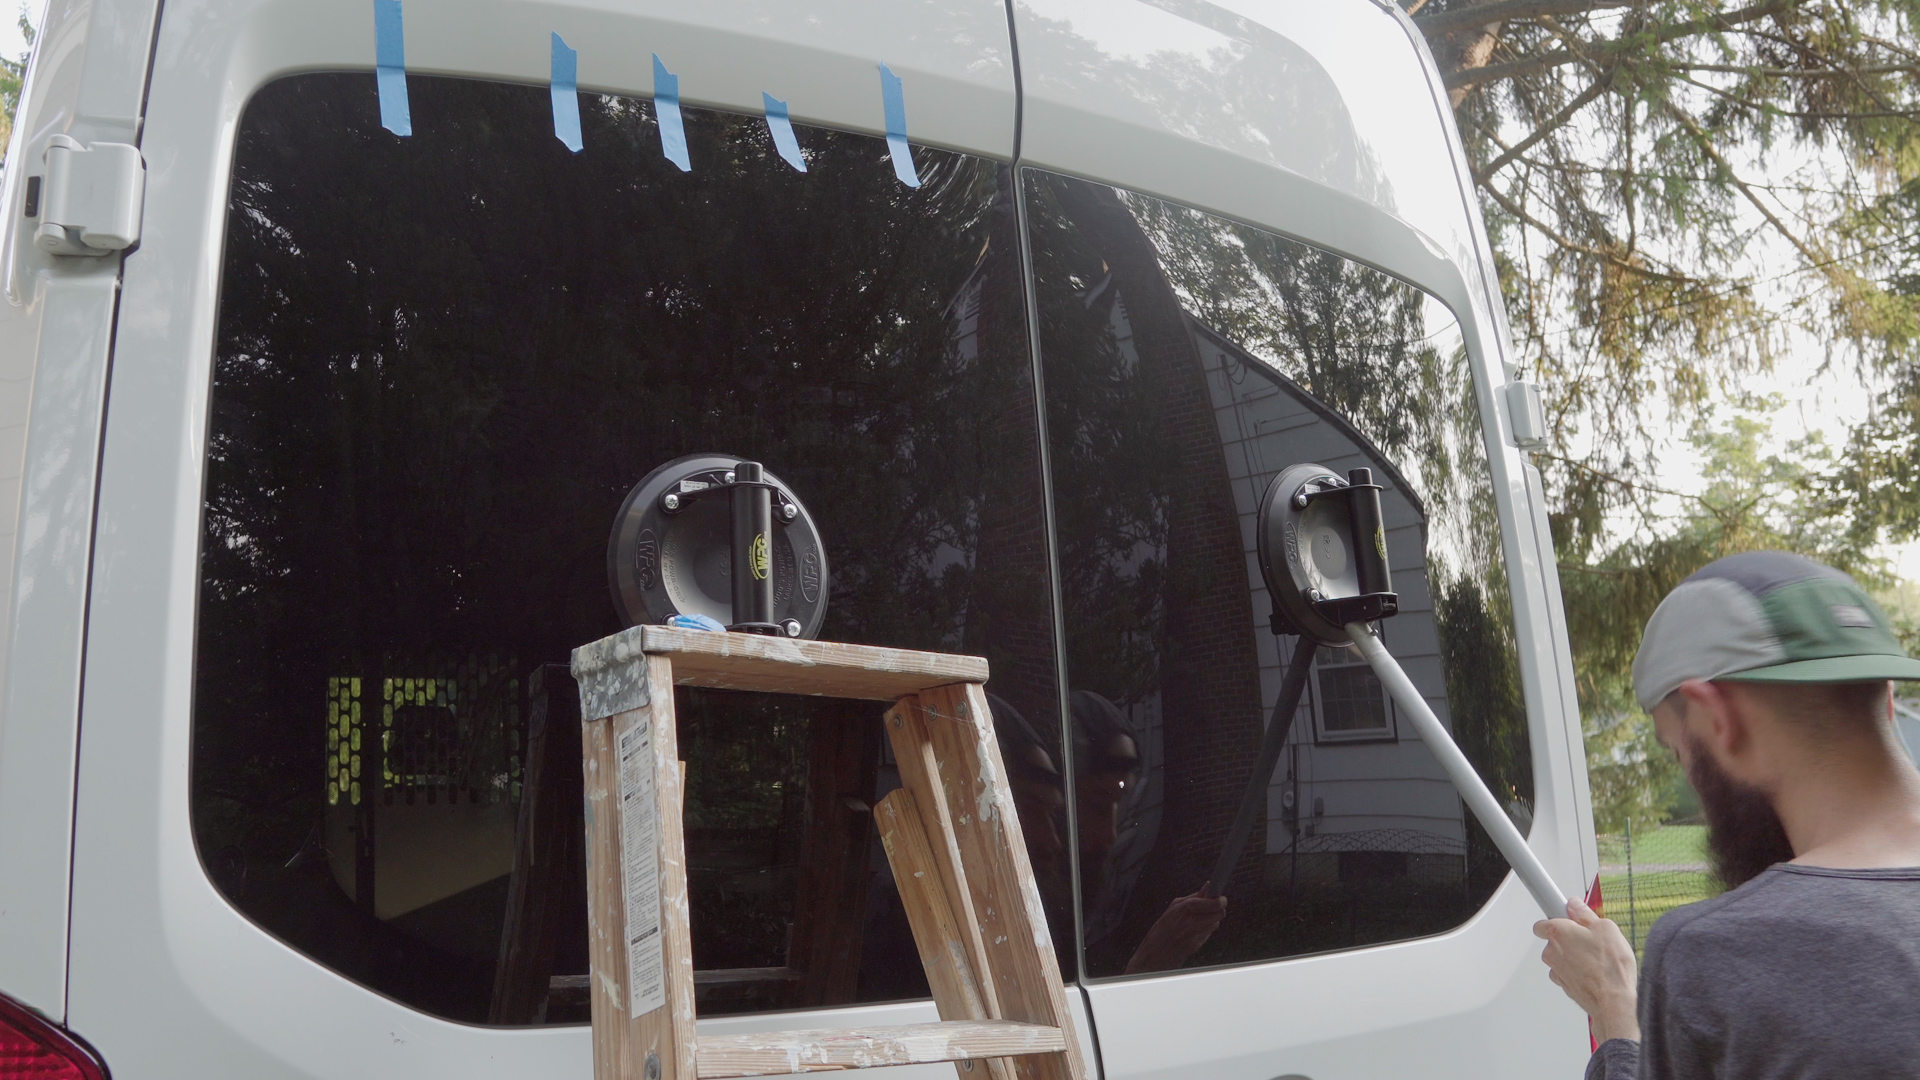
Before moving on I dry tested the windows with suction grips to make sure they fit and then checked the weather one last time.
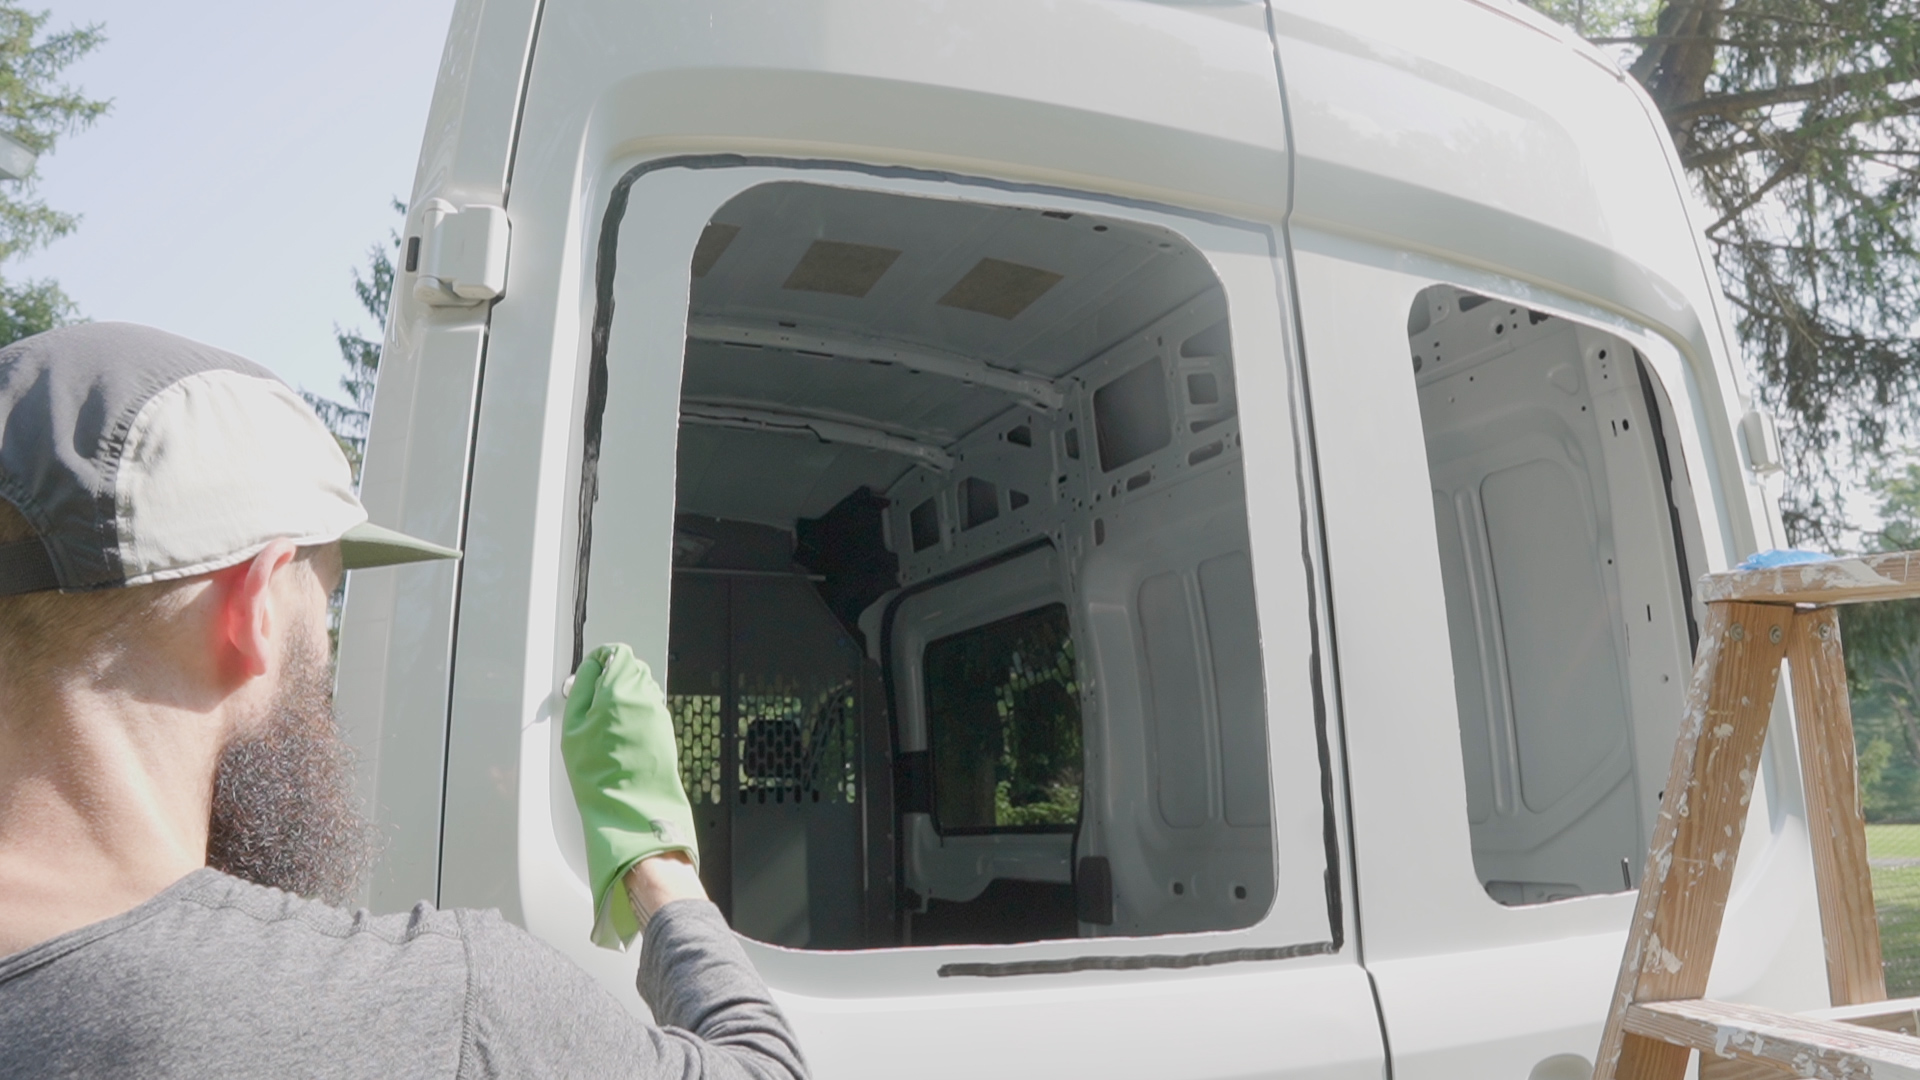
Having confirmed the fit, I wiped both the outer van metal and windows with a cloth, and then cleaned each of them with rubbing alcohol around the perimeter where they were going to bond.
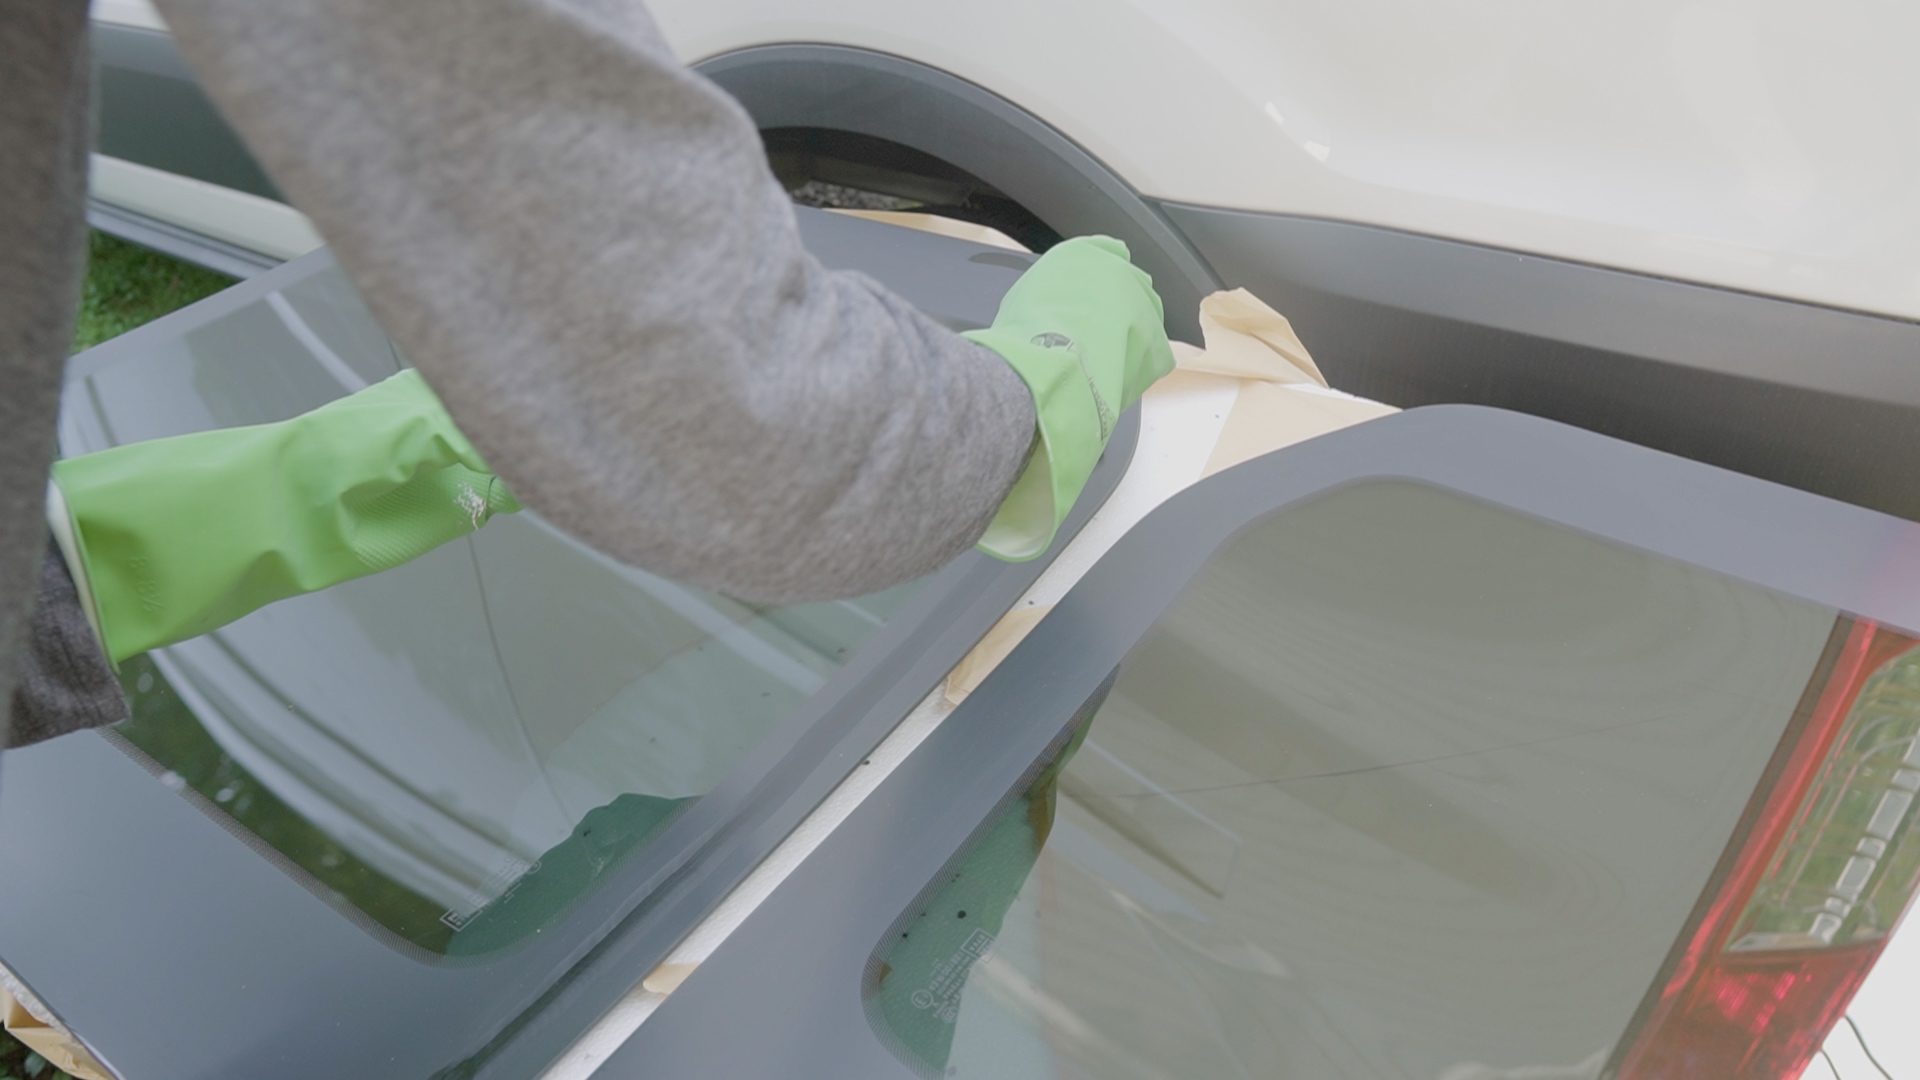
5. Bonding
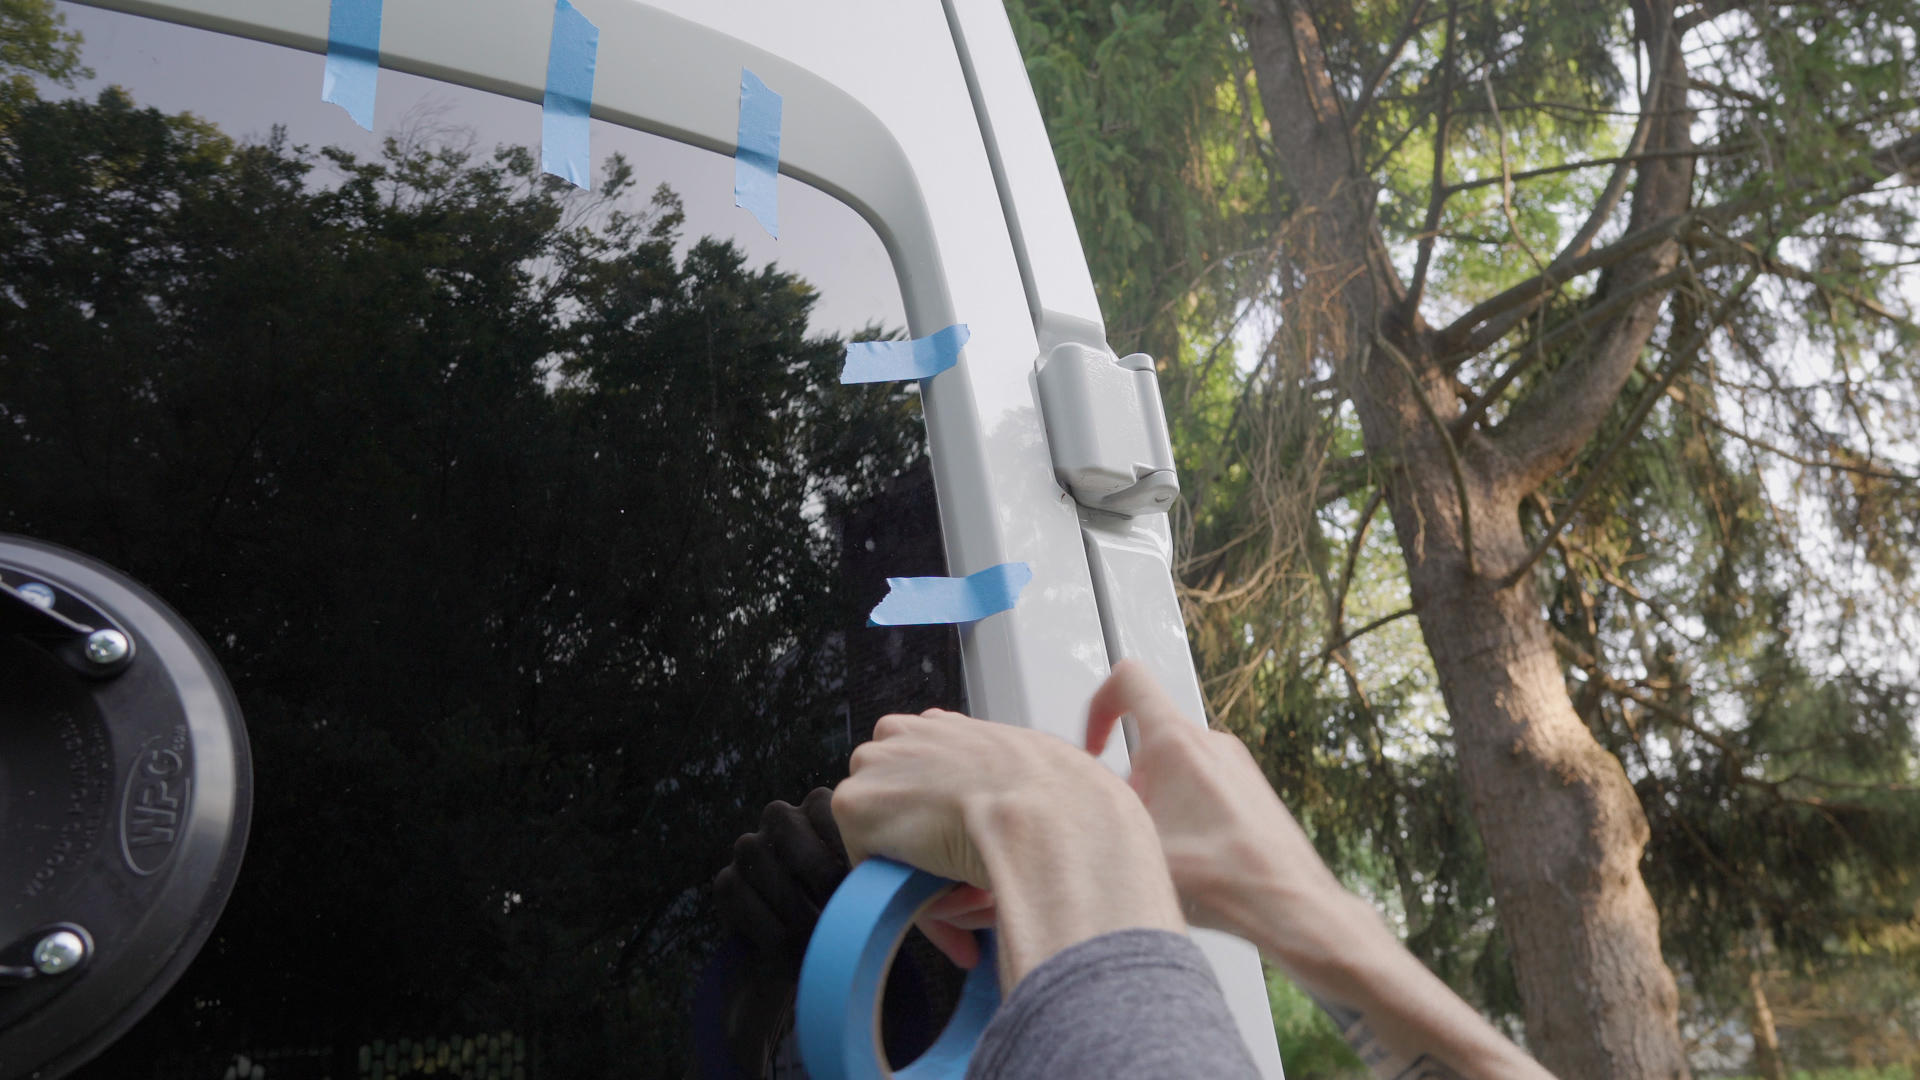
Once that dried I placed some painter’s tape to the outside of the van and windows, and then applied a thin layer of adhesive primer with a dauber to both surfaces, leaving a half inch or so gap on each side and allowing it to dry for a full hour.
After that I laid down the adhesive with a caulking gun in a thick Tootsie Roll sized (1/2”) bead around the outer edge of the window frame, leaving a 1/2” gap and making sure to overlap anytime I stopped.
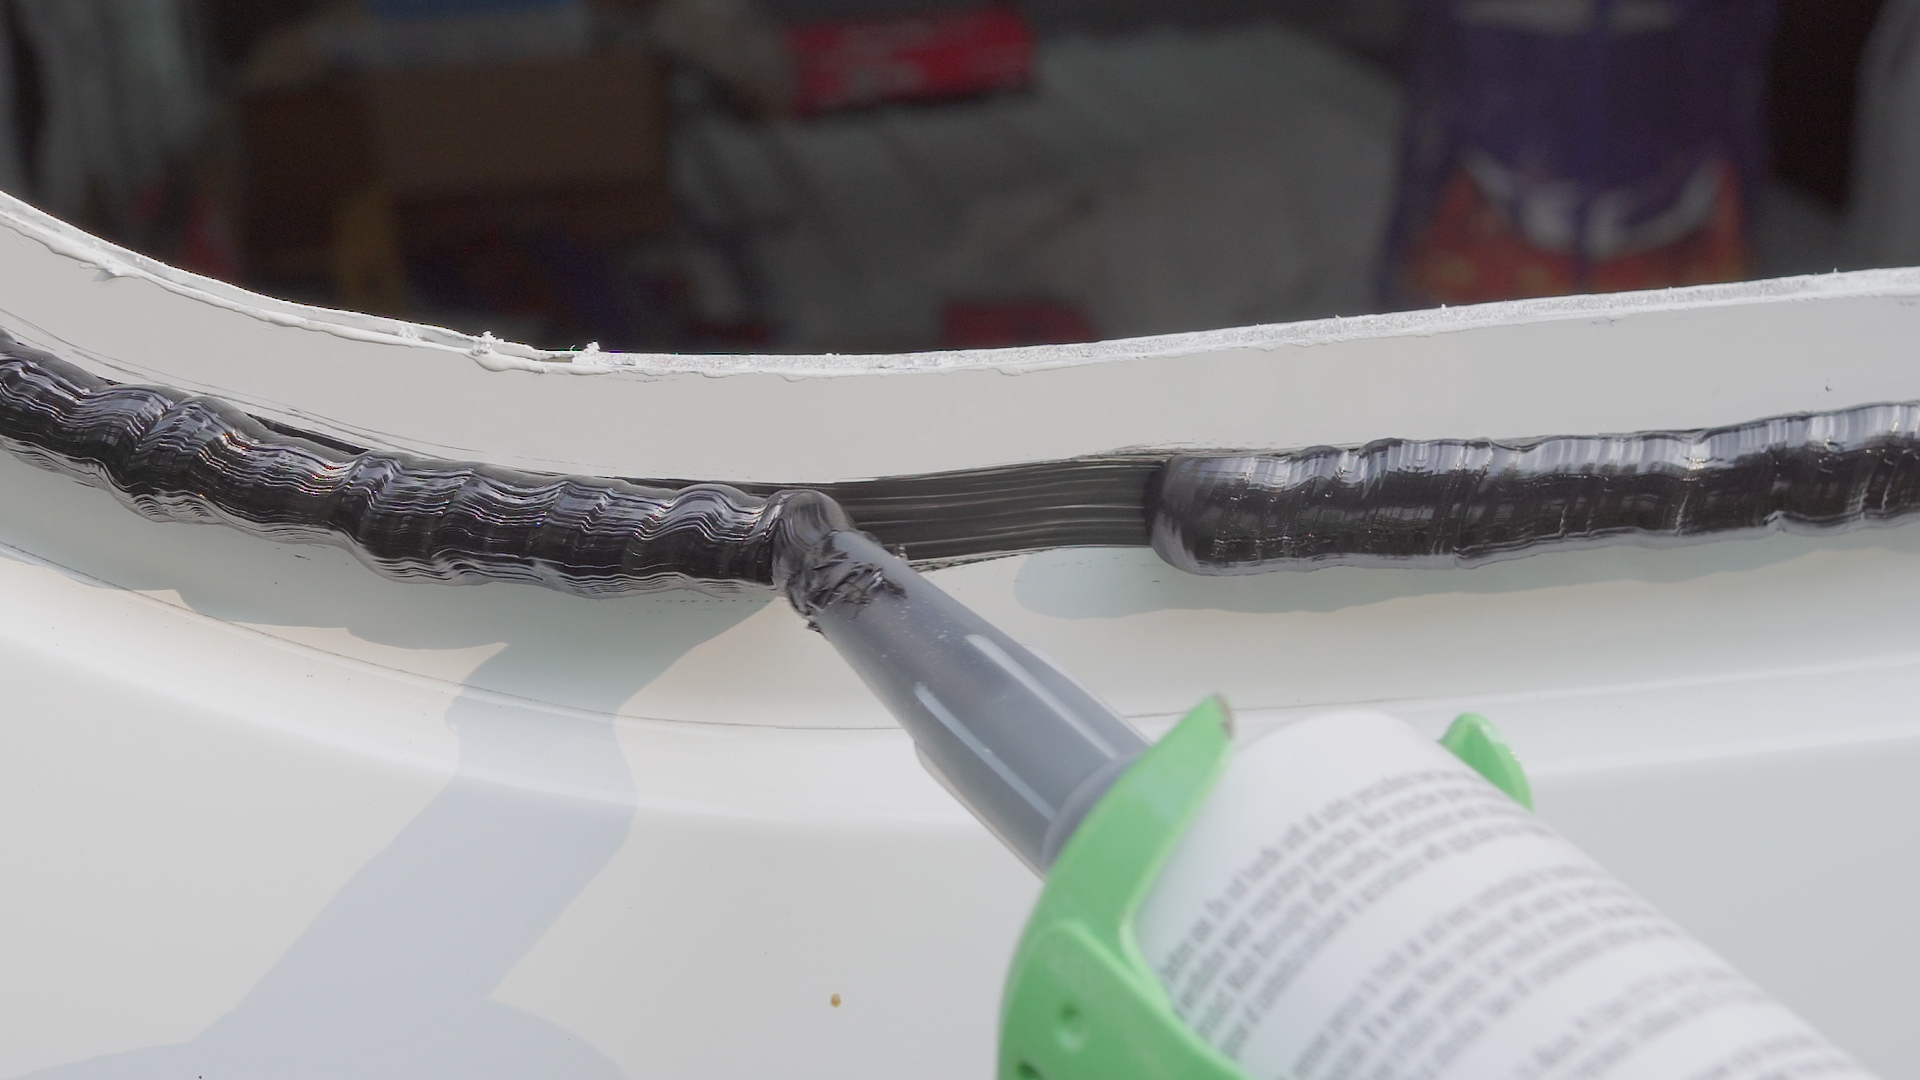
The key is to keep the bead size as CONSISTENT as possible!
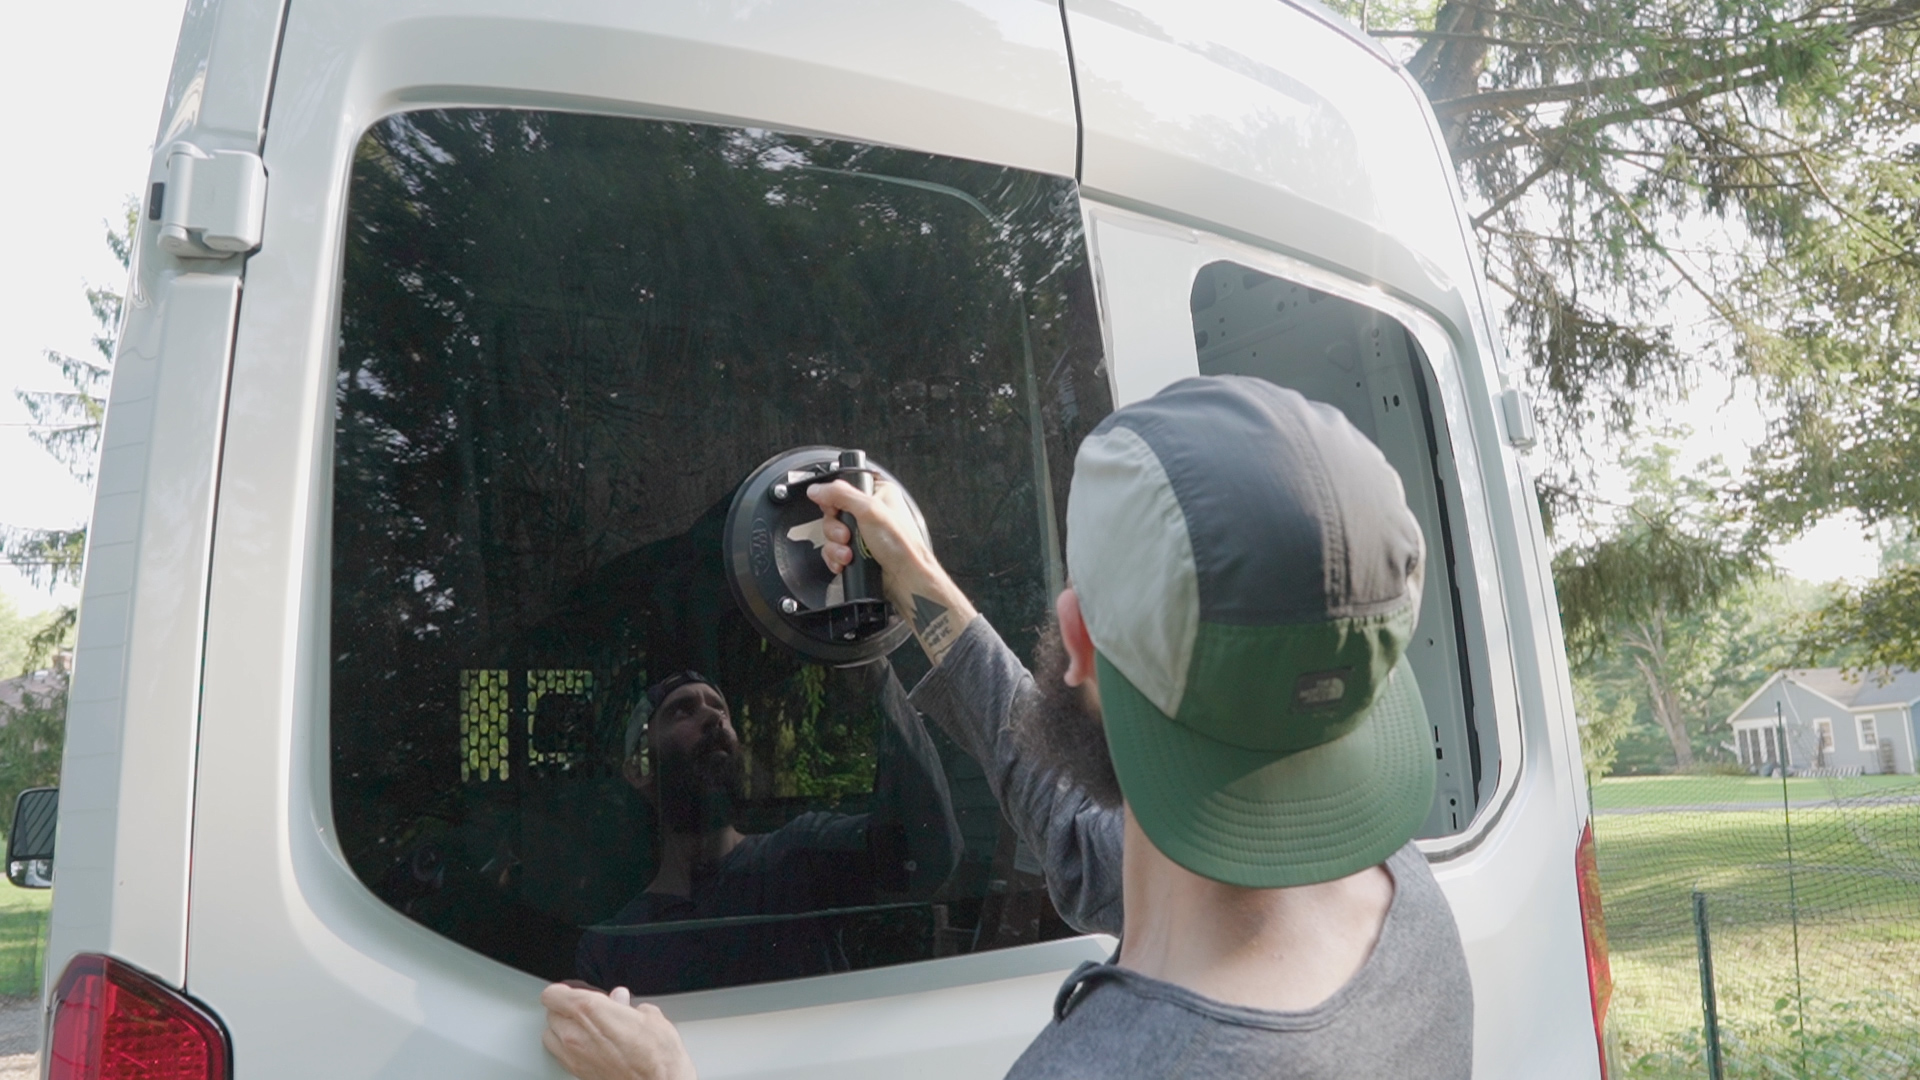
6. Placing
Using the vacuum grips, I lined the window up with the opening, bracing myself on the step ladder for support and making sure not to touch the adhesive until I had it it centered…
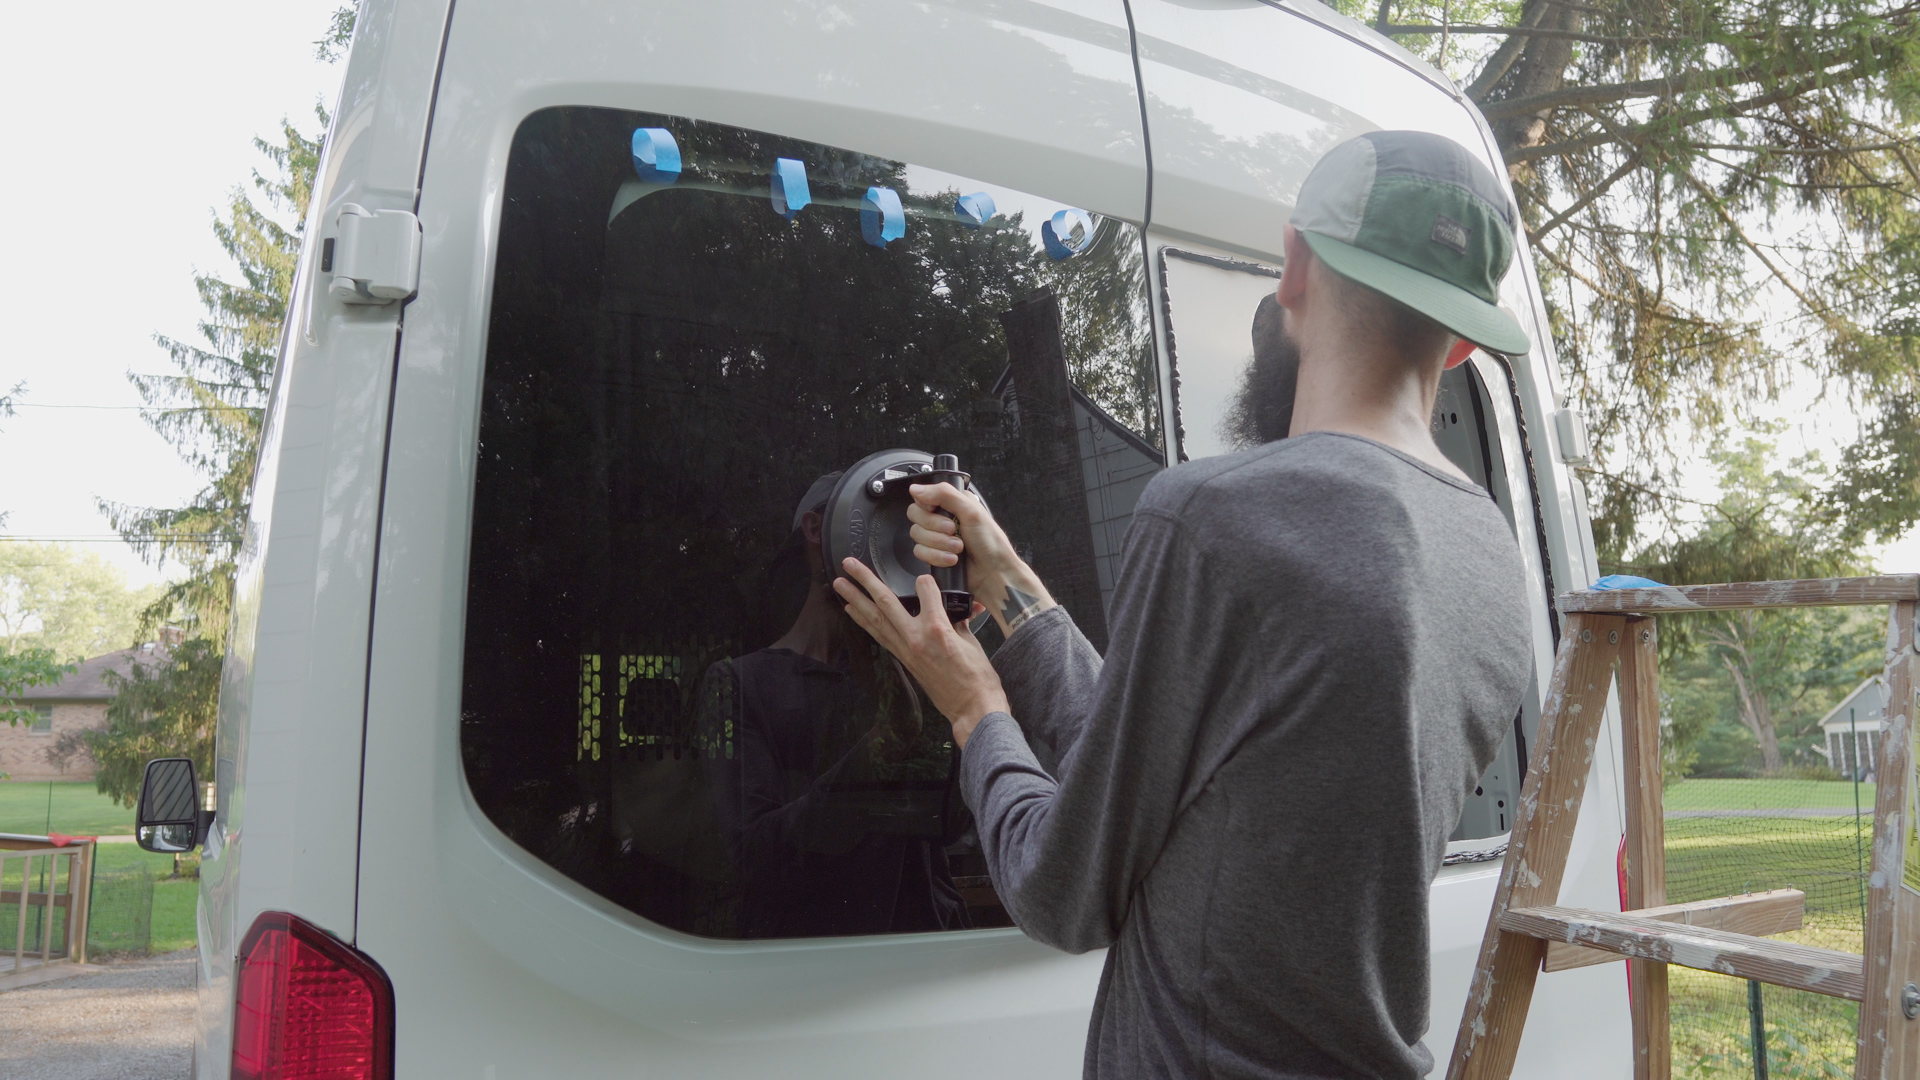
…at which point I pressed in gently, only making small adjustments, so as not to smear the adhesive, and then used a free hand to attach the tape to the van for security (you can add some to the window beforehand).
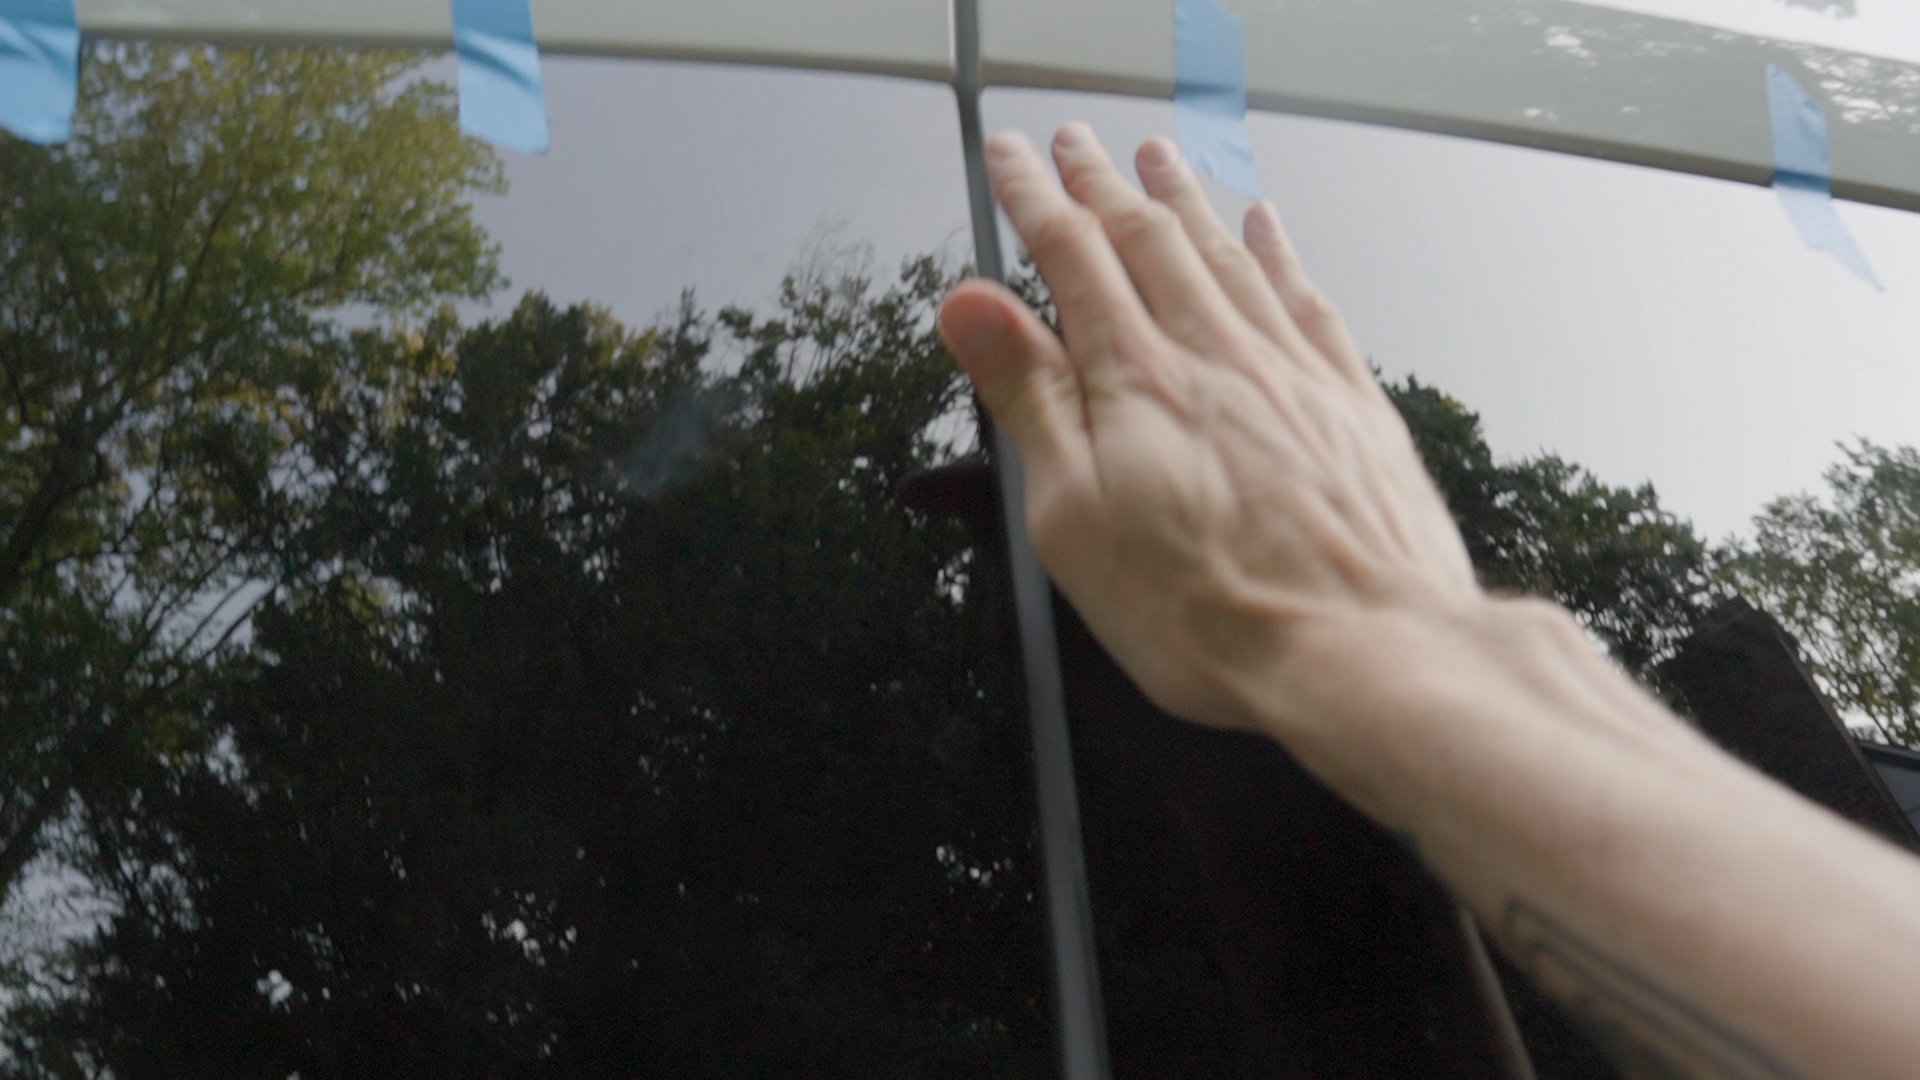
With the window positioned, I used my palms to gently press around until the edges lined up evenly with the rim of the van metal, leaving around 1/4” or so of space for airflow.
Finally, I added more pieces of painters tap to each side for extra protection, attached a suction grip to the center of each window, and then braced a couple tall objects (in my case a step ladder and metal pole) underneath the grips to apply gentle pressure and prevent the windows from slipping down before the adhesive dried.
FYI, you want to apply pressure gradually, because pushing too far in and then having to pull the window out could ruin the seal.
7. Finishing
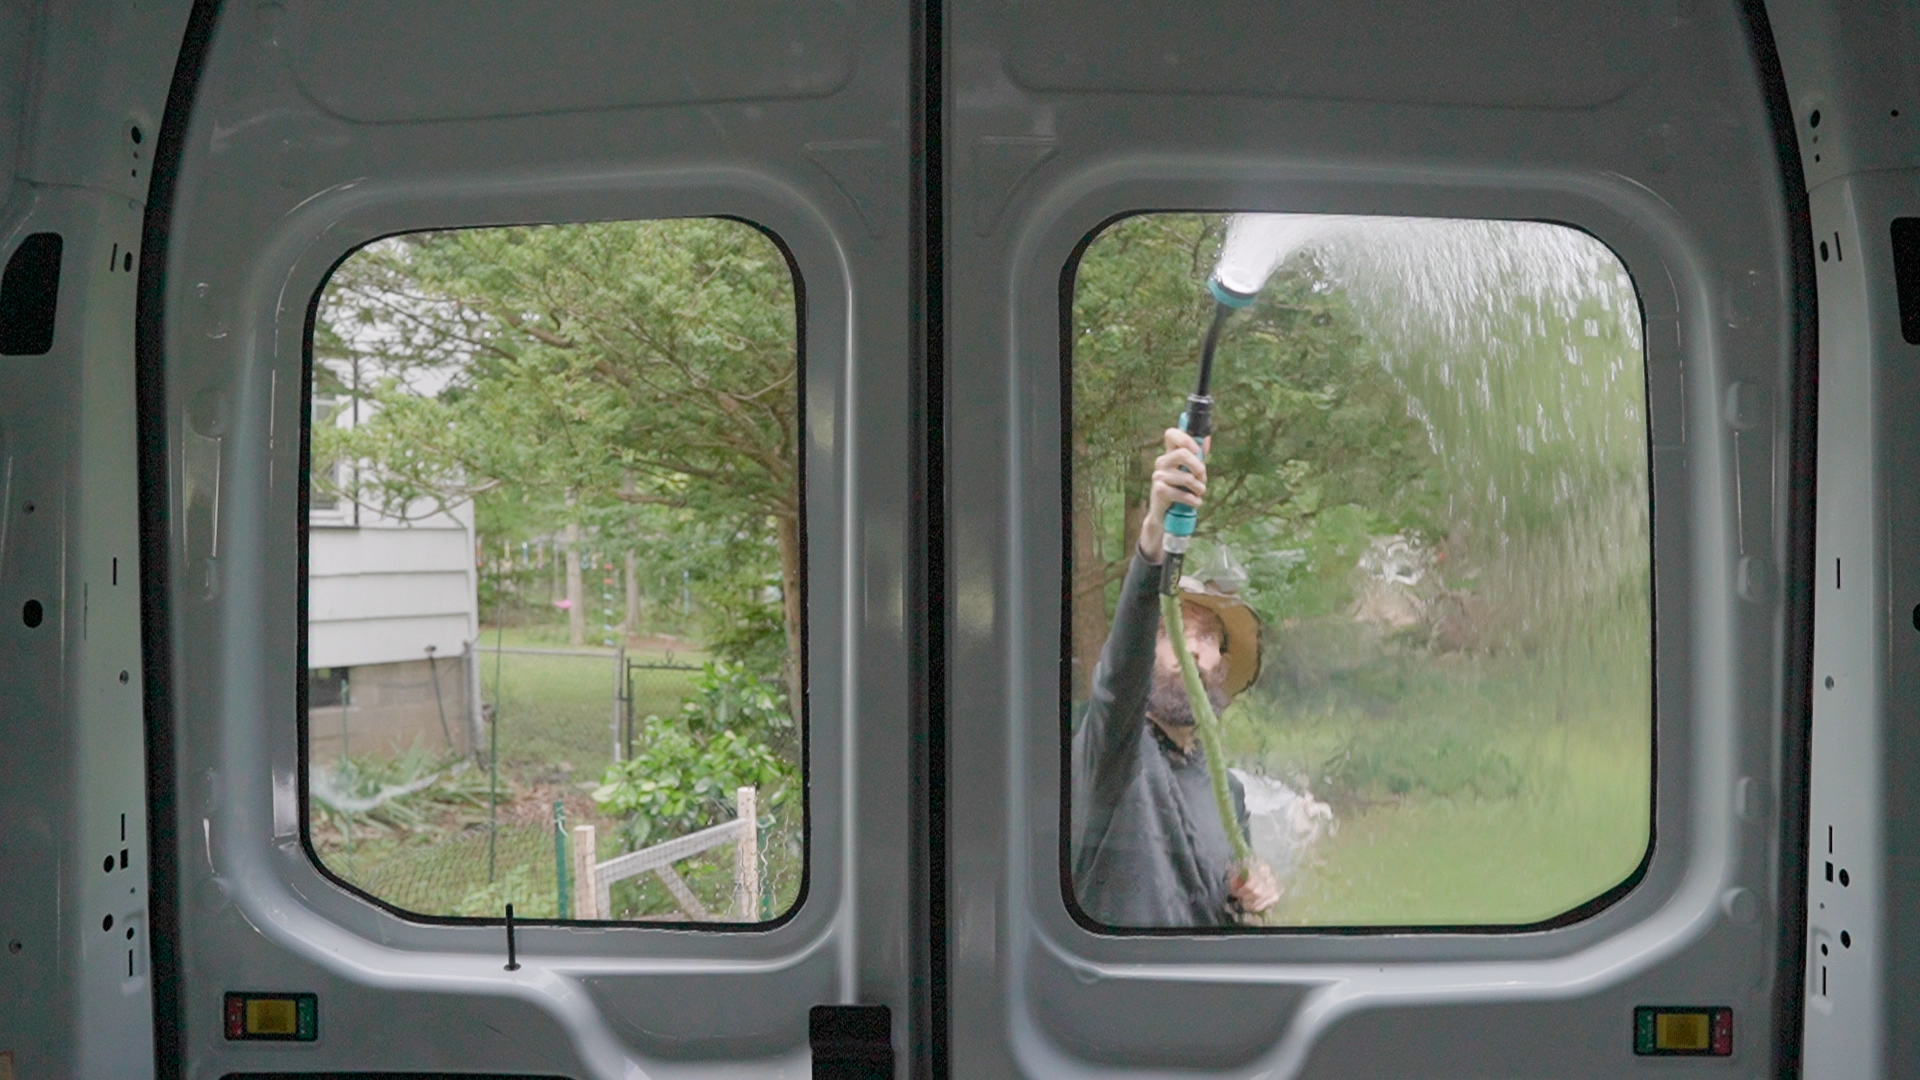
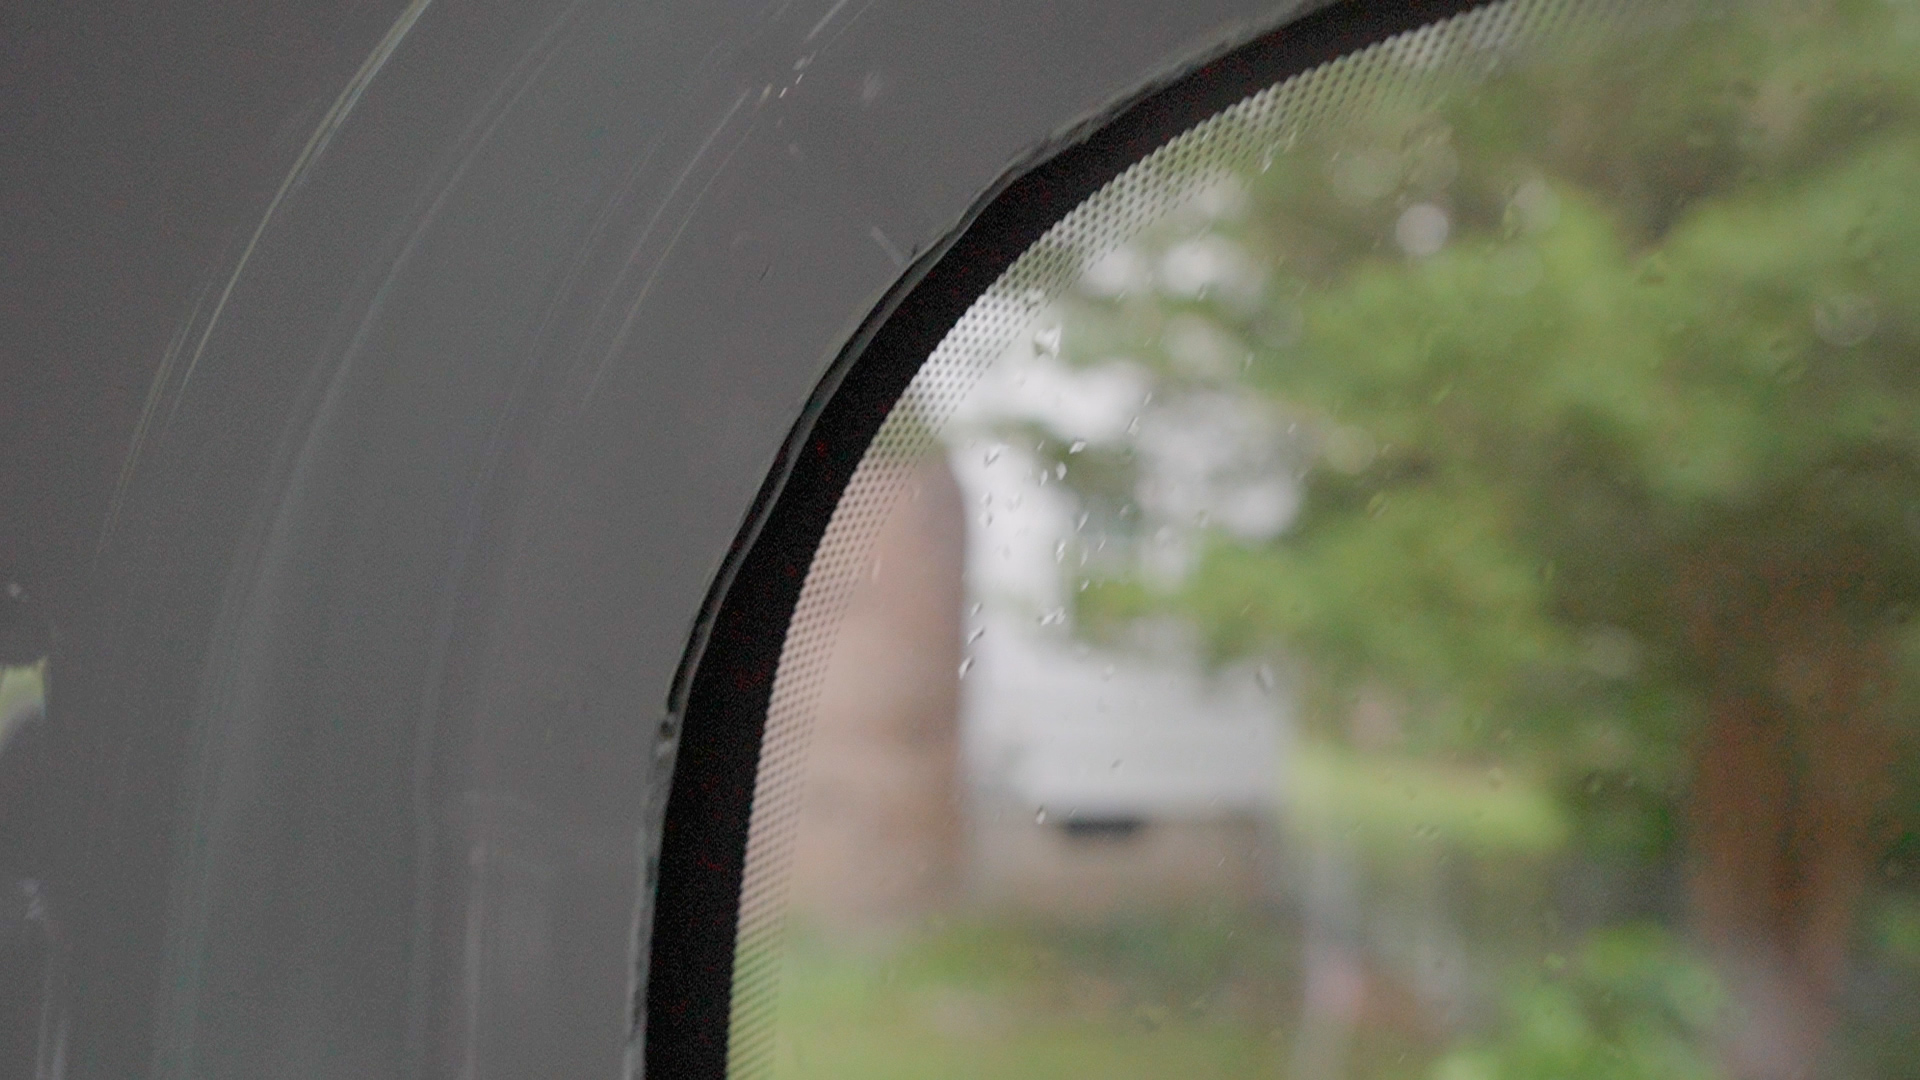
After 3–4 hours the van was technically ok to drive, but just to be safe I left it in the driveway and tied a makeshift tarp tent over the roof and side to protect the windows from rain, which kept them dry for a full 72 hours until I did the final leak test with a garden hose.
Conclusion
Overall, cutting the rear door windows in my Ford Transit was definitely easier than dealing with the massive cargo door window, and now I can move on to adding some vented side windows, which I’ll post about in the next week or so.
Resources
But all that said, if you’d like to support the channel, you can shop with the referral links below, watch my Van Life Day One video to see what it’s like moving into a Ford Transit for the first time, or subscribe to see more van life adventures.
Finally, if you have a question about installing bonded windows, or about van life in general, let me know in the comments.
Thanks for reading, catch ya next time. Peace!
Andrew Folts
Andrew is a writer/filmmaker who creates video guides and reviews for a community of 25K+ creative rebels on YouTube.