Hello, my name’s Andrew, this is my van Morpheus (aka Morphy), and today we’re doing a DIY subfloor install with all-natural Havelock Wool insulation for van life.
Preparation
After going through a bunch of articles and videos on flooring for van life, it basically seemed like there were two schools of thought…
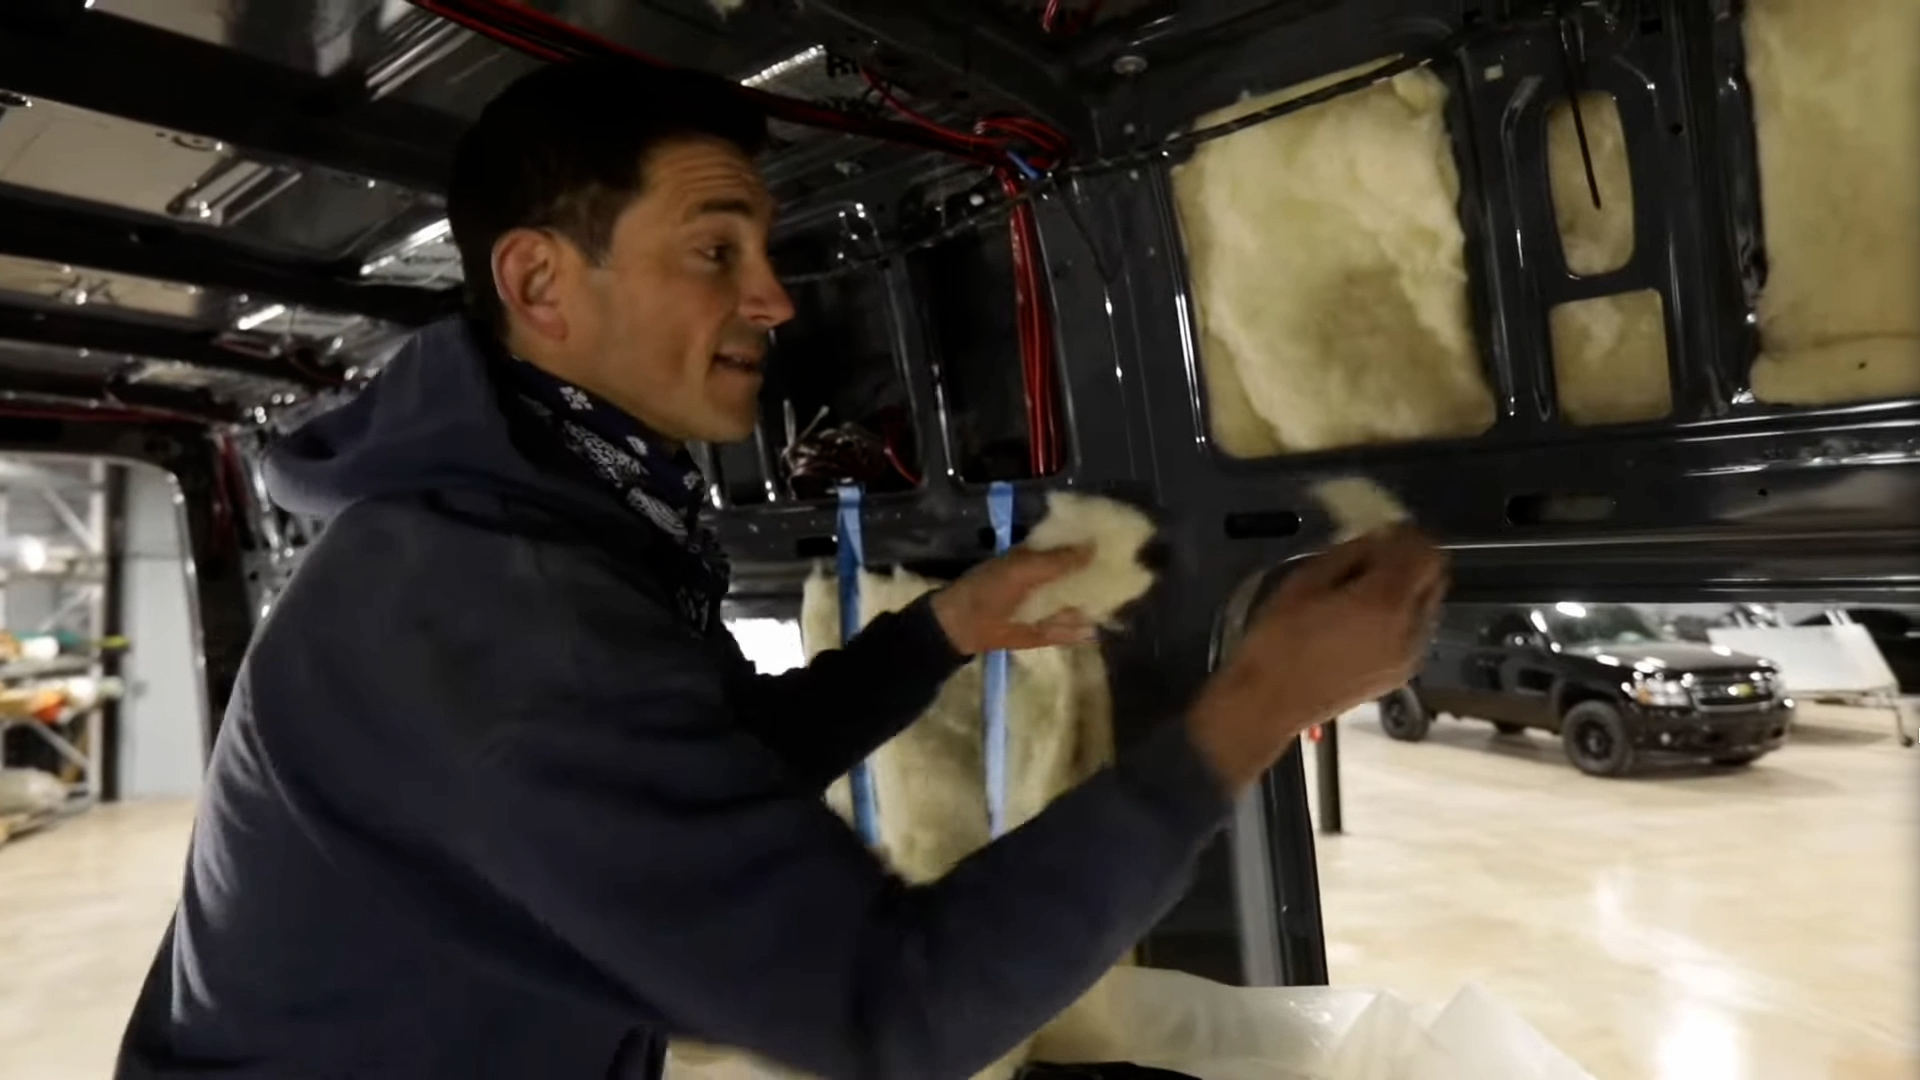
Insulation
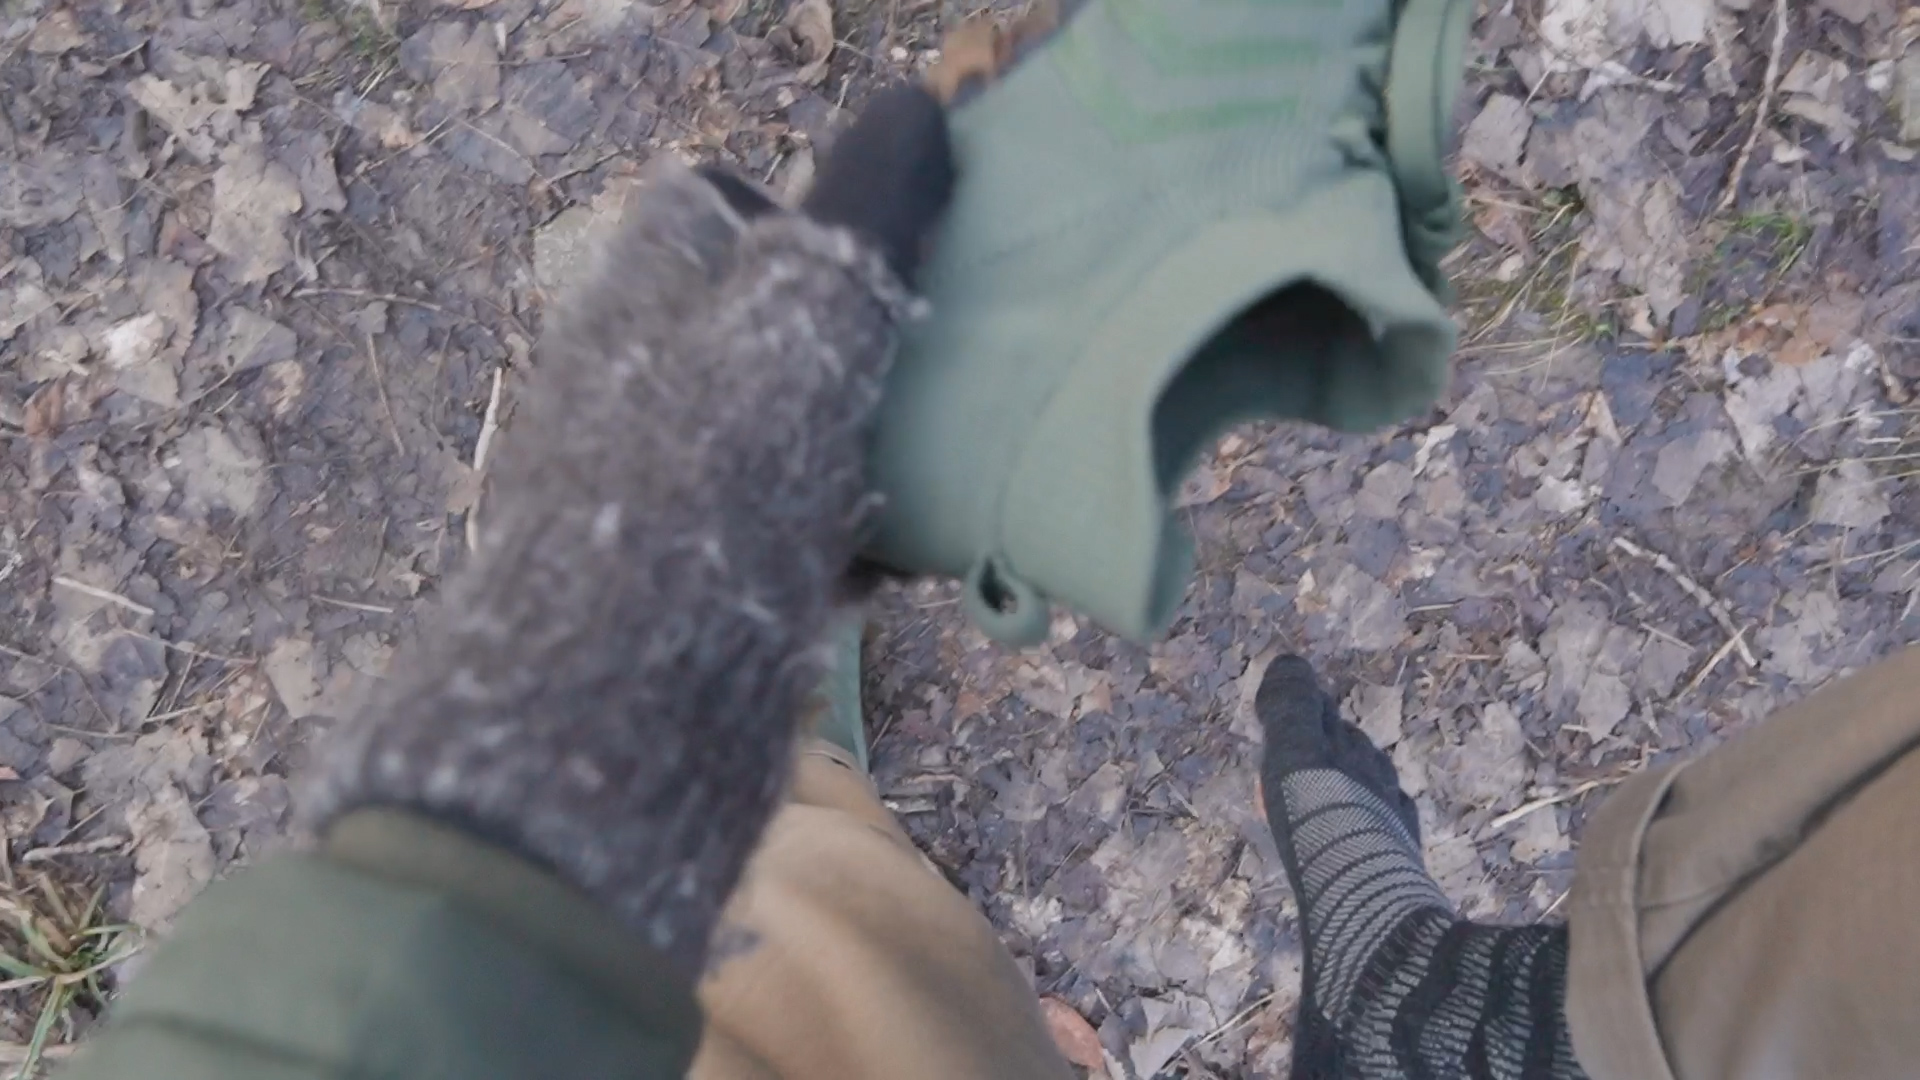
But while more protection sounds good in theory, I’ve always found that tight/waterproof hiking and running shoes shoes actually trap moisture, which leads to damp, sweaty feet, whereas loose/breathable materials move it away from my body and keep me dry.
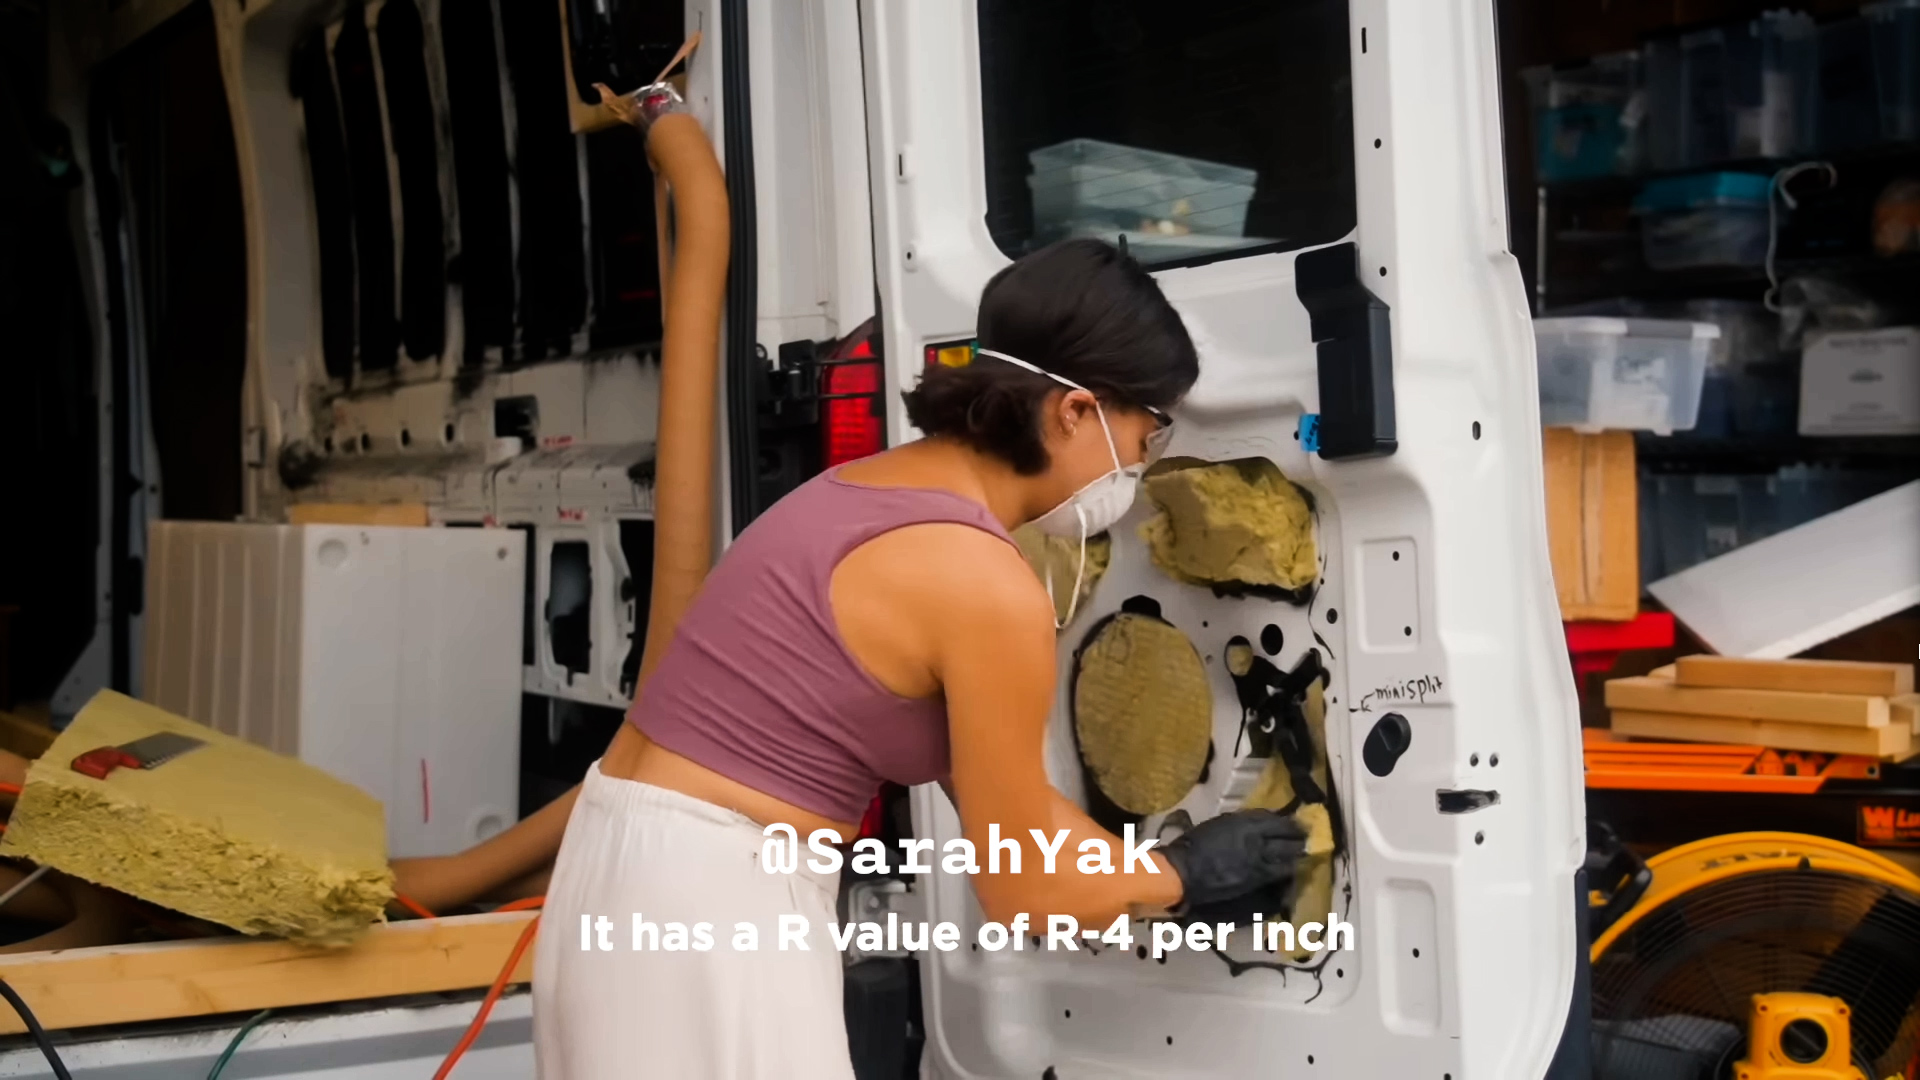
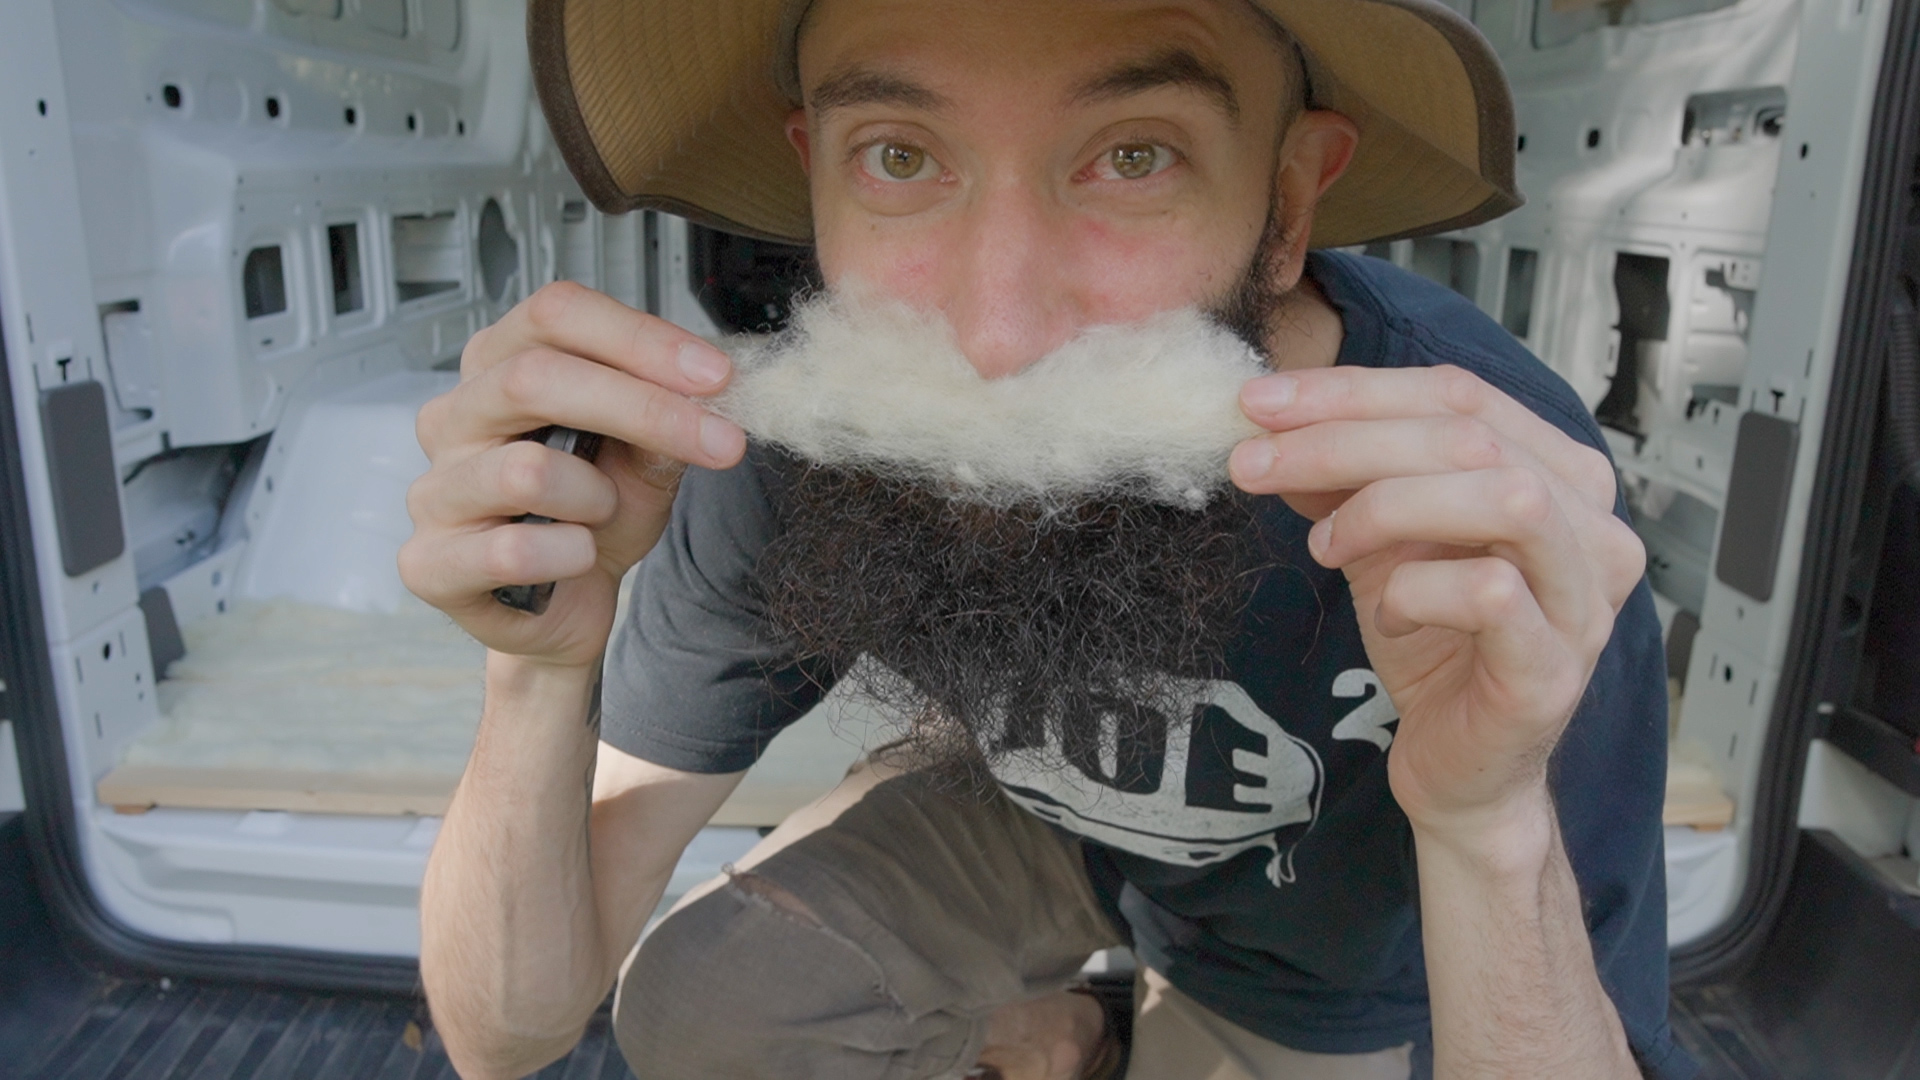
So for my subfloor insulation I went with Havelock Wool, which is naturally moisture-wicking, temperature regulating, antimicrobial, flame-resistant, and safe to breathe…
…versus synthetic or “rockwool” insulation, which releases toxic particles.
Tools & Materials
FYI, I’ve put a links below to a written guide with step-by-step instructions, plus a list of tools and materials we’ll be using for the install…
Installation
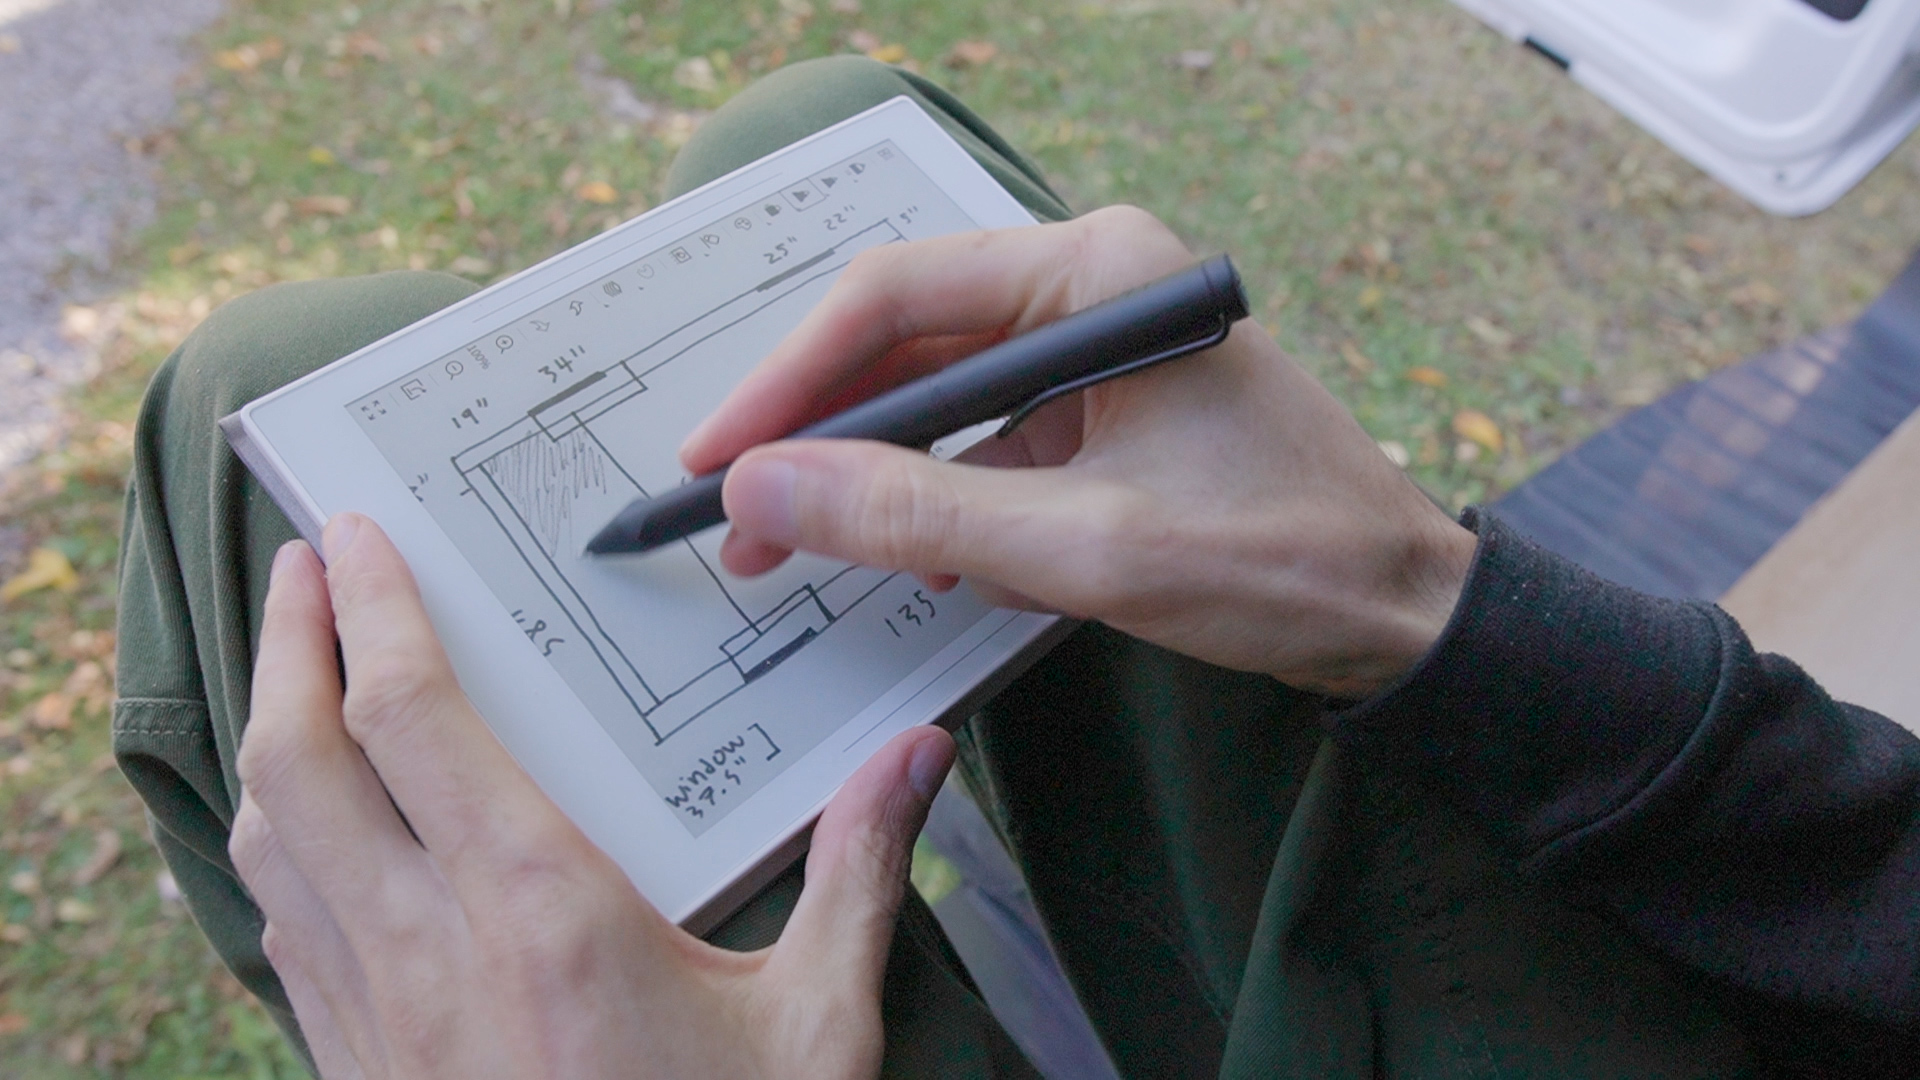
The first thing I did was measure the walls and wheel wells of my van and make a layout sketch with my Supernote tablet, so how much lumber to buy.
Supports
Next, used a tape measure to mark out 1.5” lines every 12” with wider 2.5” gaps where the edges of my plywood boards would meet…
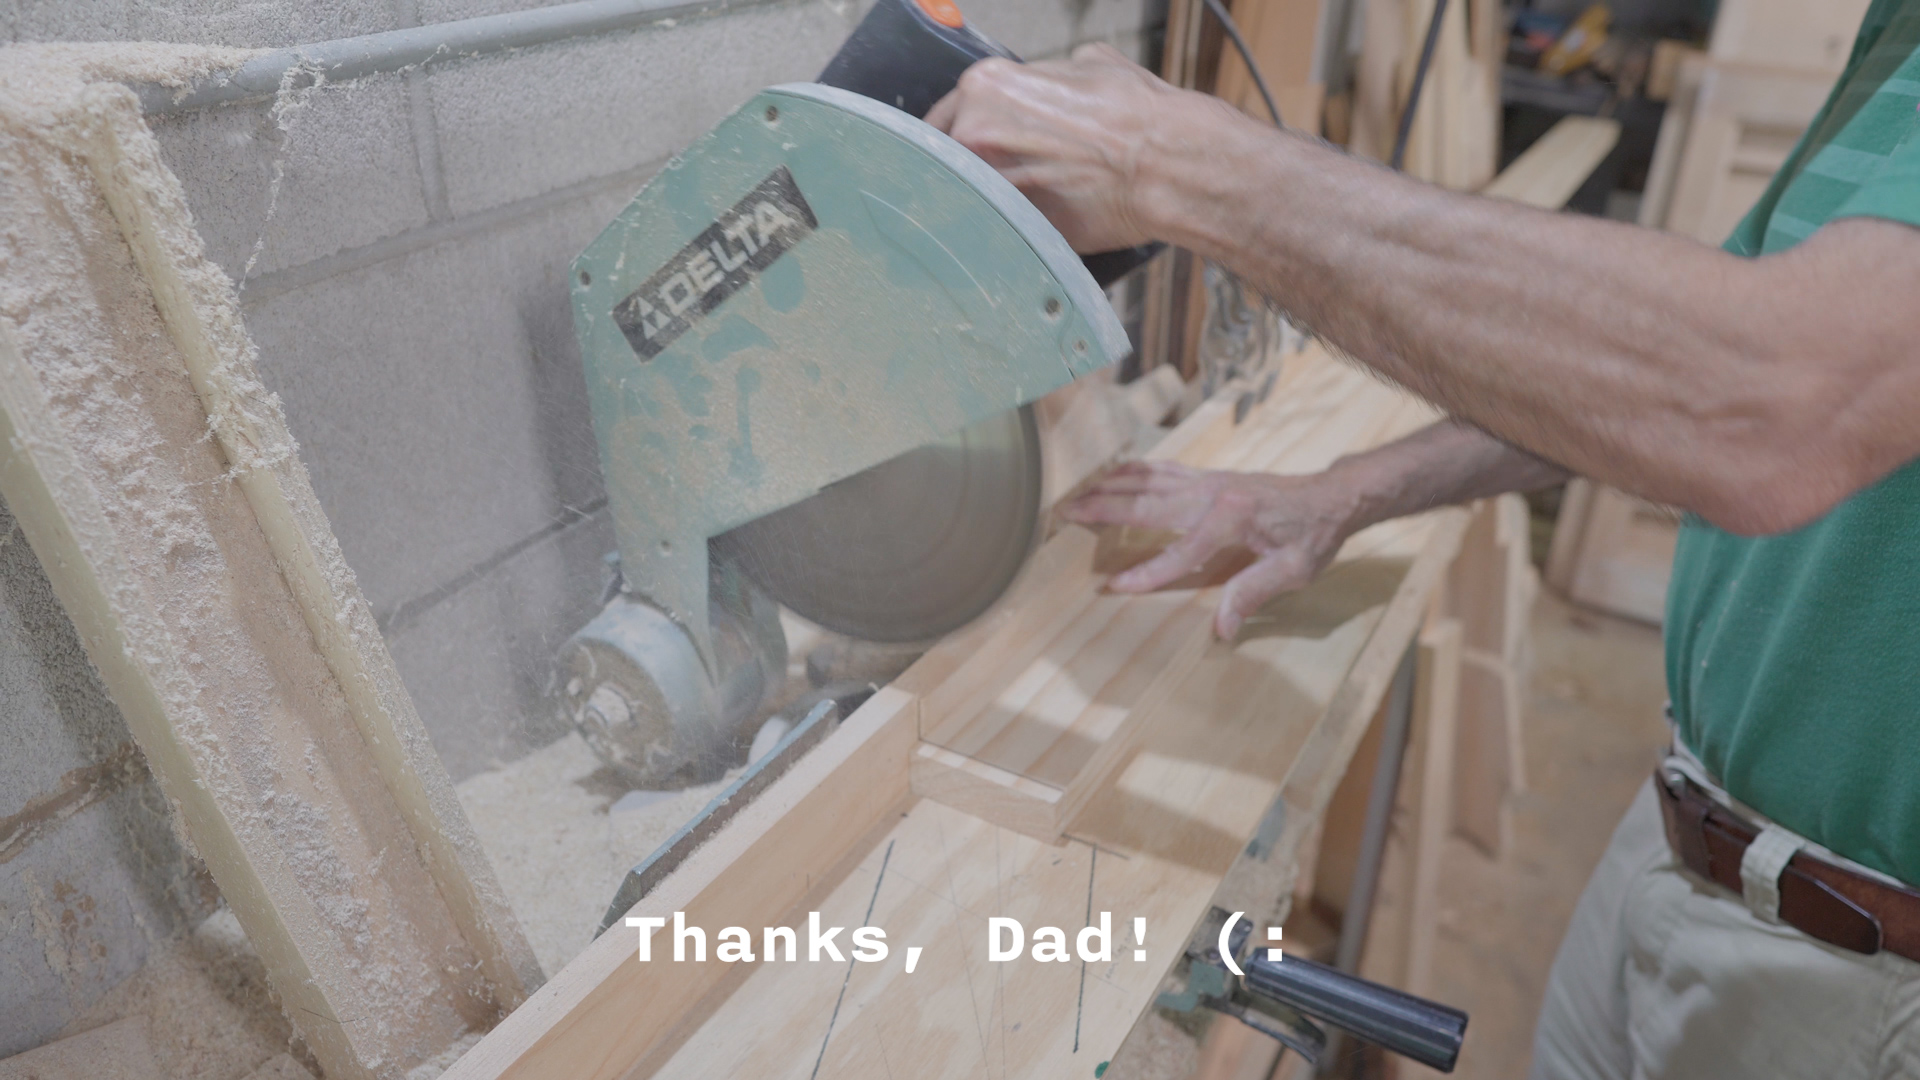
…and then cut a bunch of 3/4” pine support beams and other spacer blocks down to size on my dad’s miter saw, leaving around a half inch gap on each side for airflow…
Waterproofing
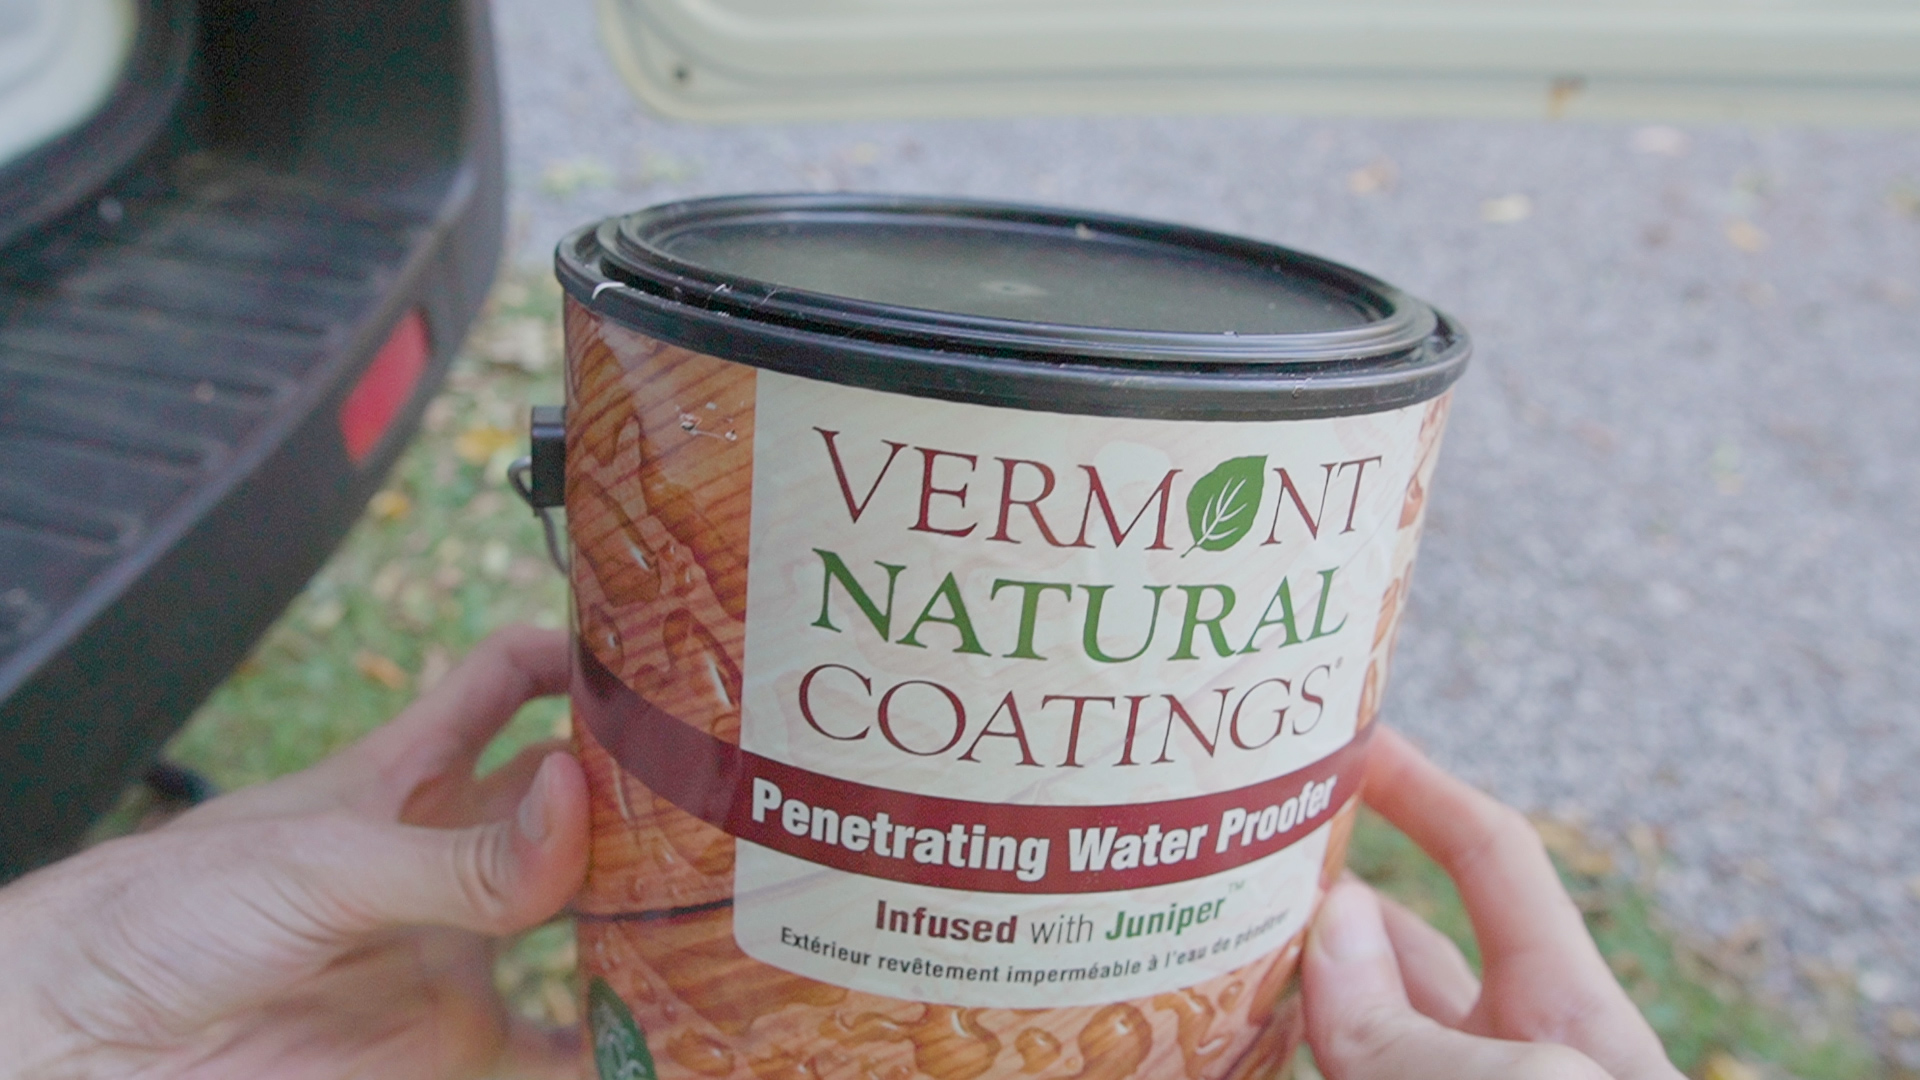
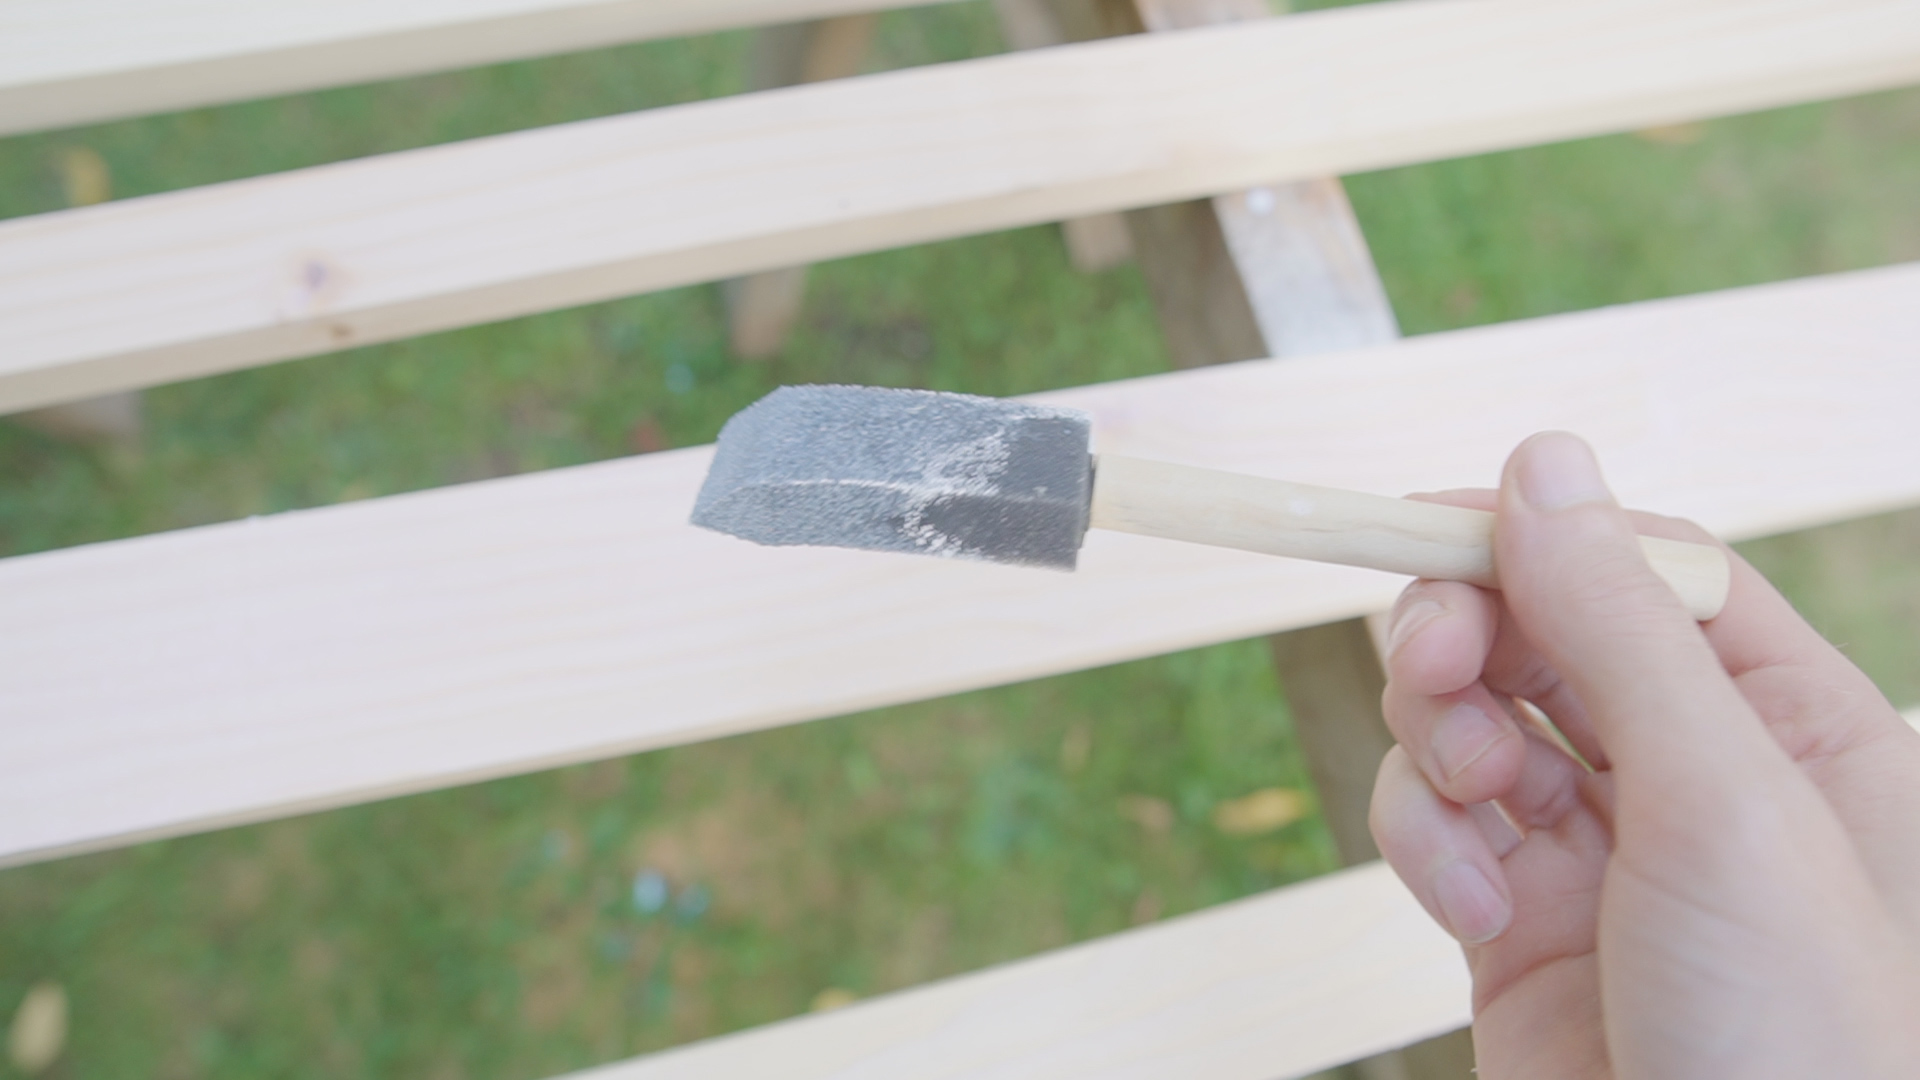
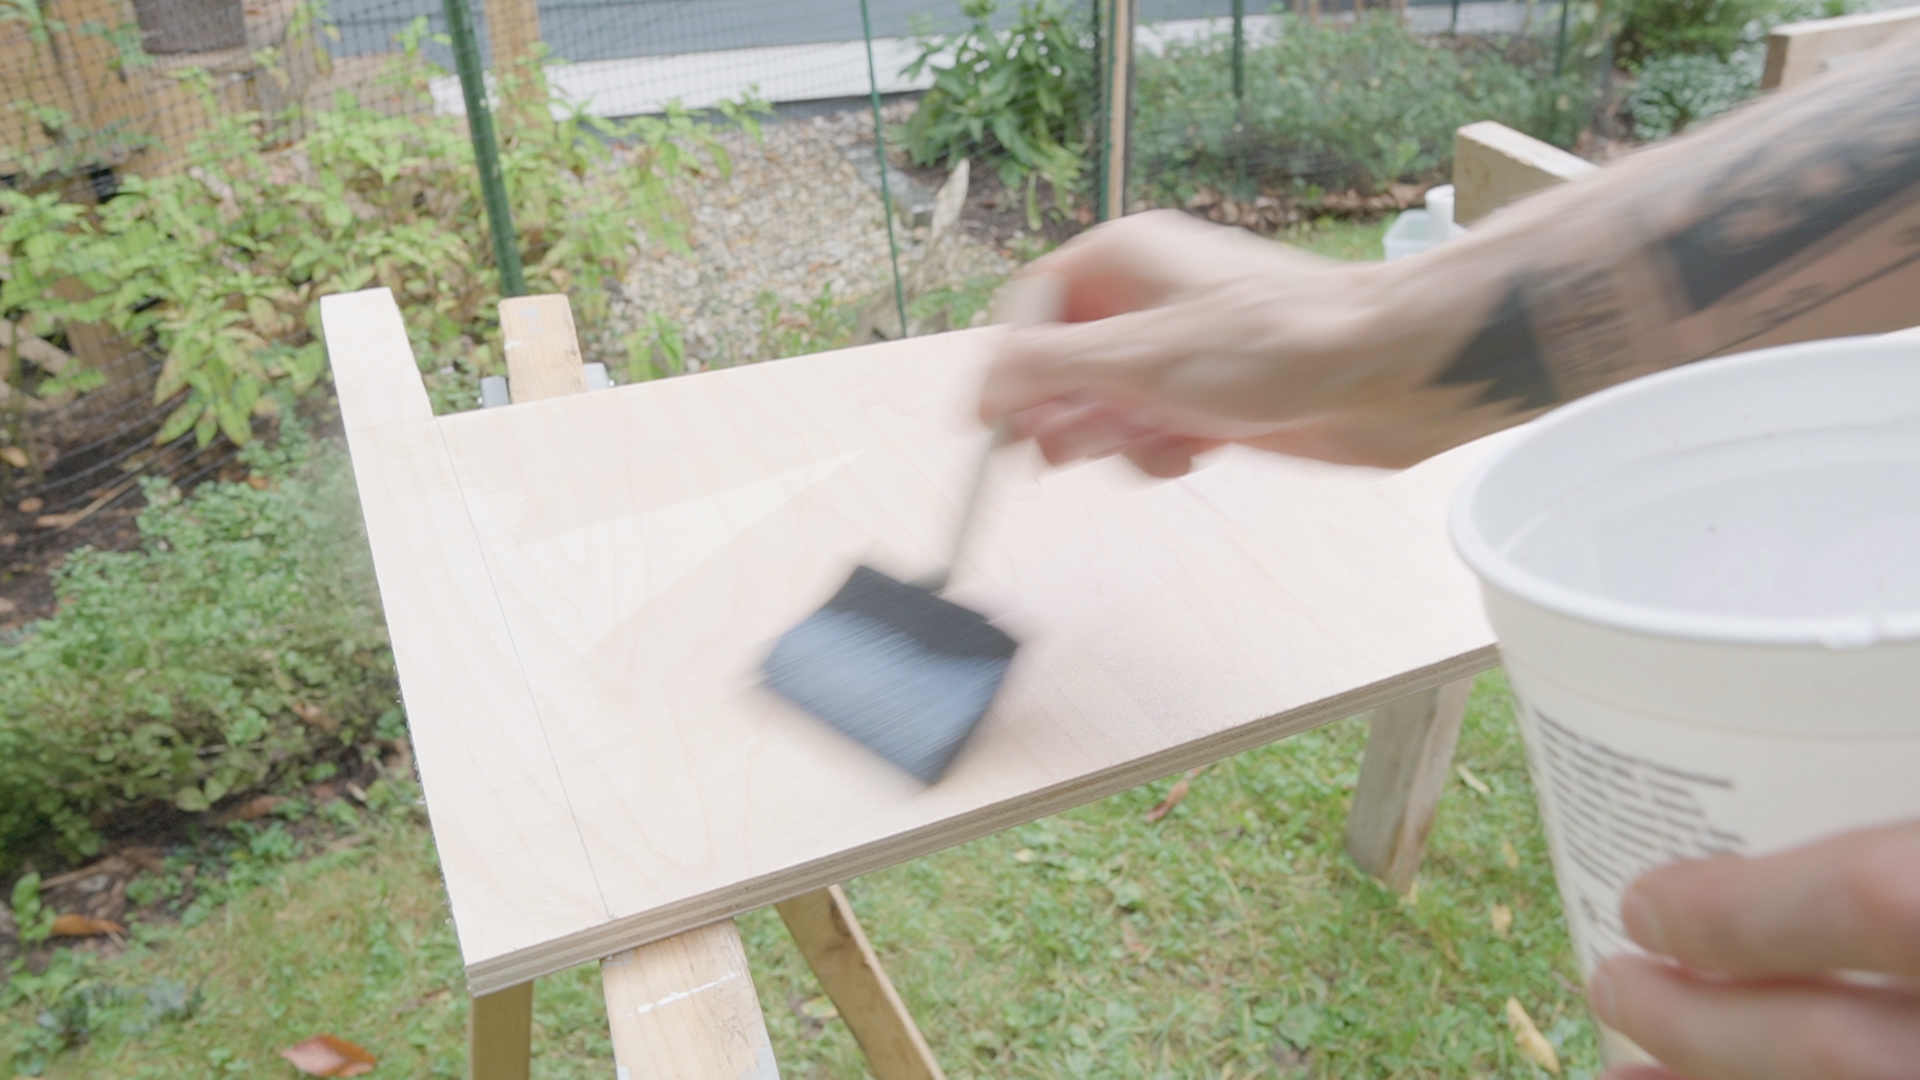
…which I covered with some non-toxic waterproofing sealant by Vermont Natural Coatings, applying one layer on with a foam brush, adding a second layer while the wood was still damp, repeating the process once the top side had dried, and then leaning them up against a railing for around 3–4 hours.
Cleaning
Before going any further, I patched a few small holes in my van floor with epoxy, vacuumed up any rust/dirt, and then thoroughly wiped it clean with rubbing alcohol.

Gluing
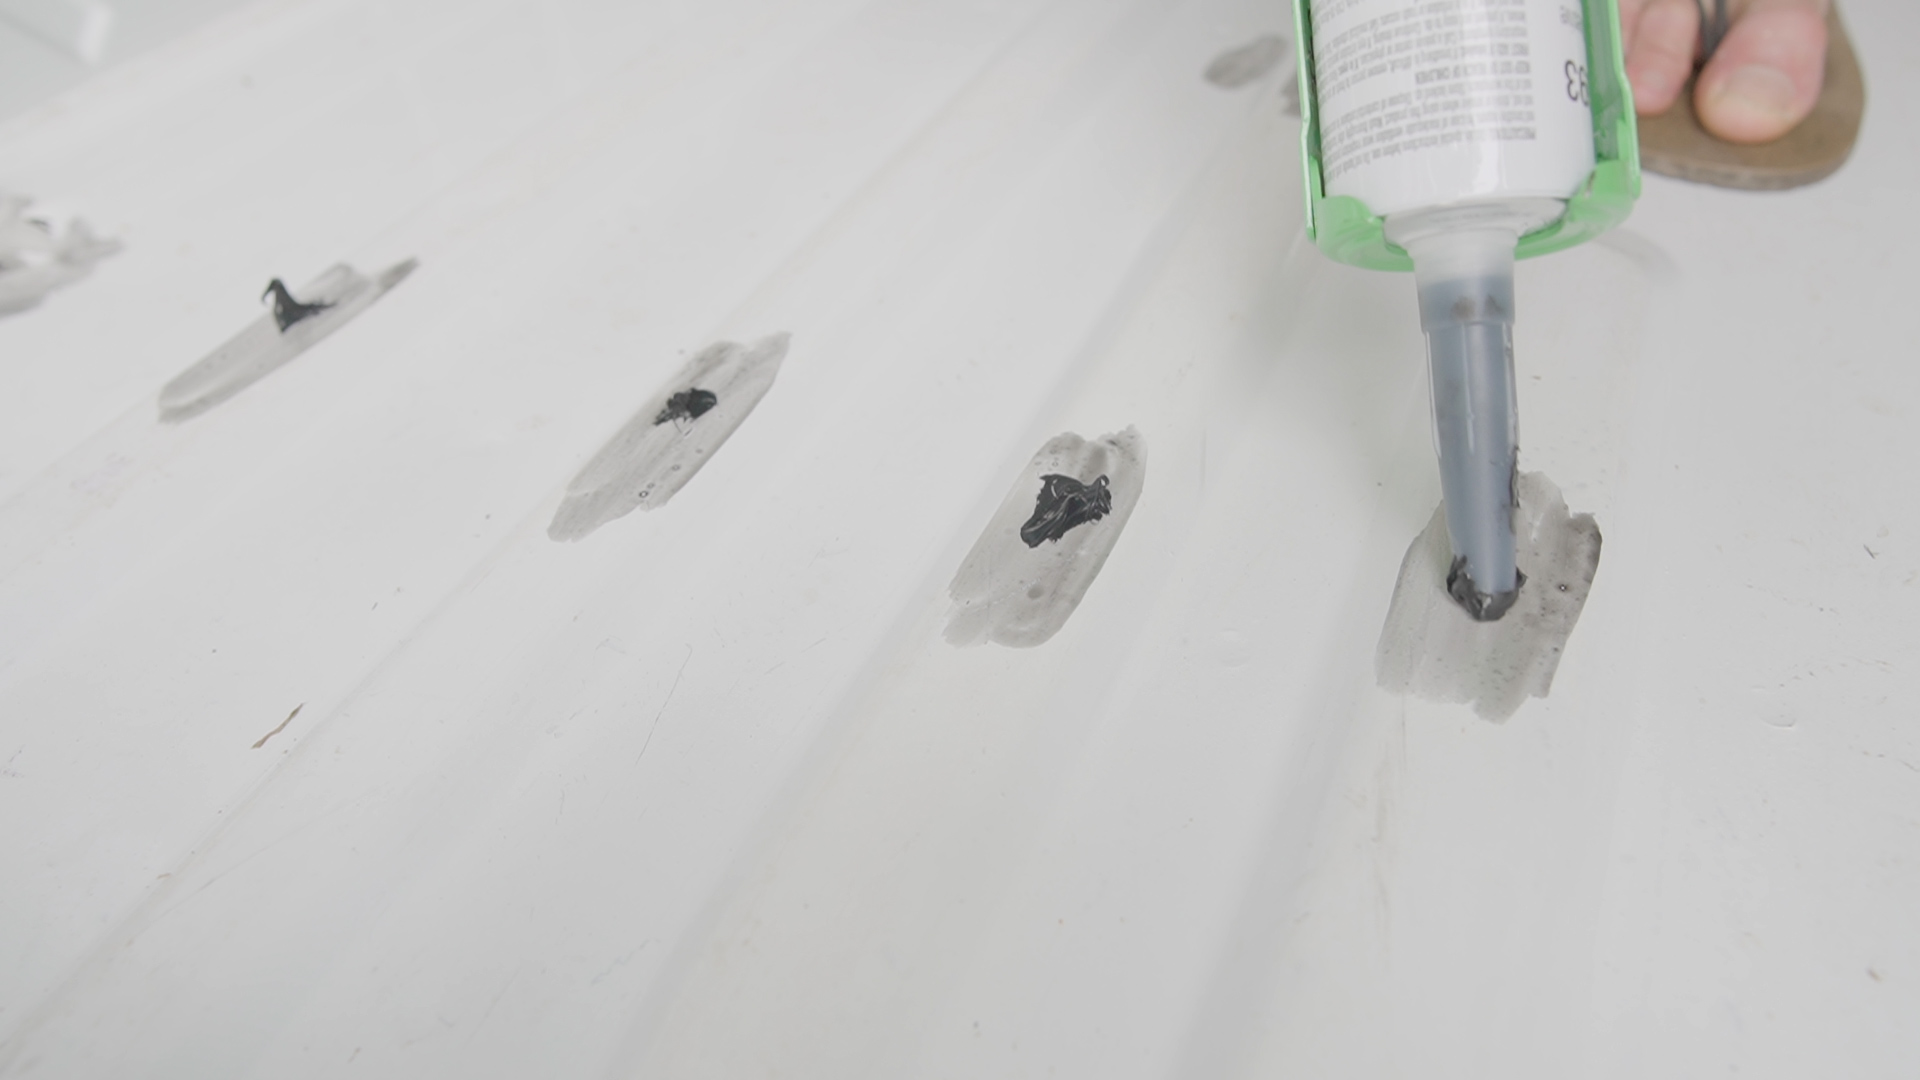
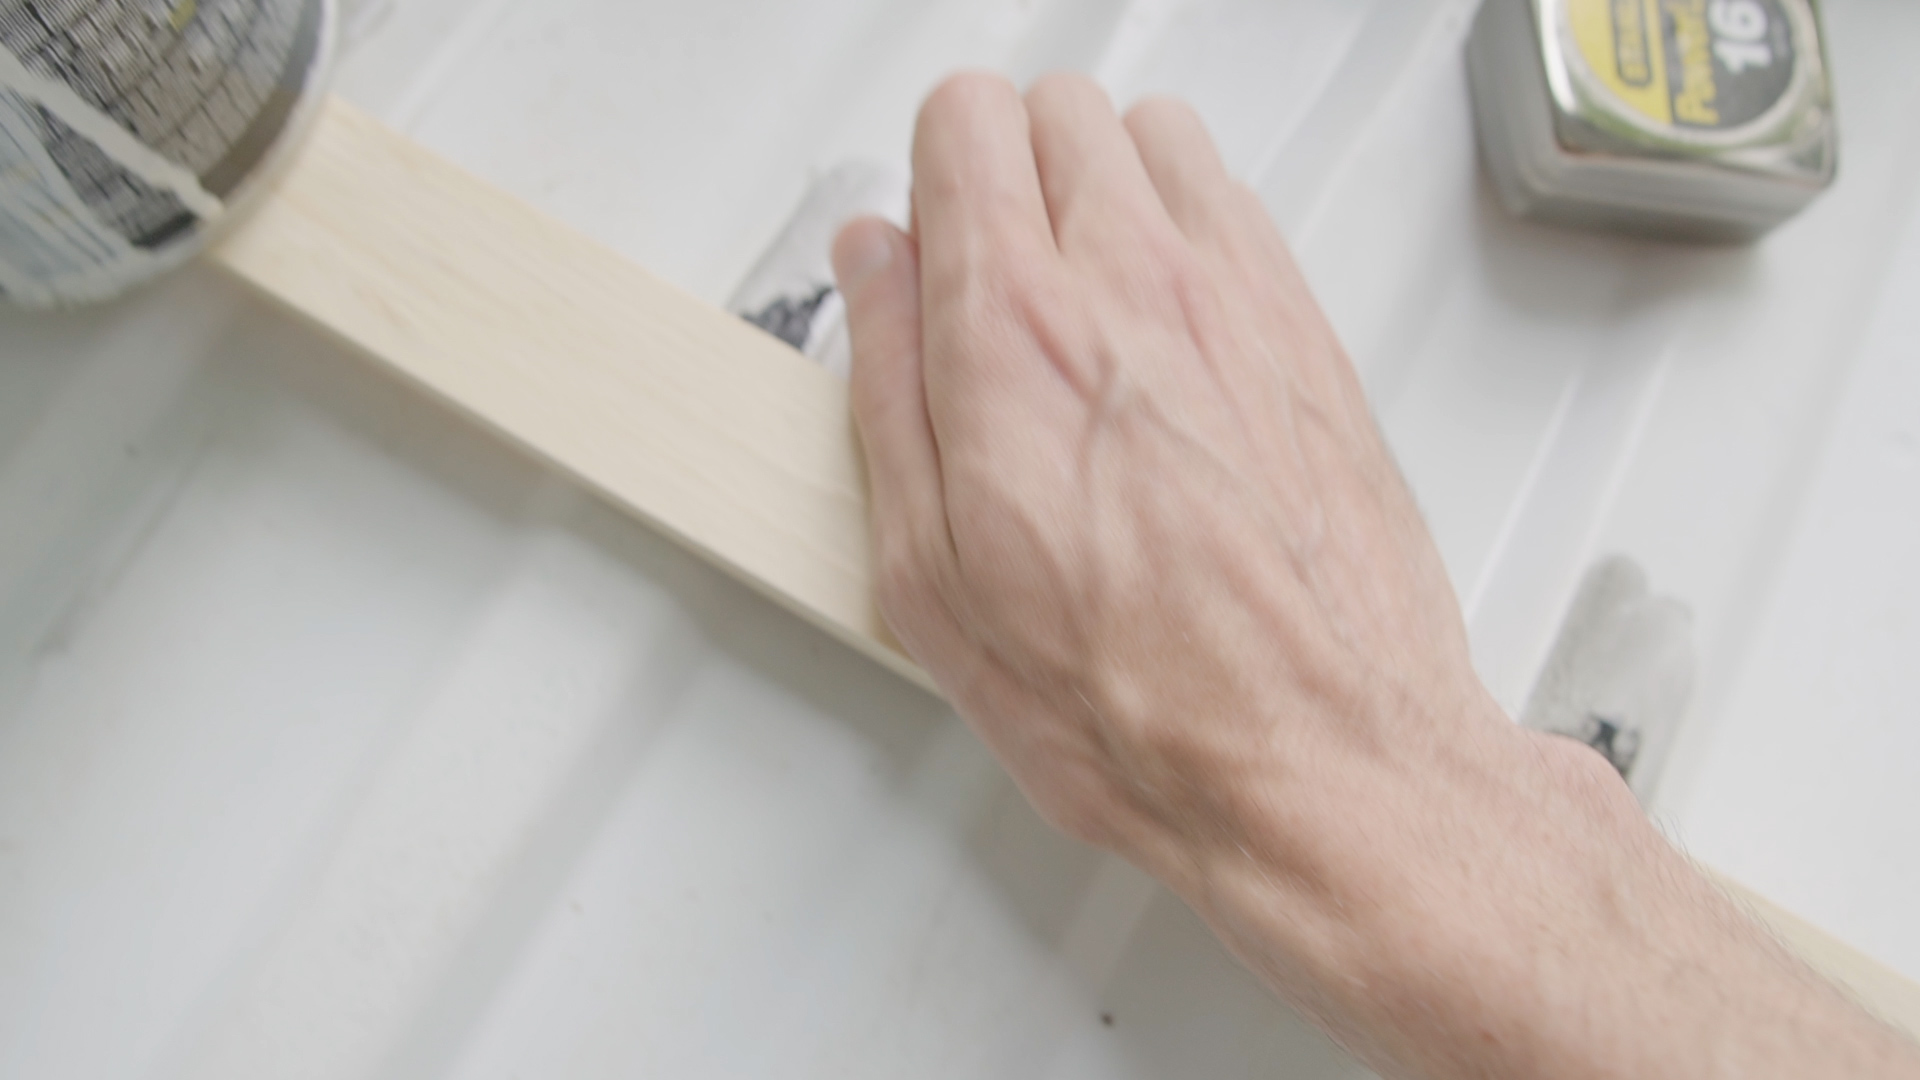
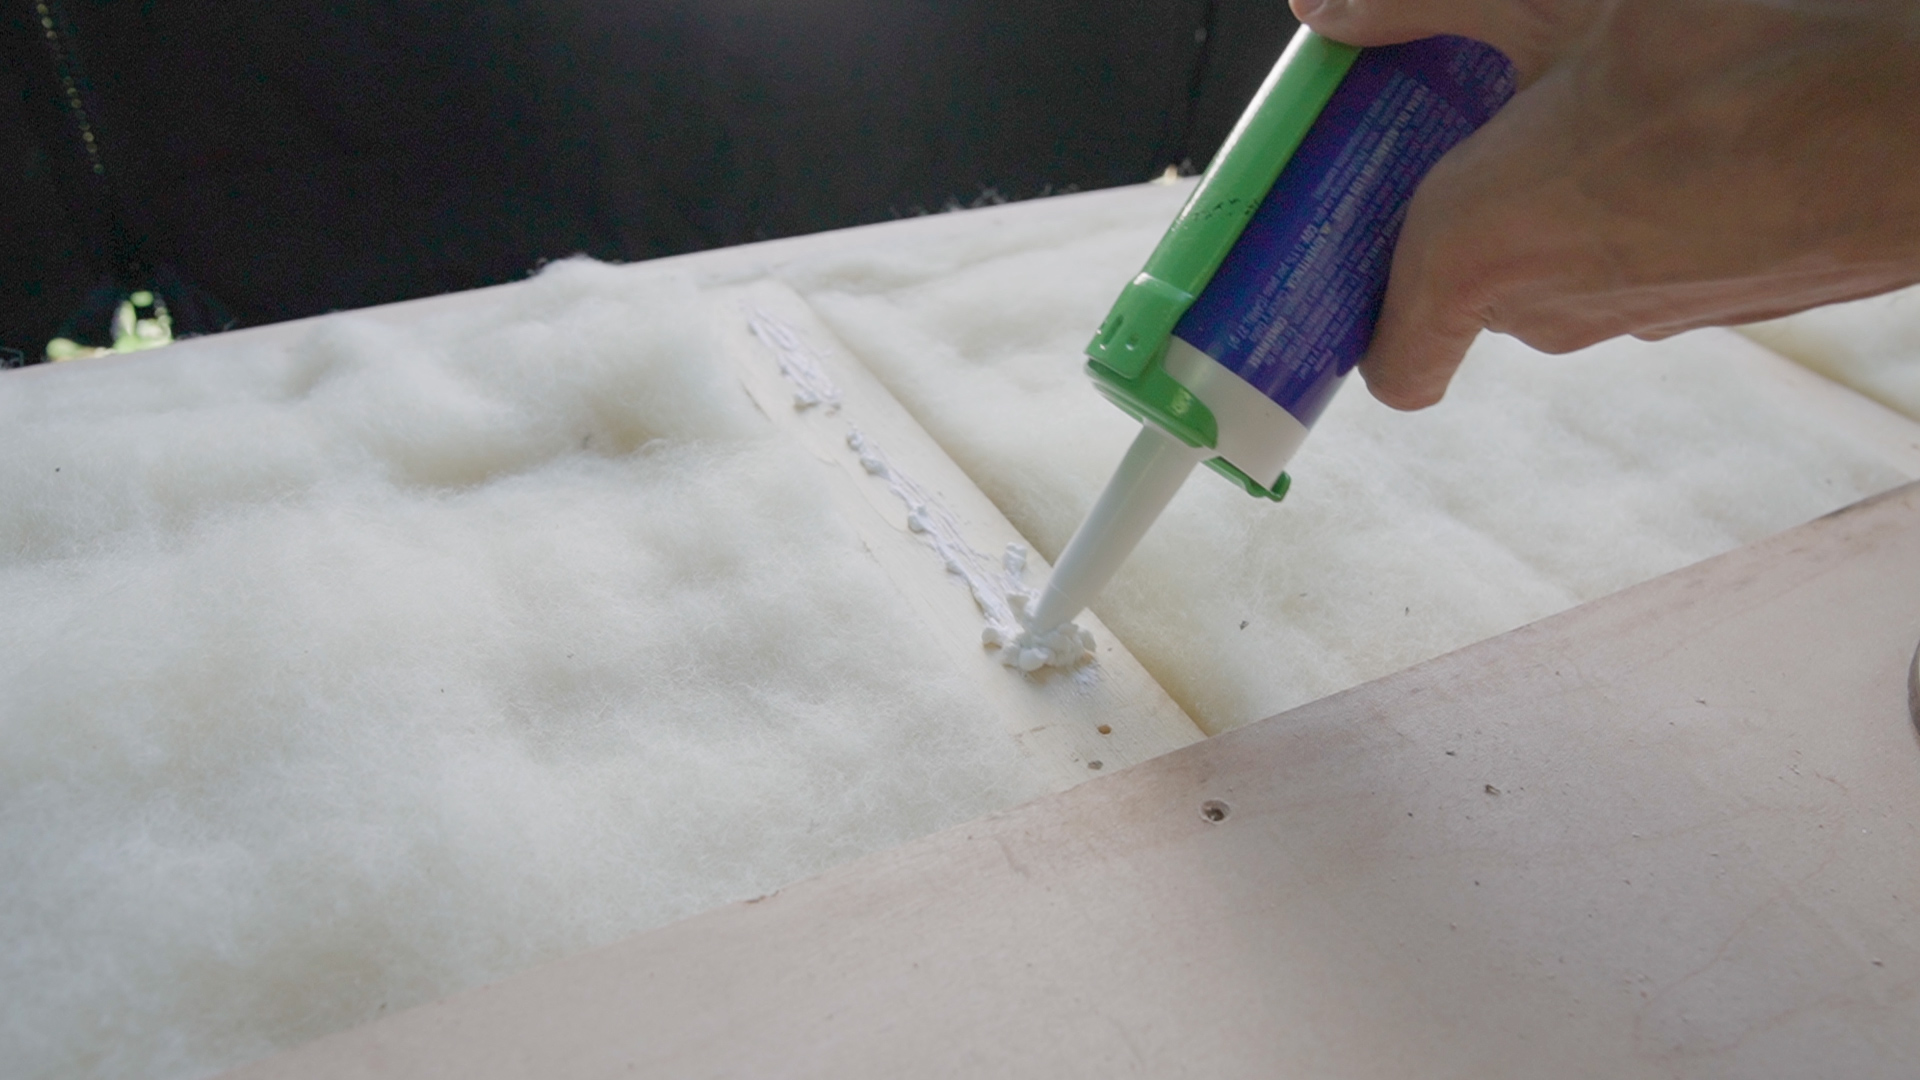
Once the floor dried I used a calking gun to apply some Loctite adhesive to the metal ribs running vertically along the van floor, as well as to the 1/2” blocks anywhere there was a large gap, and then pressed the wood support beams into place…
…using half-filled paint cans and whatever other random objects I had lying around in the basement to weight them down for 24 hours, while the glue cured.
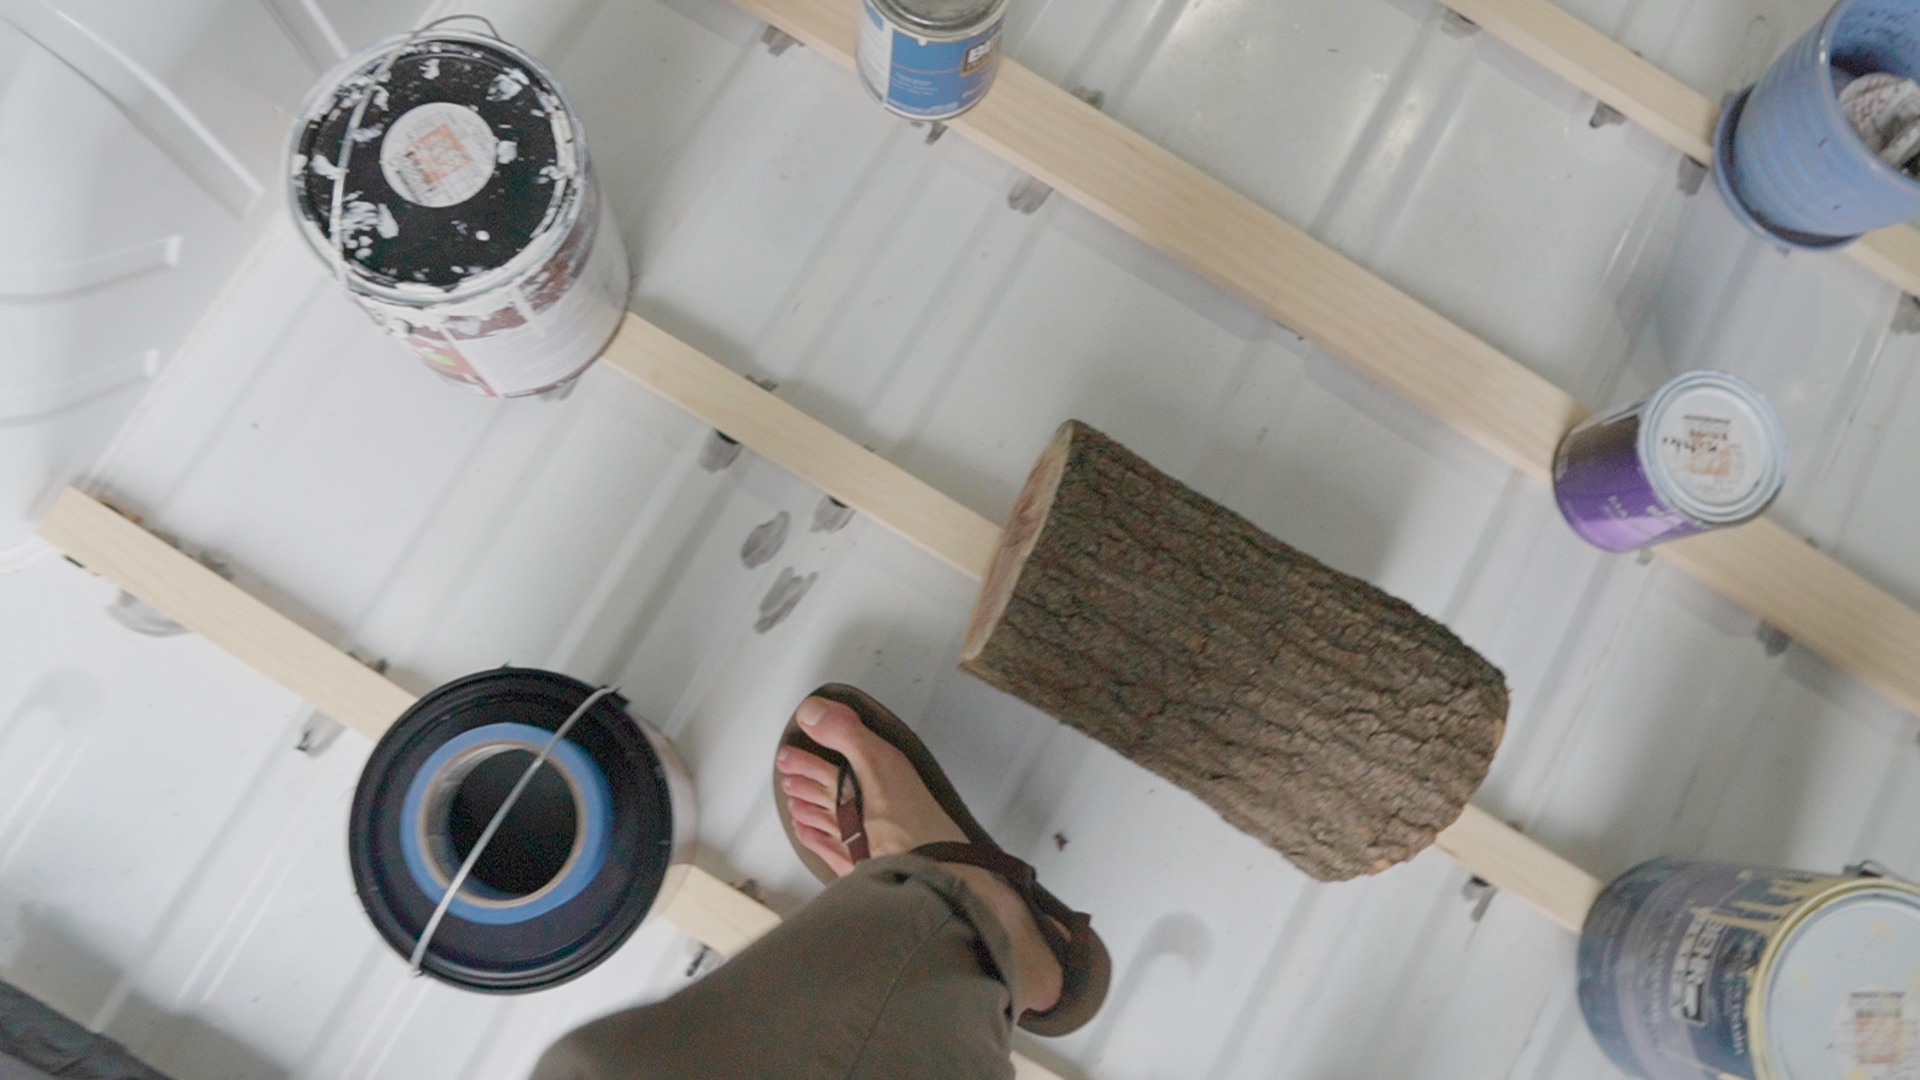
Annoyingly, the Ford Transit’s floor ribs are actually around 7/16” tall, so I just made sure to lay down my adhesive thick enough to compensate for the tiny gaps created by my 1/2” support blocks.

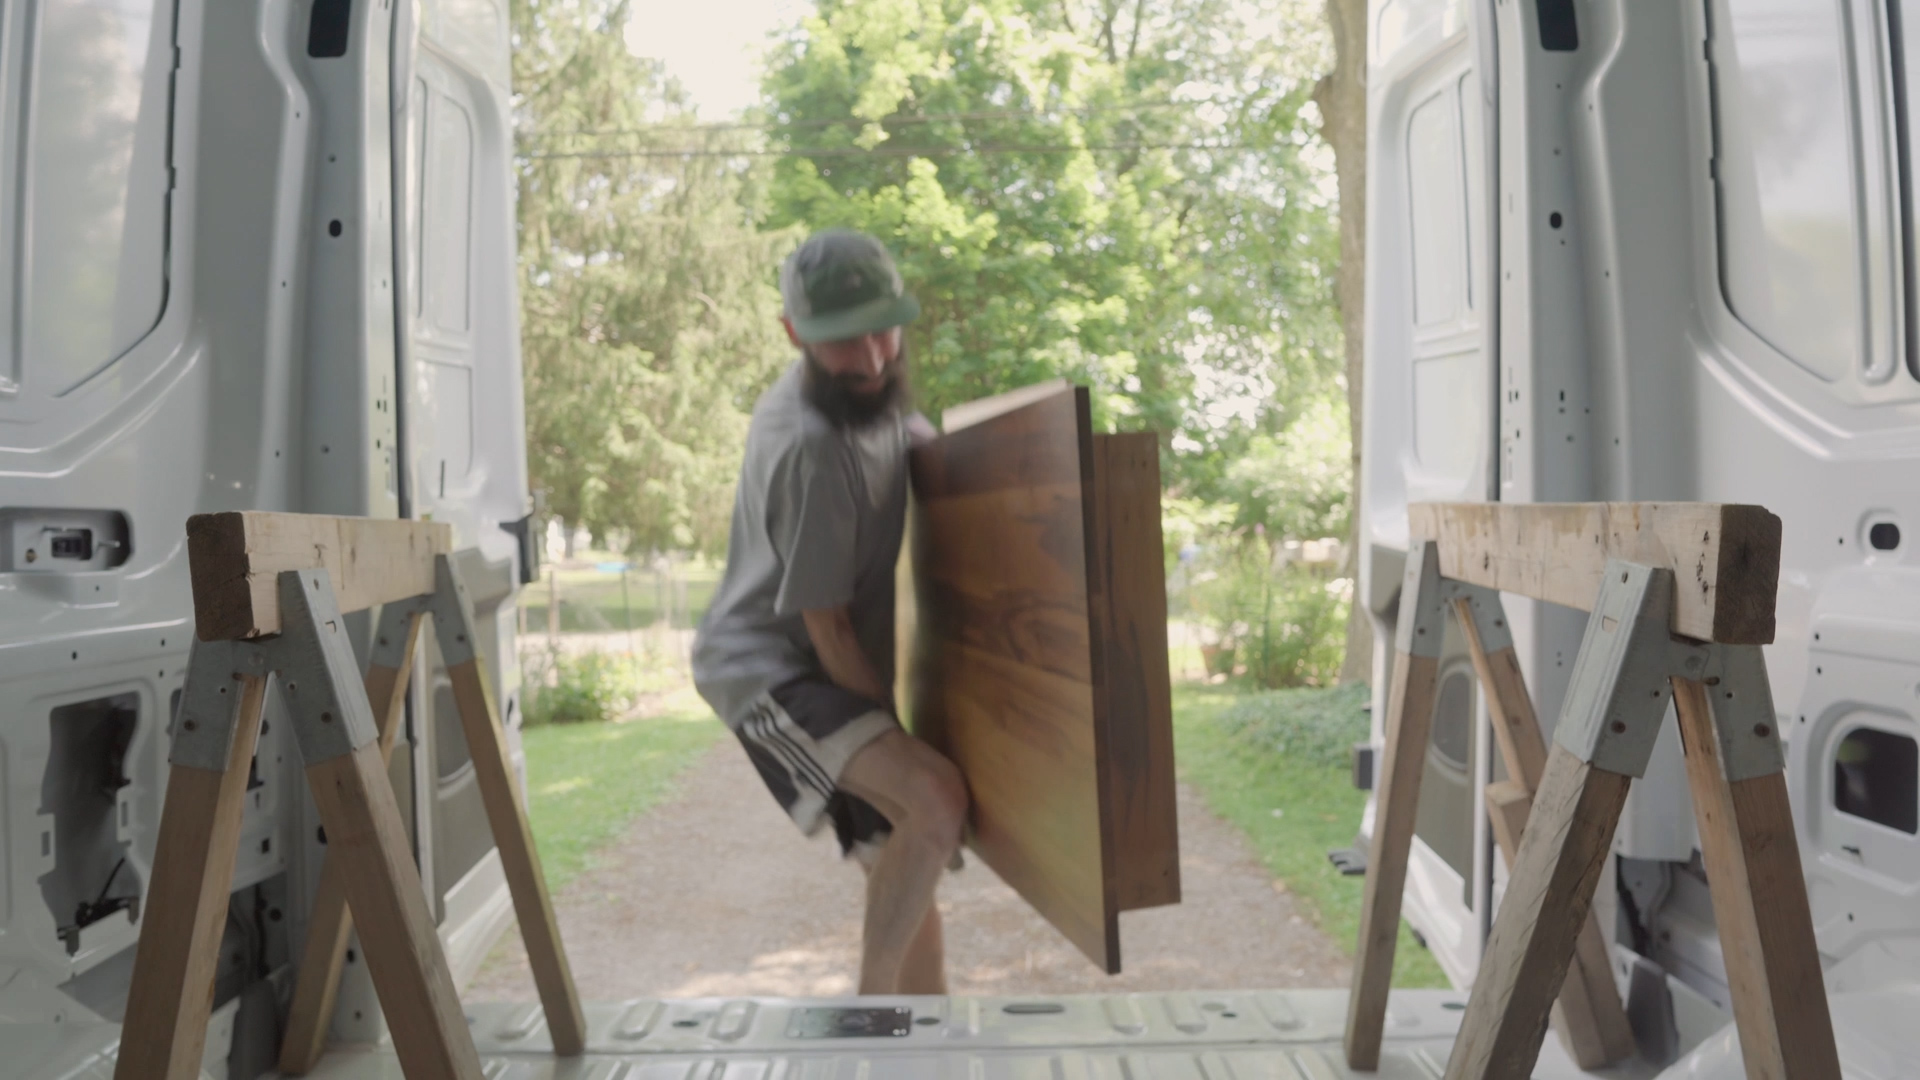
Plywood
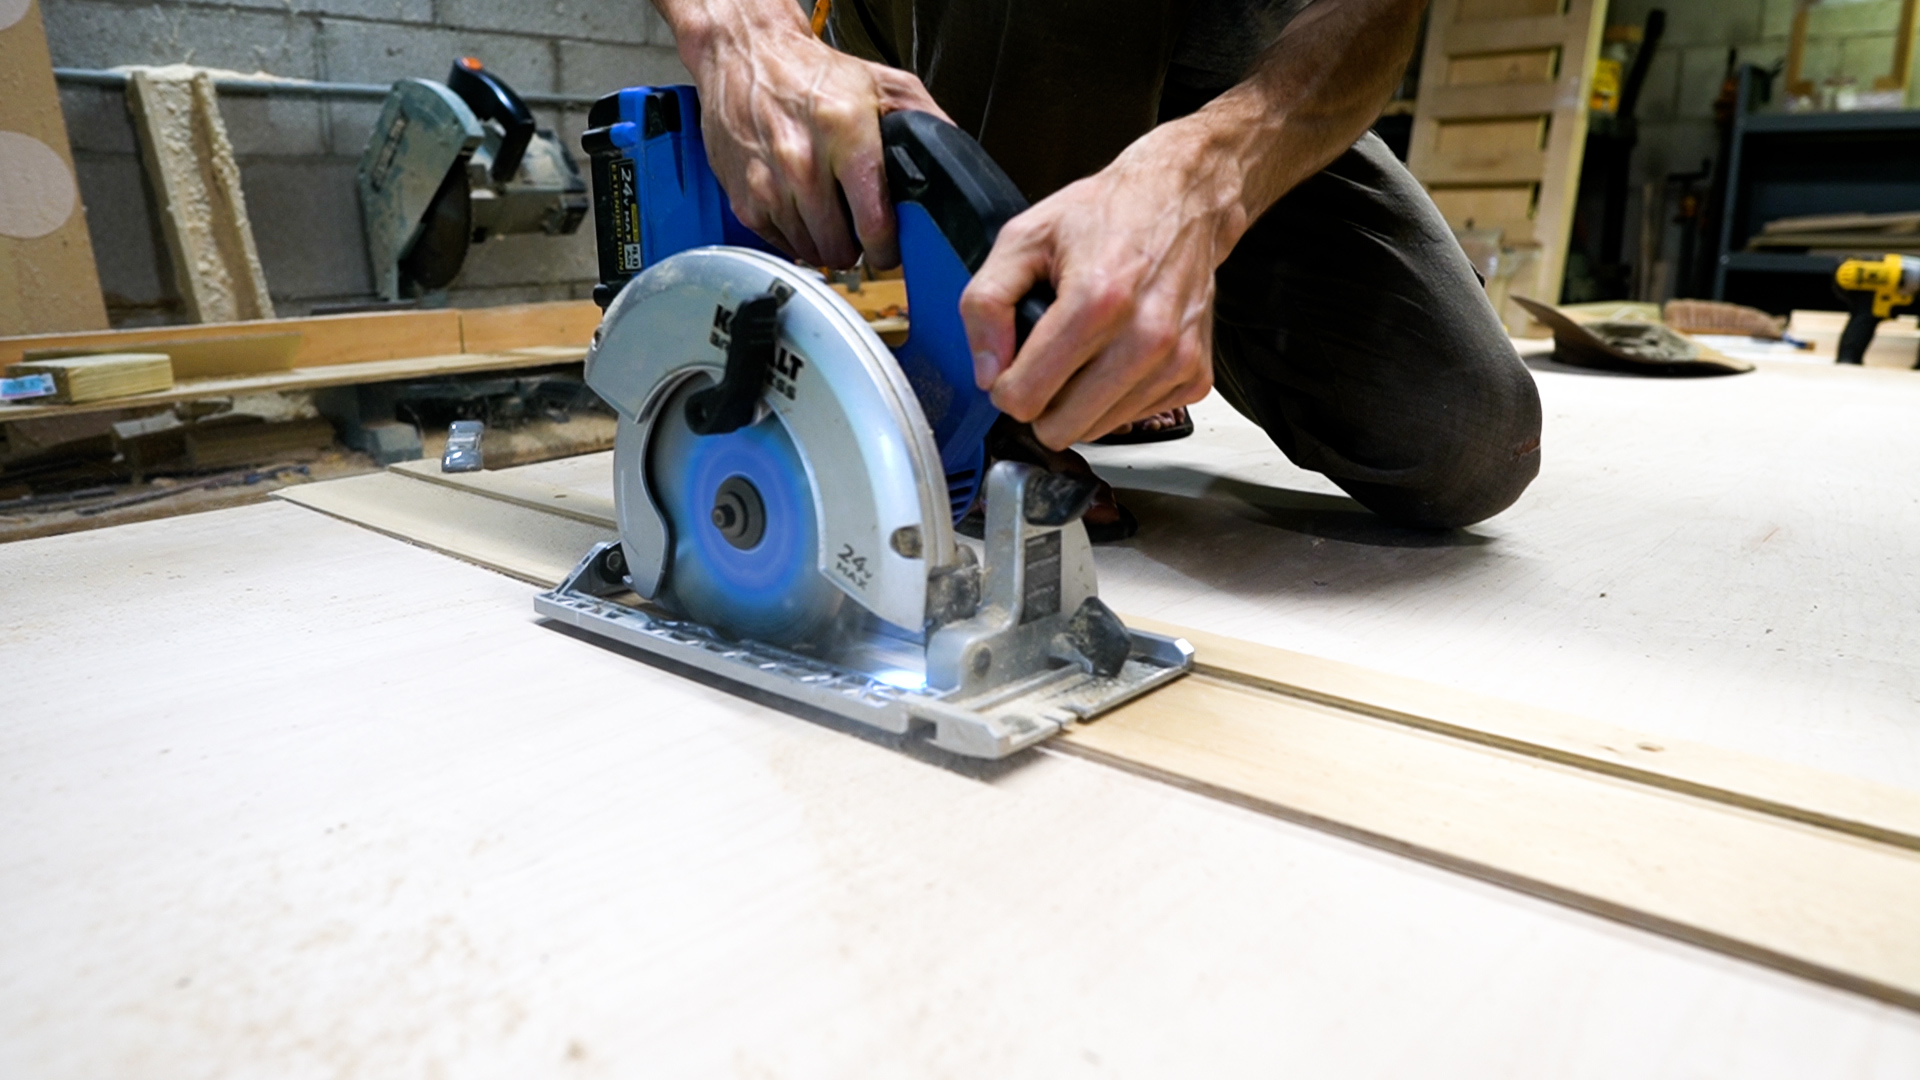
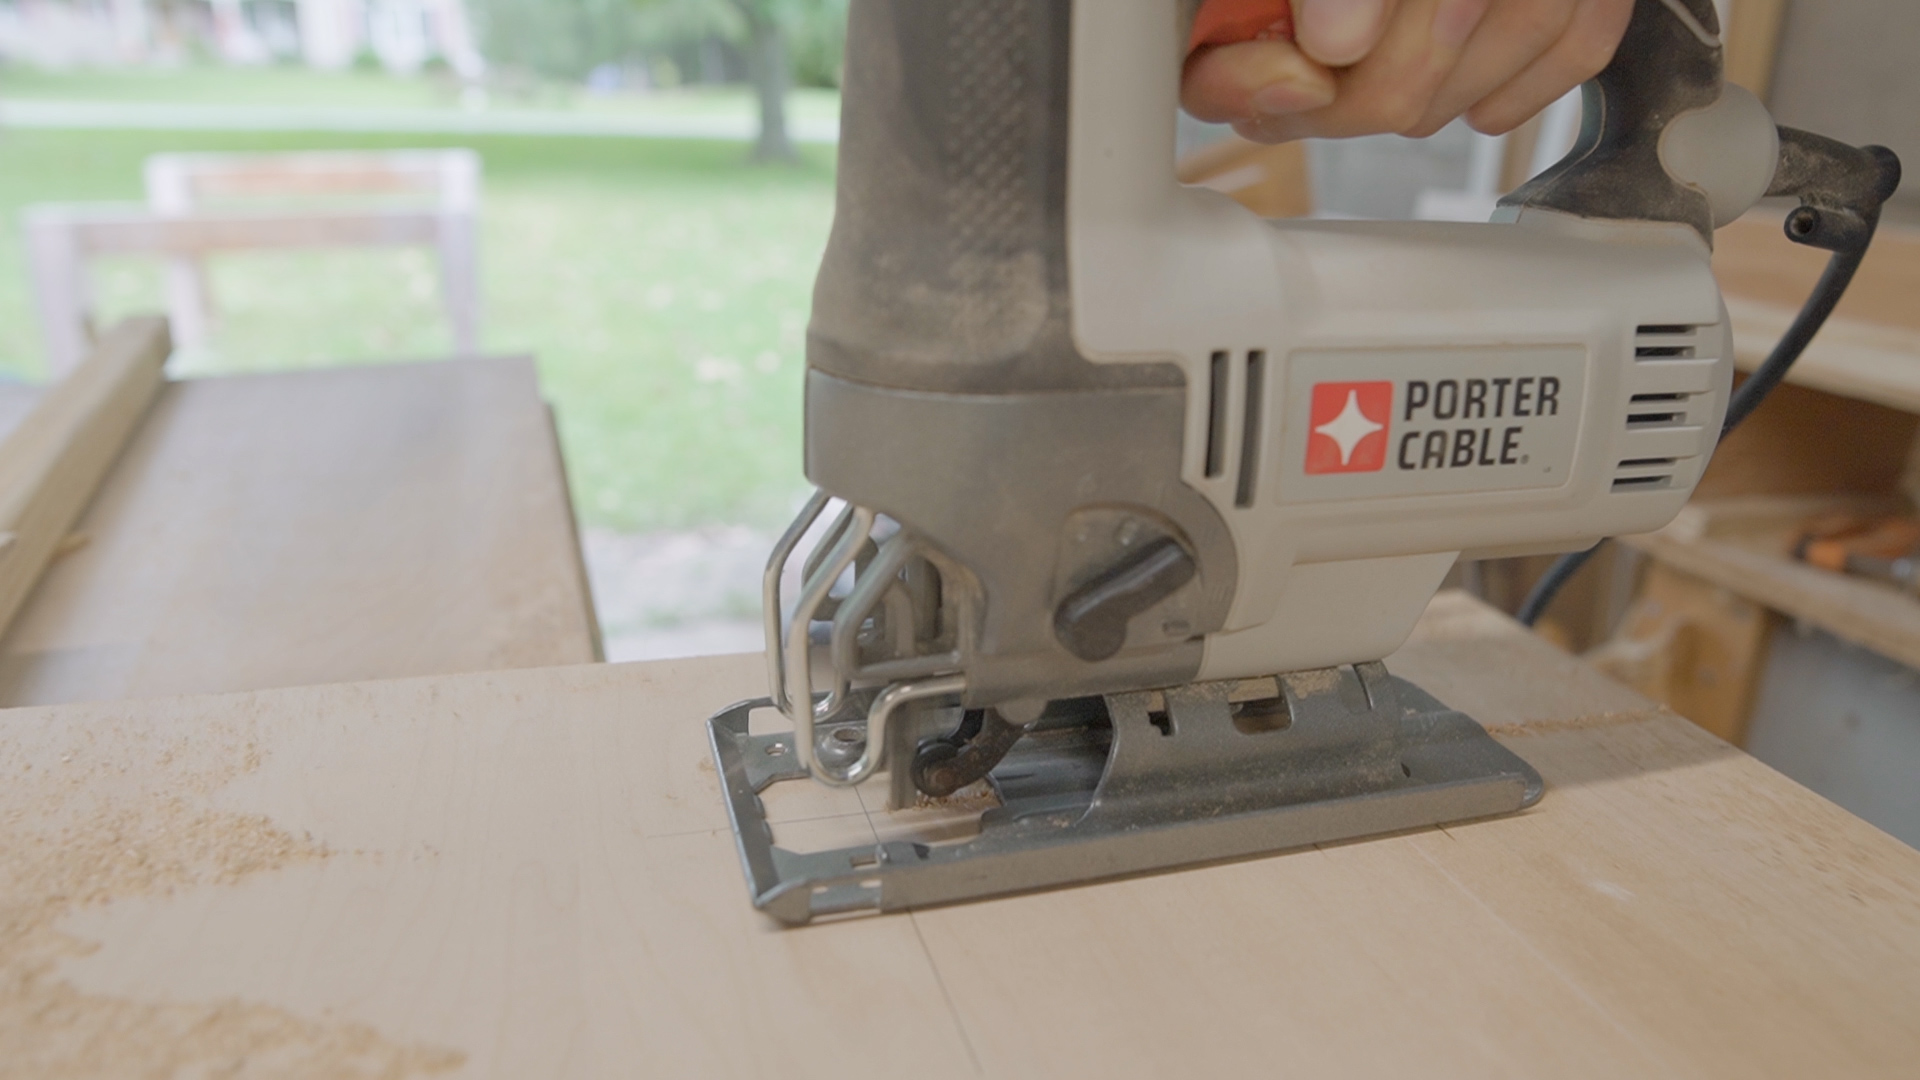
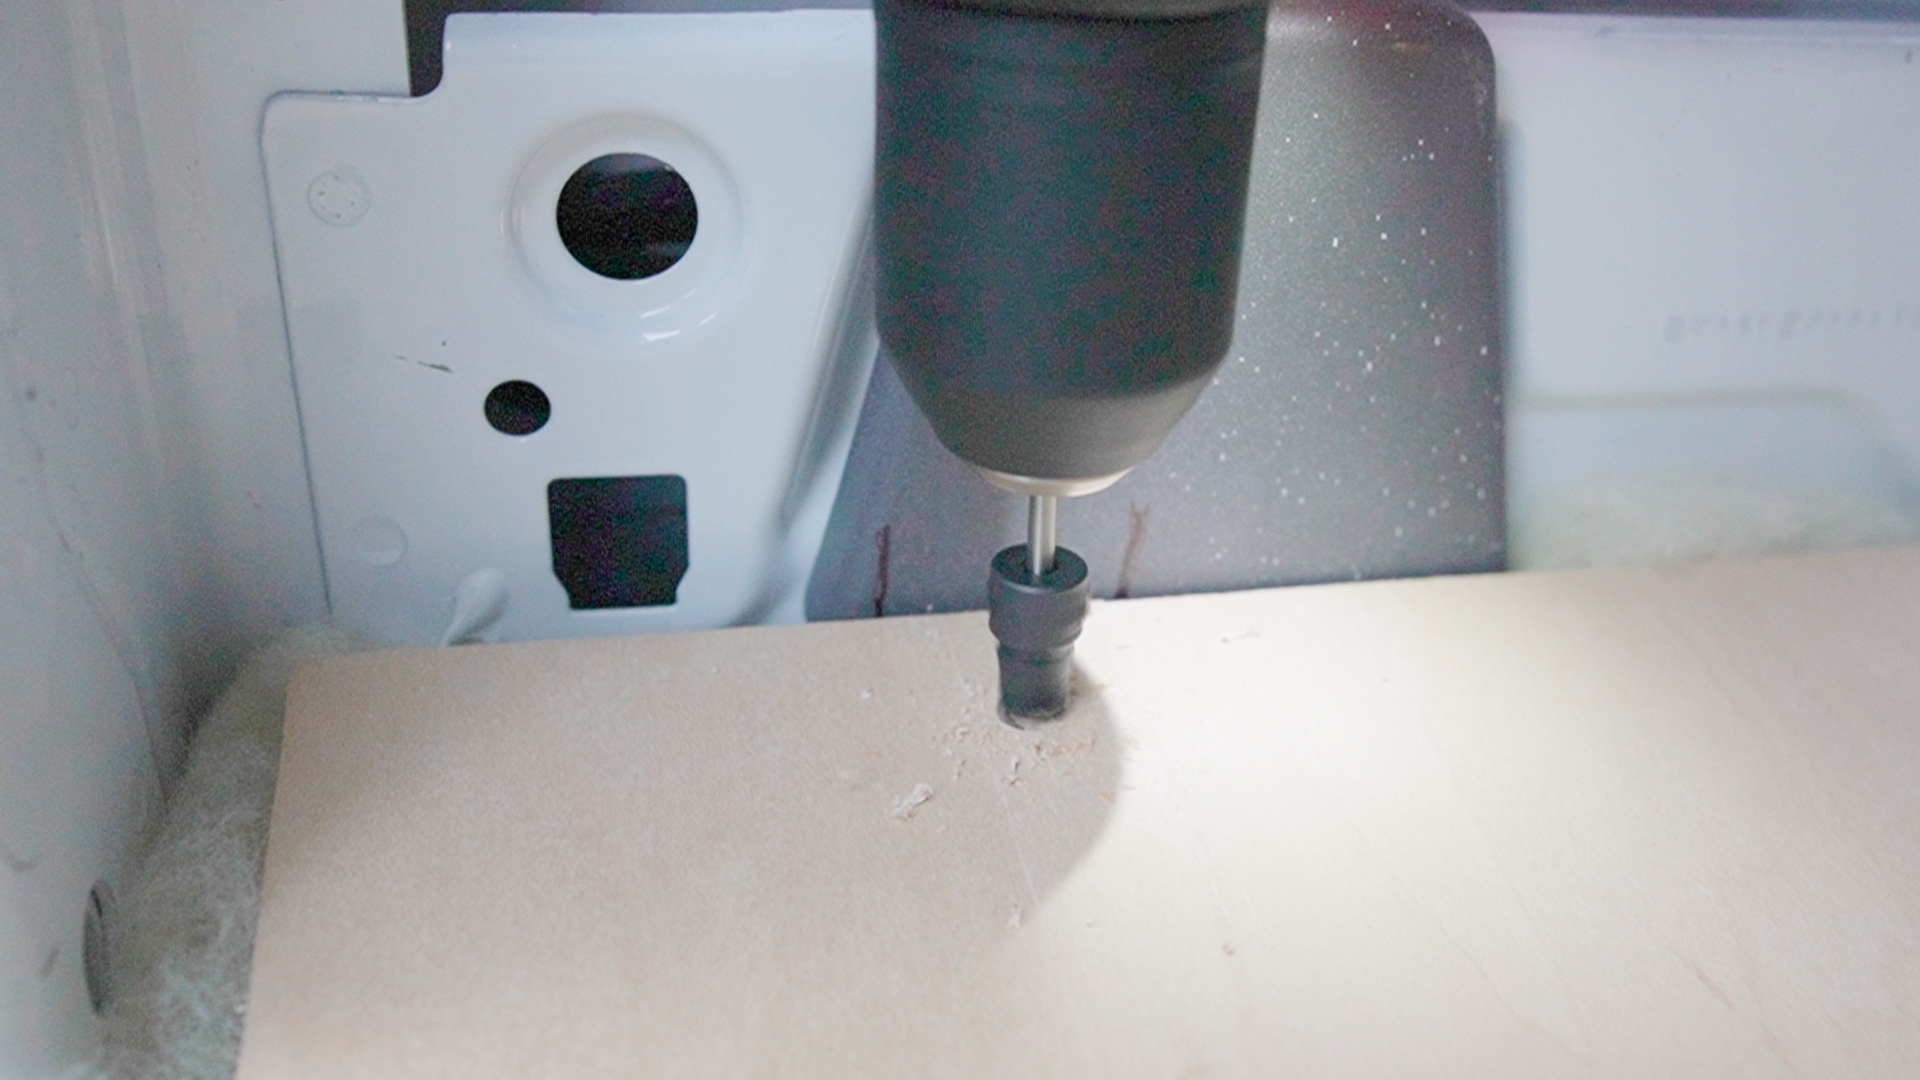
Back in my Dad’s shop I used my floor plan sketch to mark cutout areas on my three plywood boards, again, leaving a half inch gap, and then shaped them using a circular saw and jigsaw to get some of the harder-to-reach areas.
Fitting
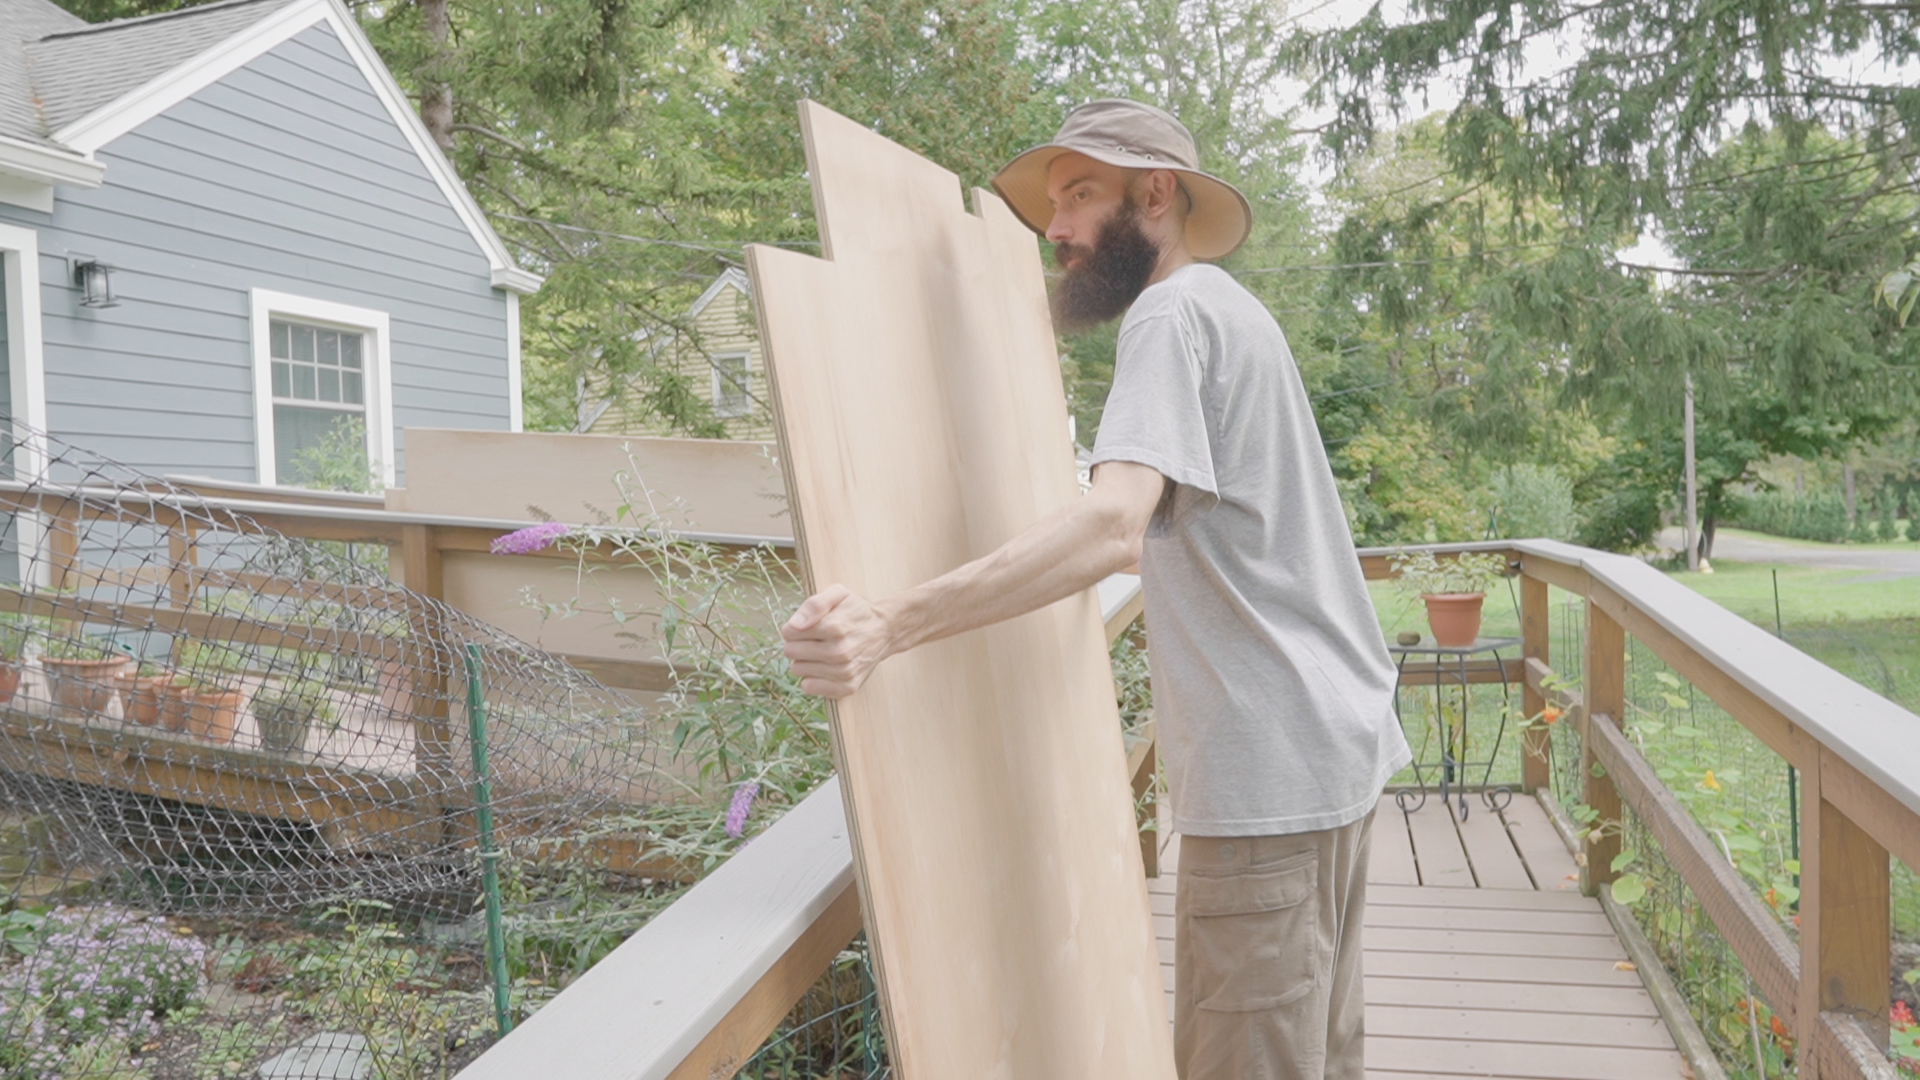
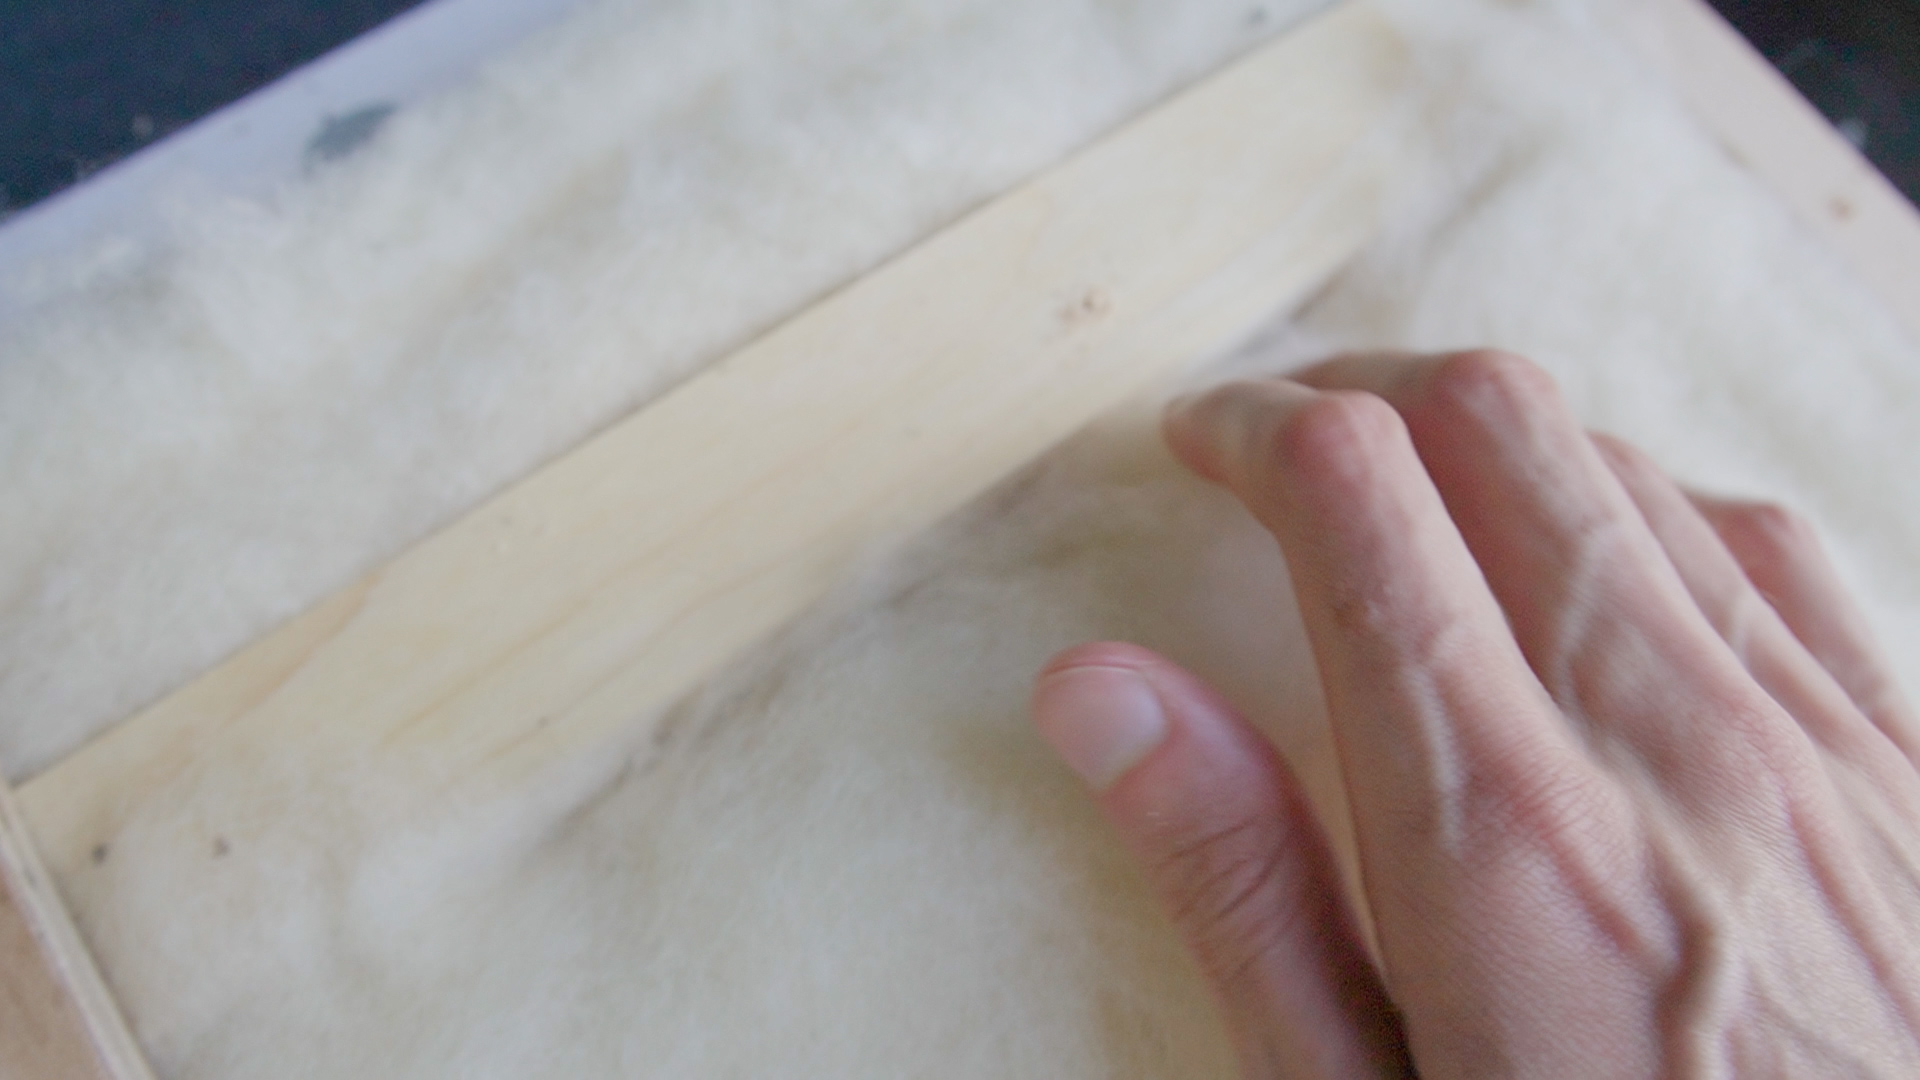
Before moving on I dry-fit the plywood to make sure they went together smoothly, after which I repeated the waterproofing process with a larger foam brush.
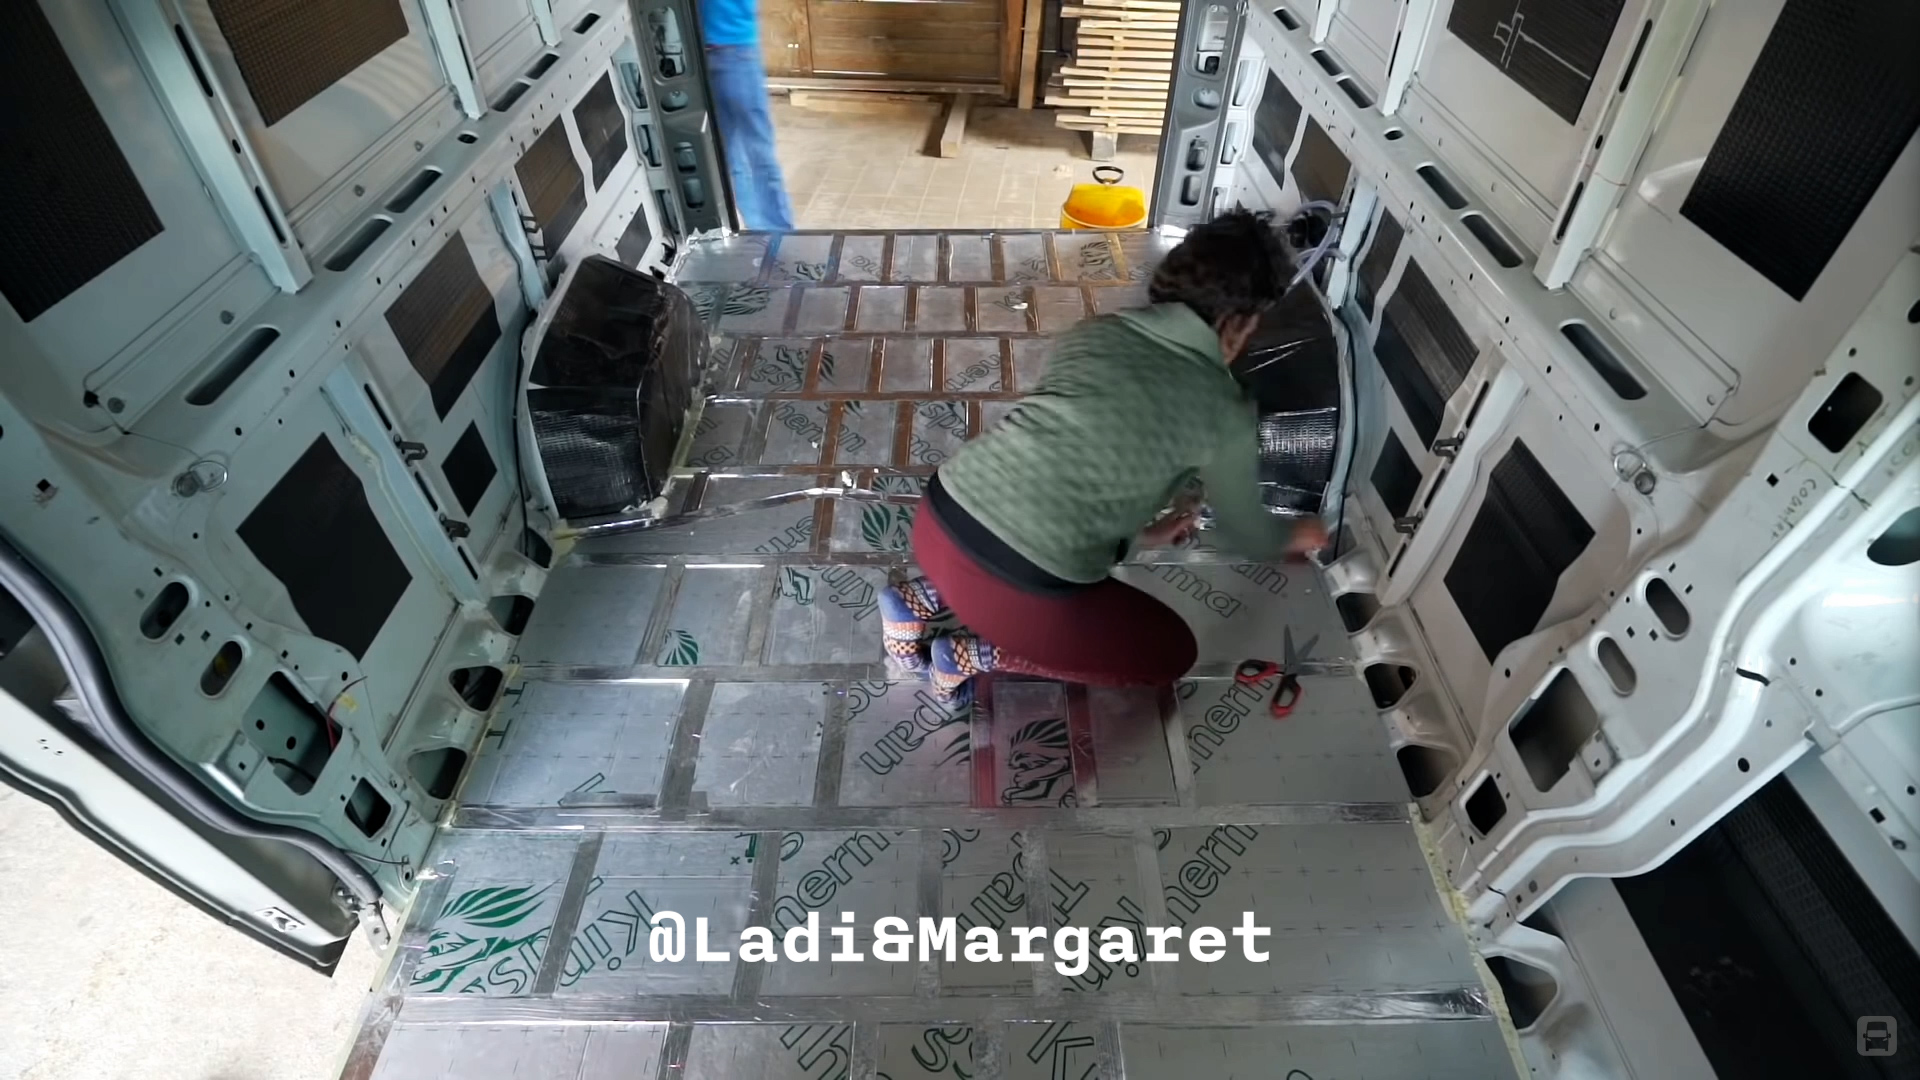
Wool
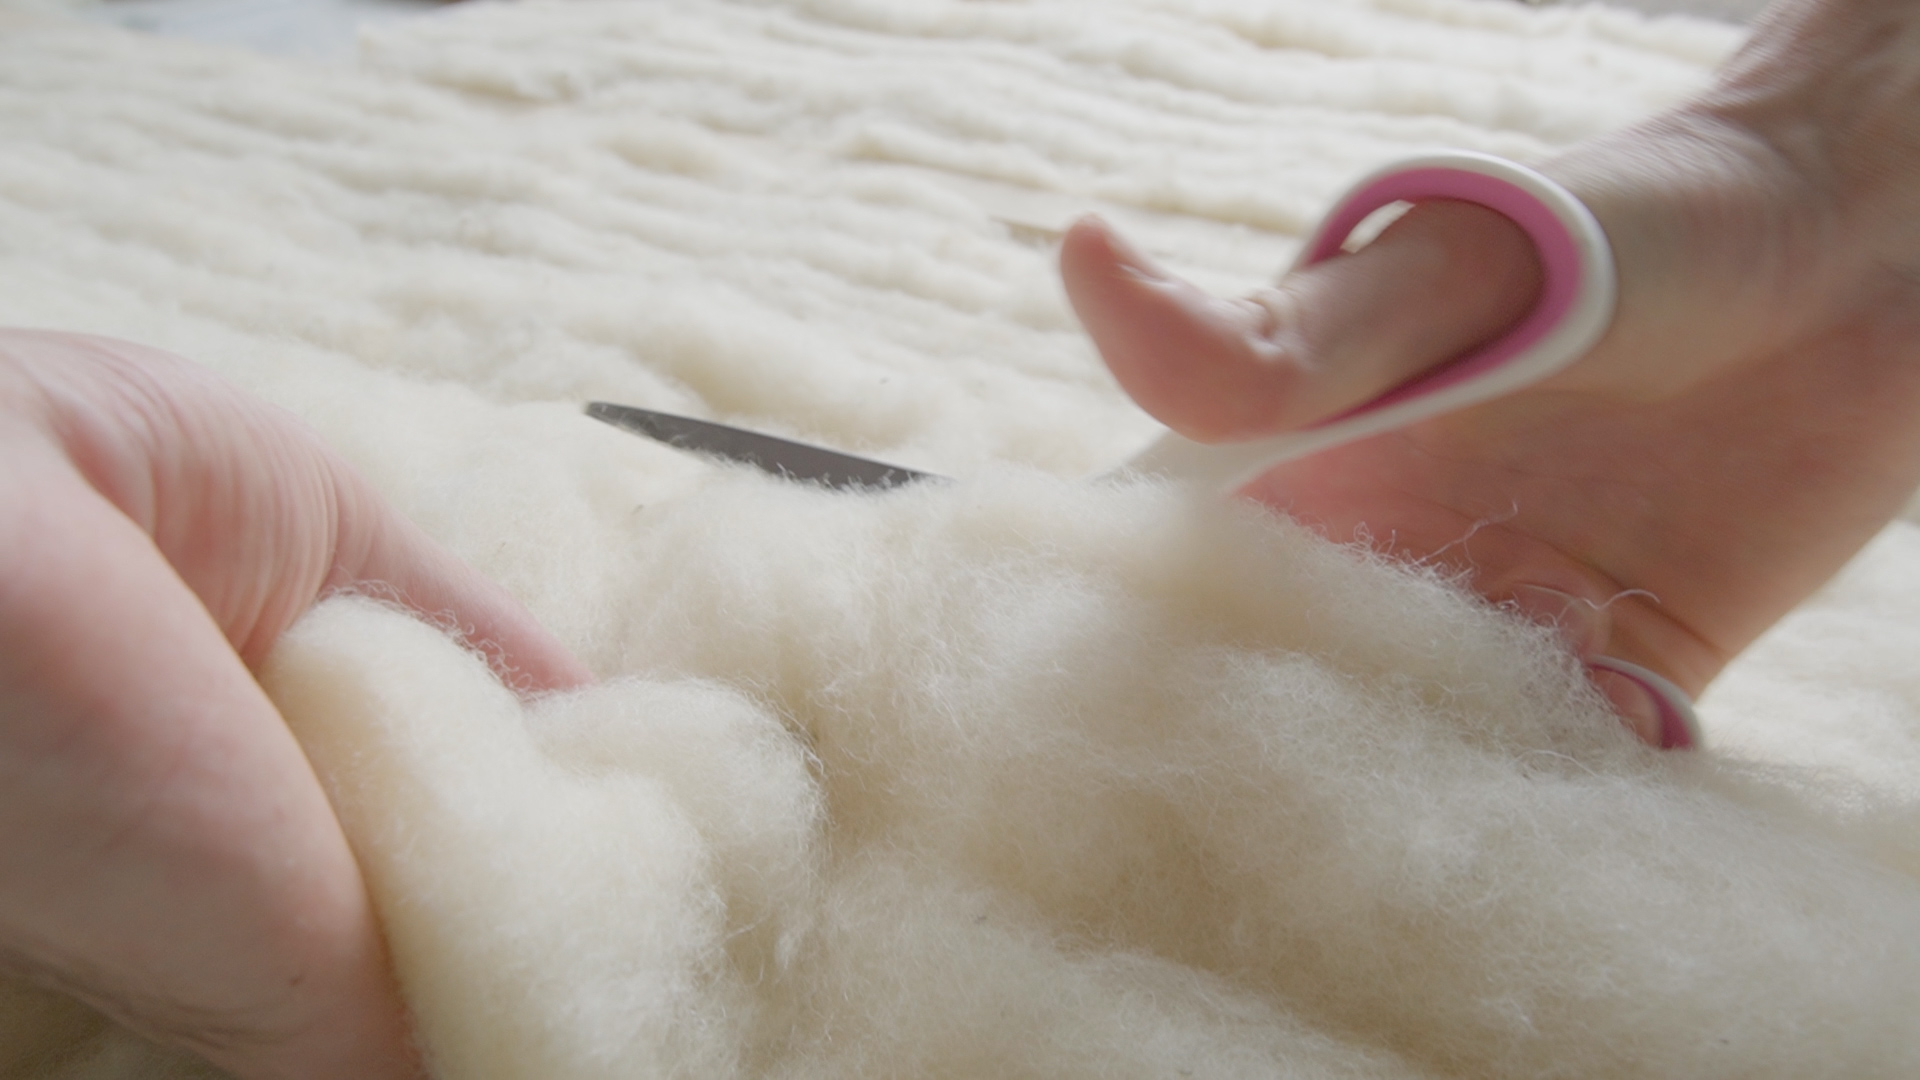
While that dried I opened up my first box of Havelock Wool and cut each bat down to size with a pair of scissors, laying it down between the wood supports, and working my way down to the end of the van.
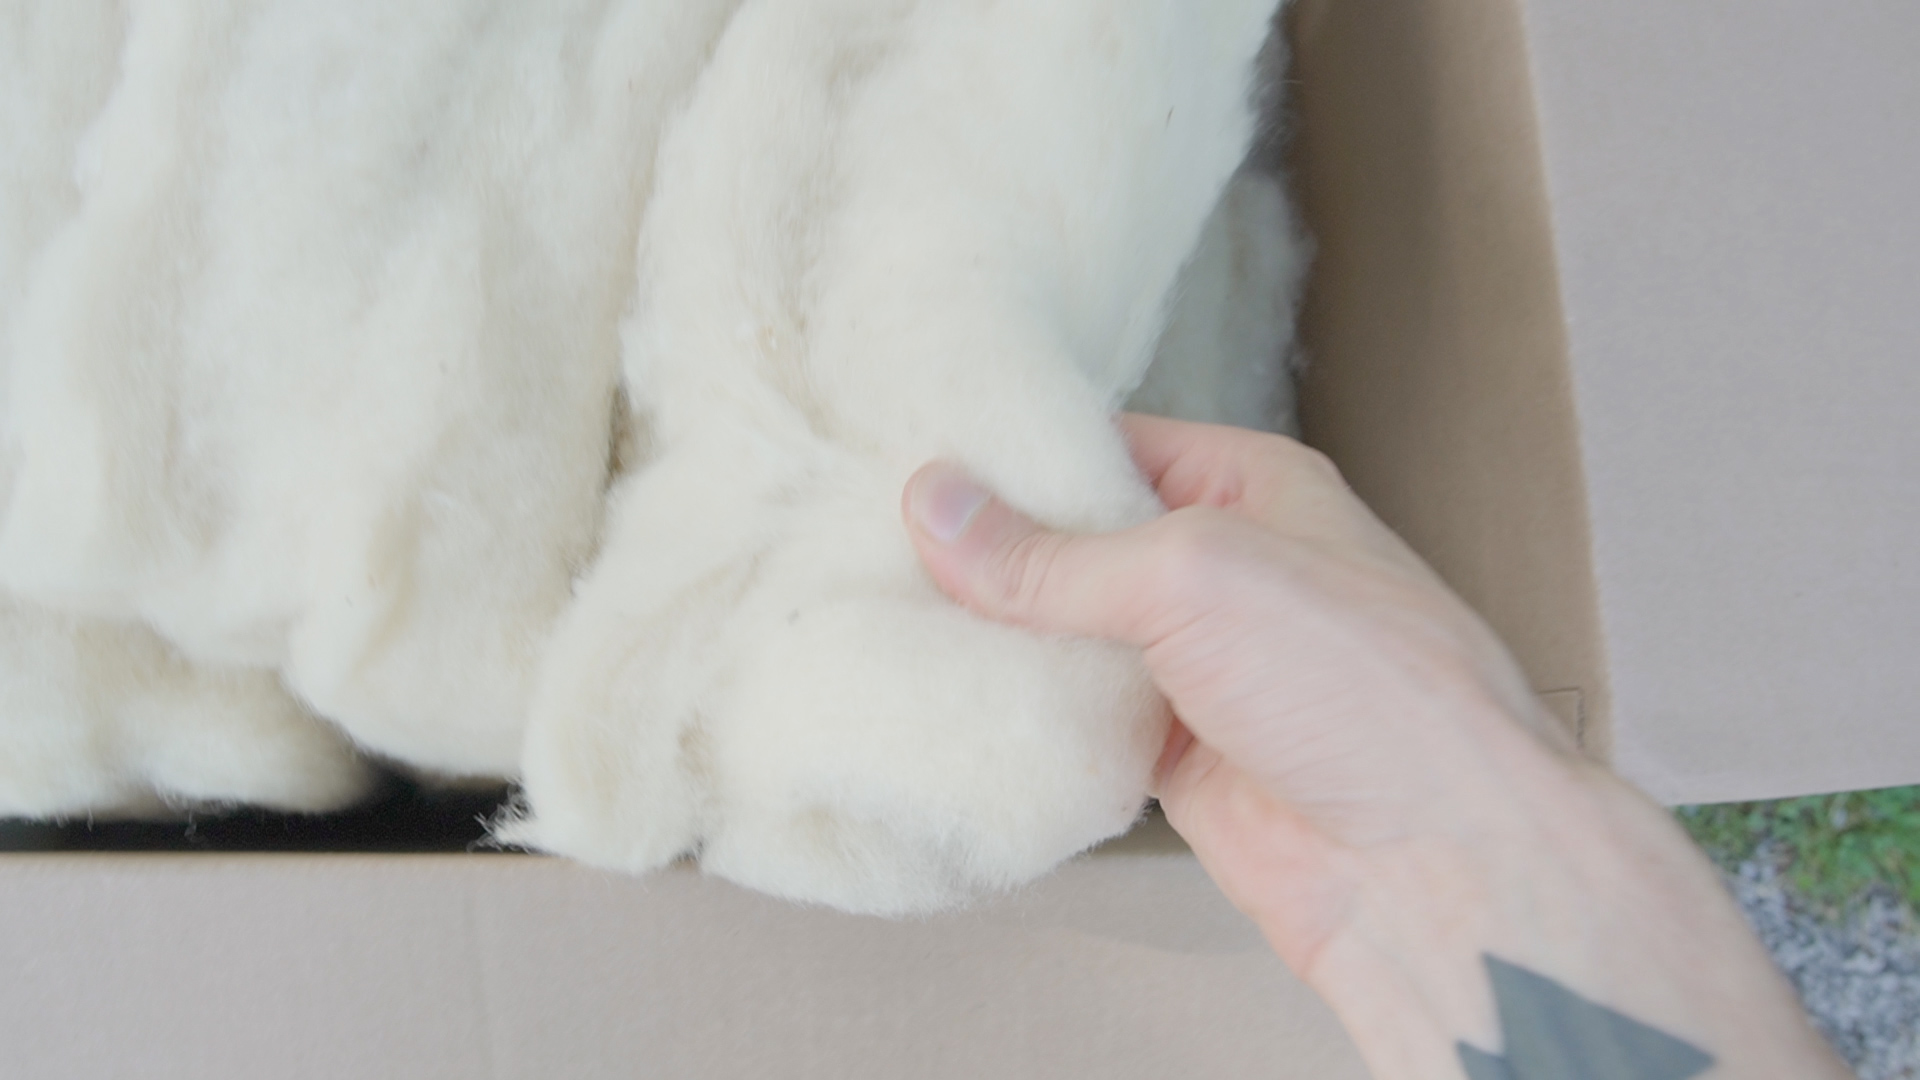
Honestly, this was my favorite part of the build so far, because wool has this amazing, earthy smell/texture, and it’s easy to work with, versus all the toxic paints and adhesives I’ve had to use for the windows.
Drilling
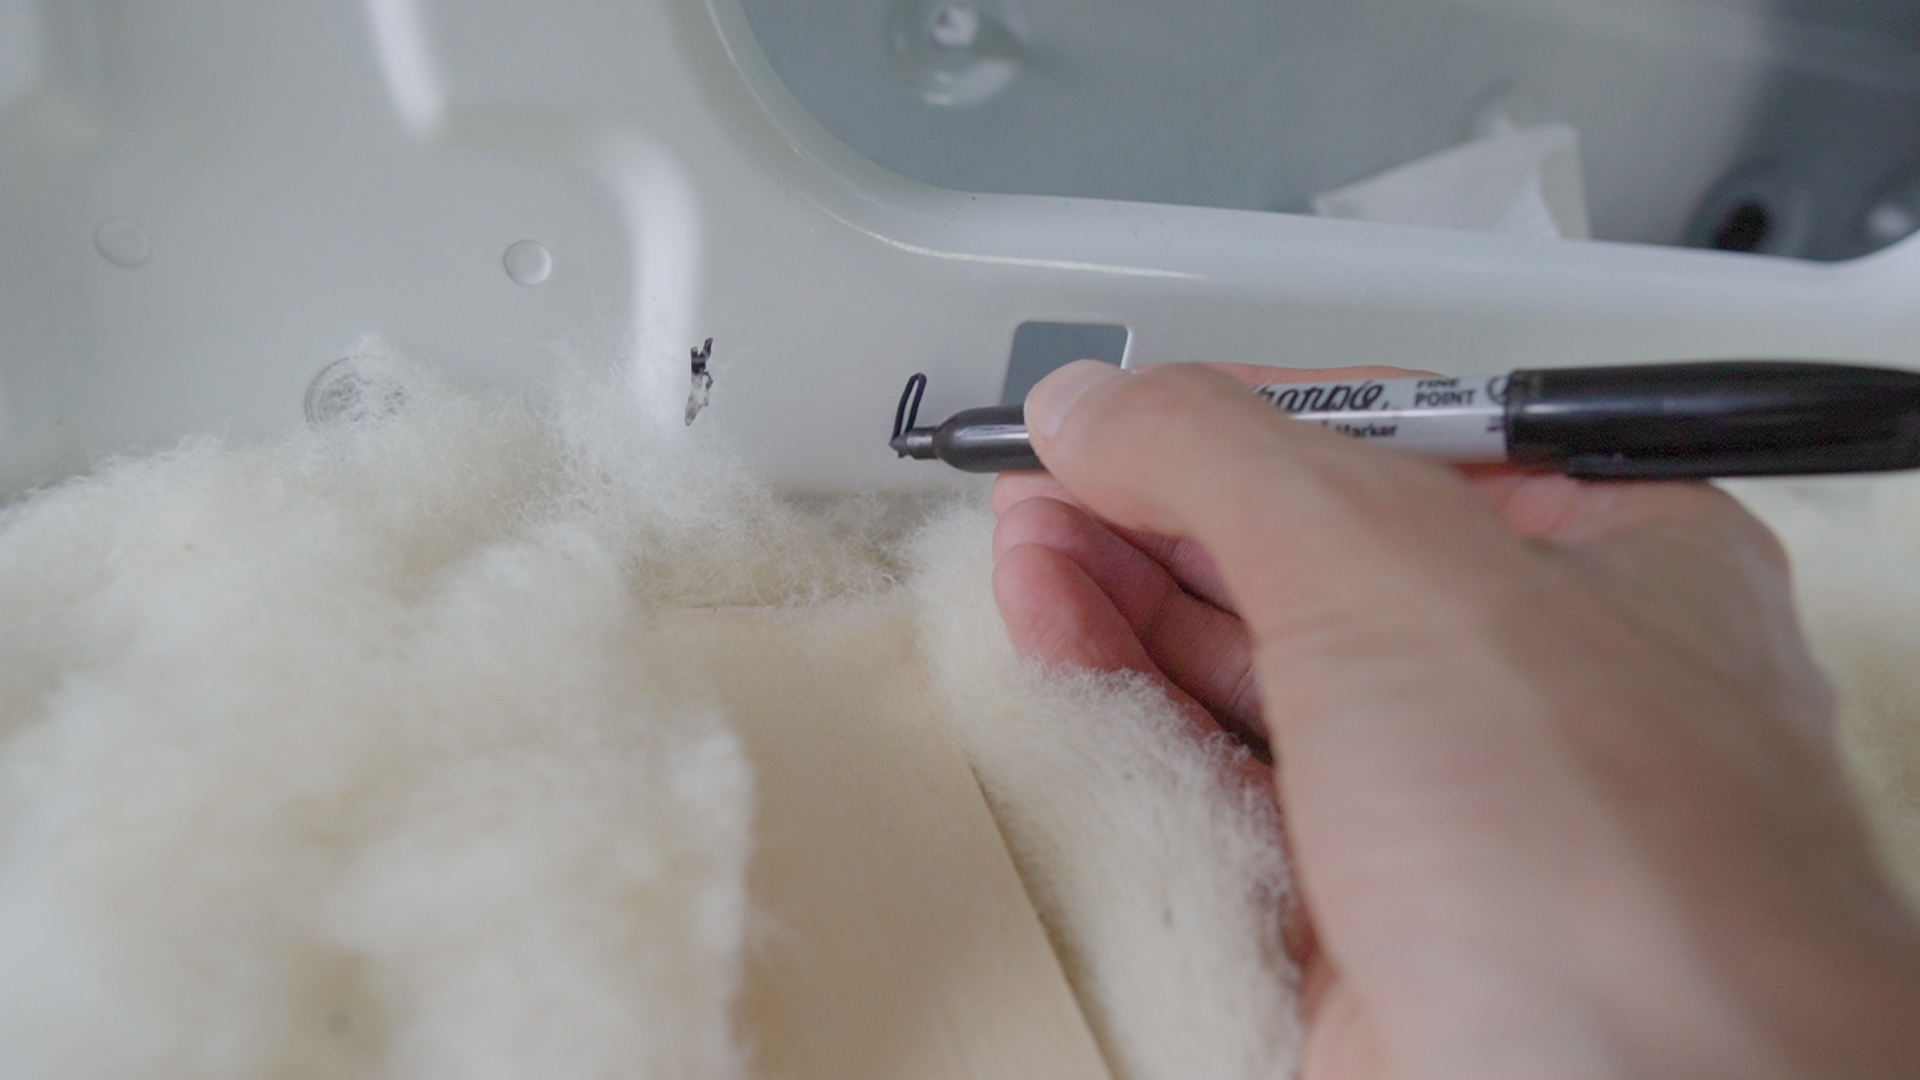
Since the support beams were soon going to get covered up by the plywood, I marked their locations with a permanent marker on the van walls, laid down the three boards, marked them, as well, with a ruler, and then pre-drilled holes with a countersink every 8–12” or so across the middle and about 1.5” from each end.
Screwing
Next, I lifted out the plywood and worked on one section at a time, tucking any stray tufts of wool out of the way…
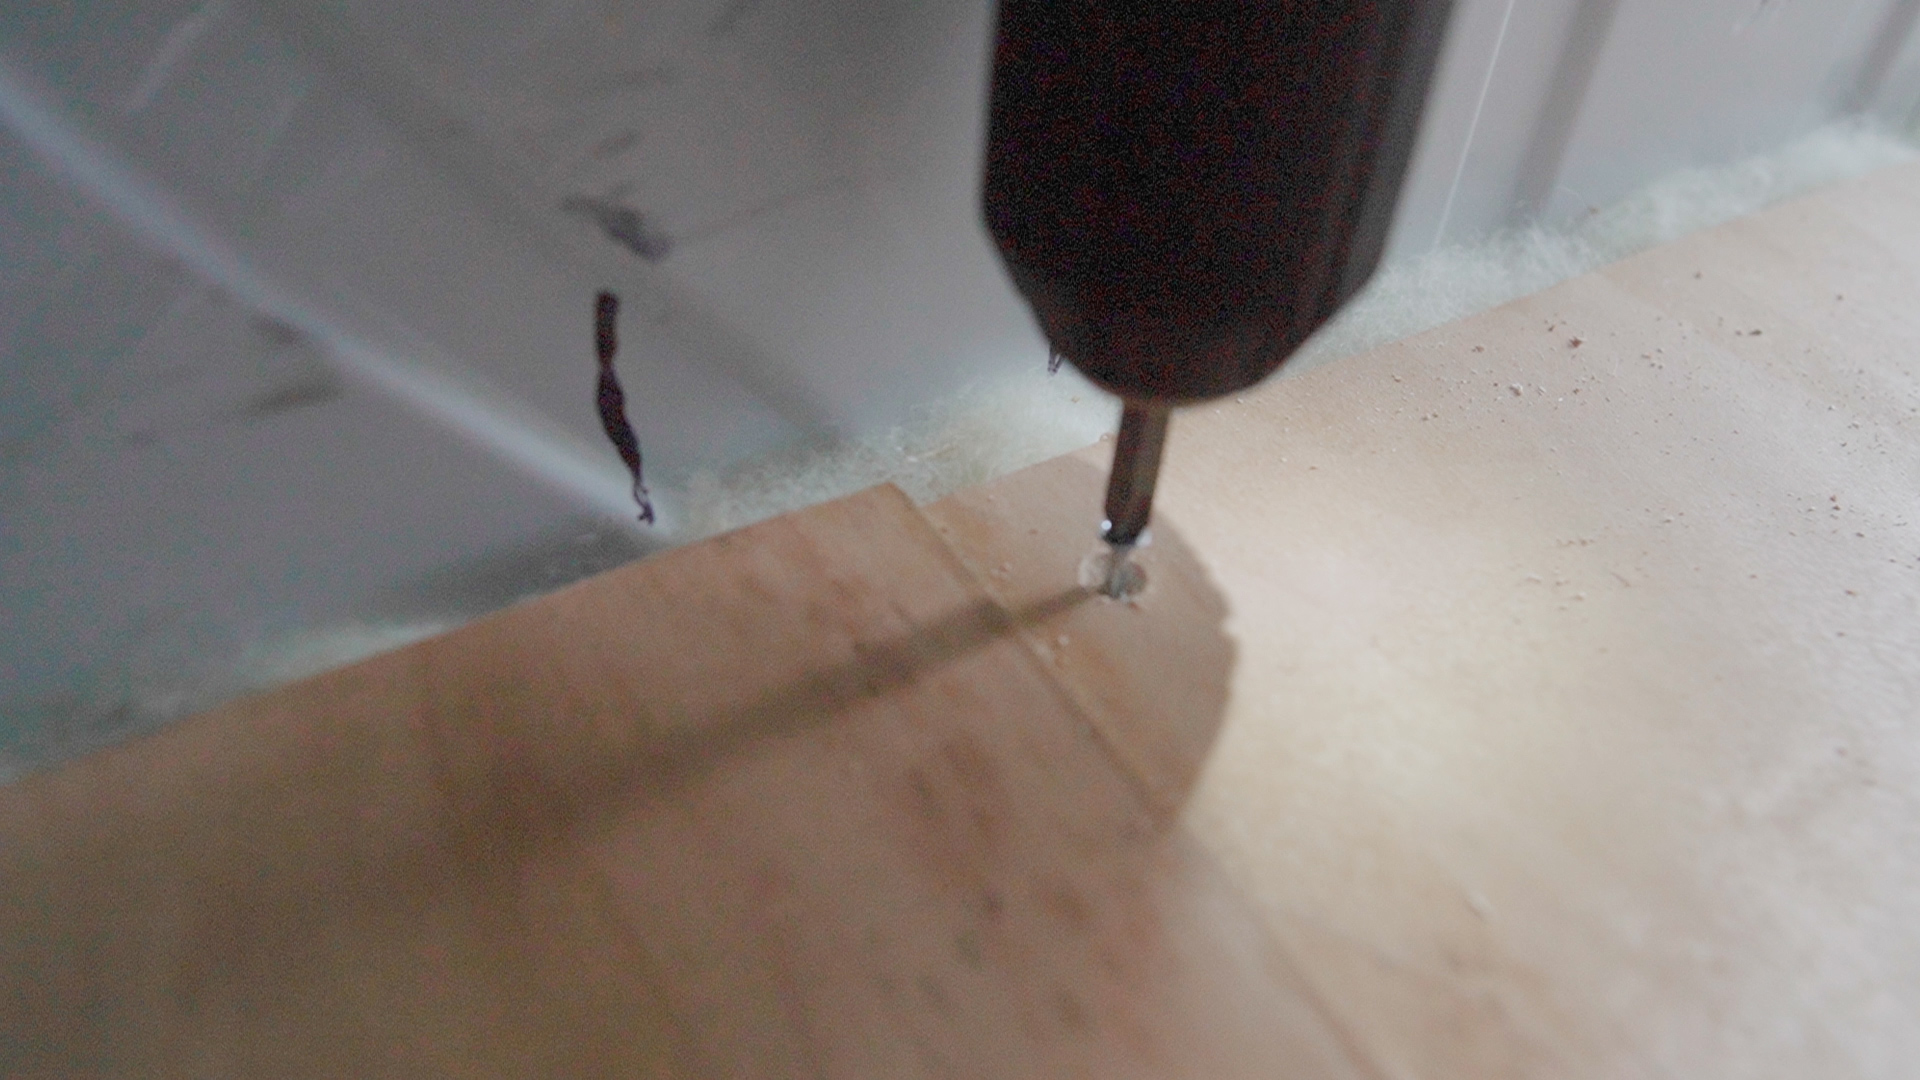
…caulking the support beams with a thin bead of Loctite (actually, a simple bottle of wood glue might have been better), laying down the plywood, and then fastening it into place with 1” stainless steel screws.
Conclusion
Overall, installing a subfloor was actually kind of relaxing, because there was a lot less mess and more margin for error than with my window installs, and now that I have a solid base I can move on to framing and insulating the rest of my van.
Resources
That said, if you’d like to support the channel, you can shop with the referral links above/below, check out my DIY build playlist for more install guides, or watch my Van Life Day One video to see what it’s like moving into a Ford Transit for the first time.
Finally, if you have a question about install a subfloor with Havelock Wool insulation, or about van life in general, let me know in the comments.
Thanks for watching, catch ya next time. Peace!
Andrew Folts
Andrew is a writer/filmmaker who creates video guides and reviews for a community of 25K+ creative rebels on YouTube.