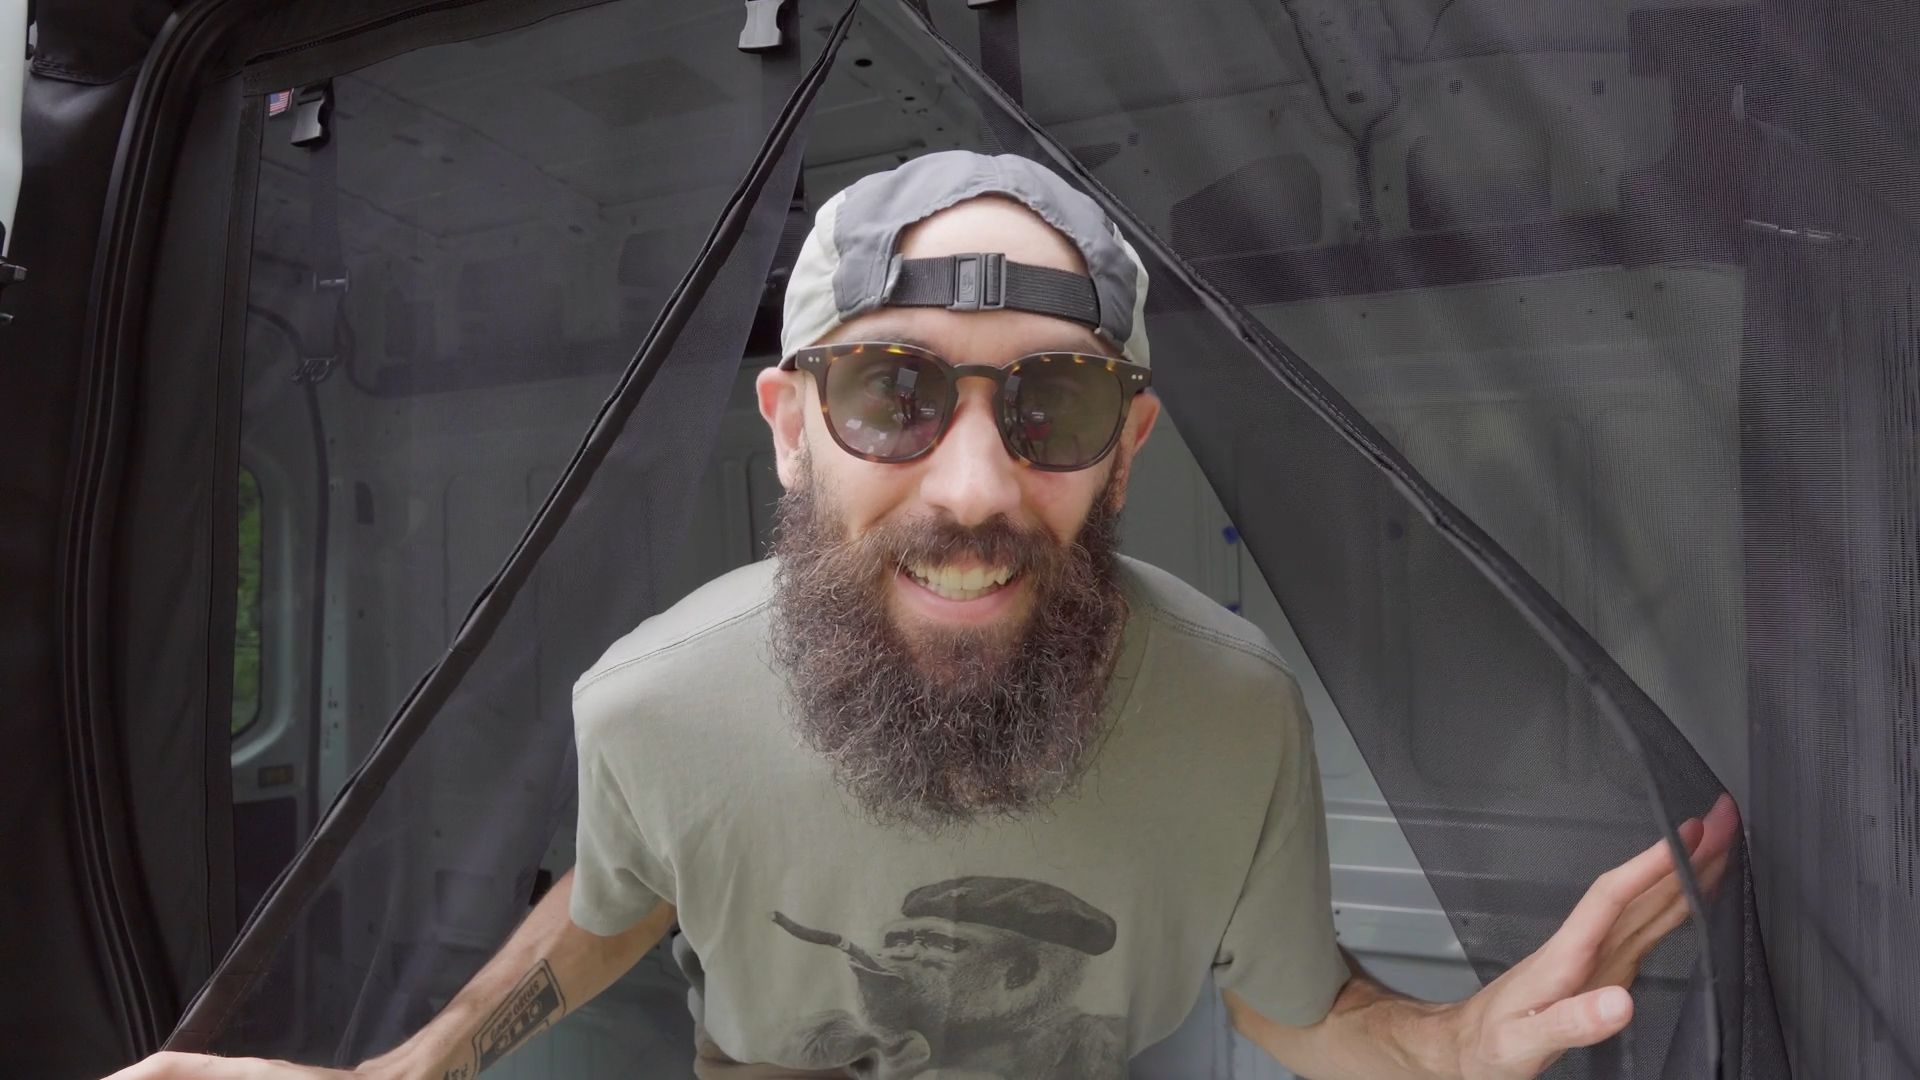
Hello, my name’s Andrew, and today we’re doing a DIY install and first impression review of The Bug Wall screen for van life.
Preparation
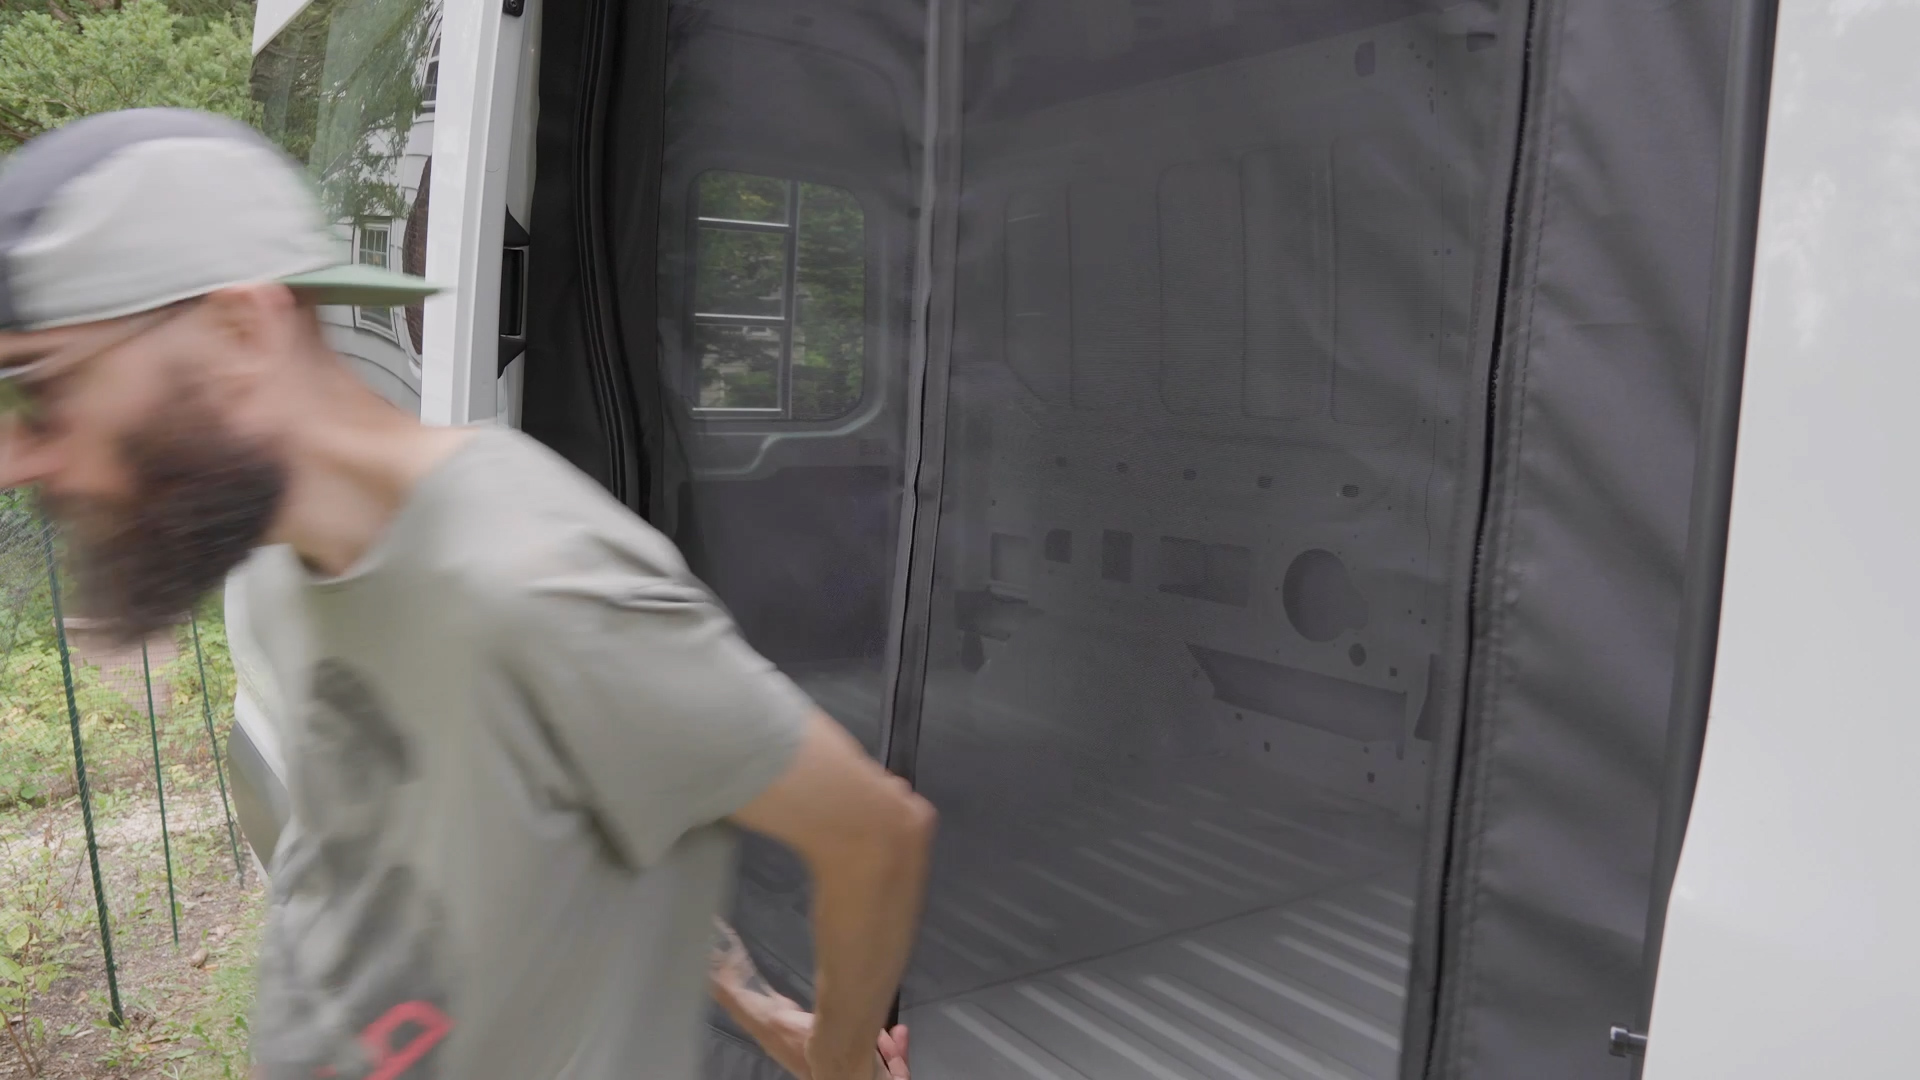
This summer I bought my first Ford Transit for van life, and being able to open up the cargo door was amazing for airflow, but not so much for letting in mosquitos and black flies, so I reached out to Dutch at The Bug Wall for a screen to test.
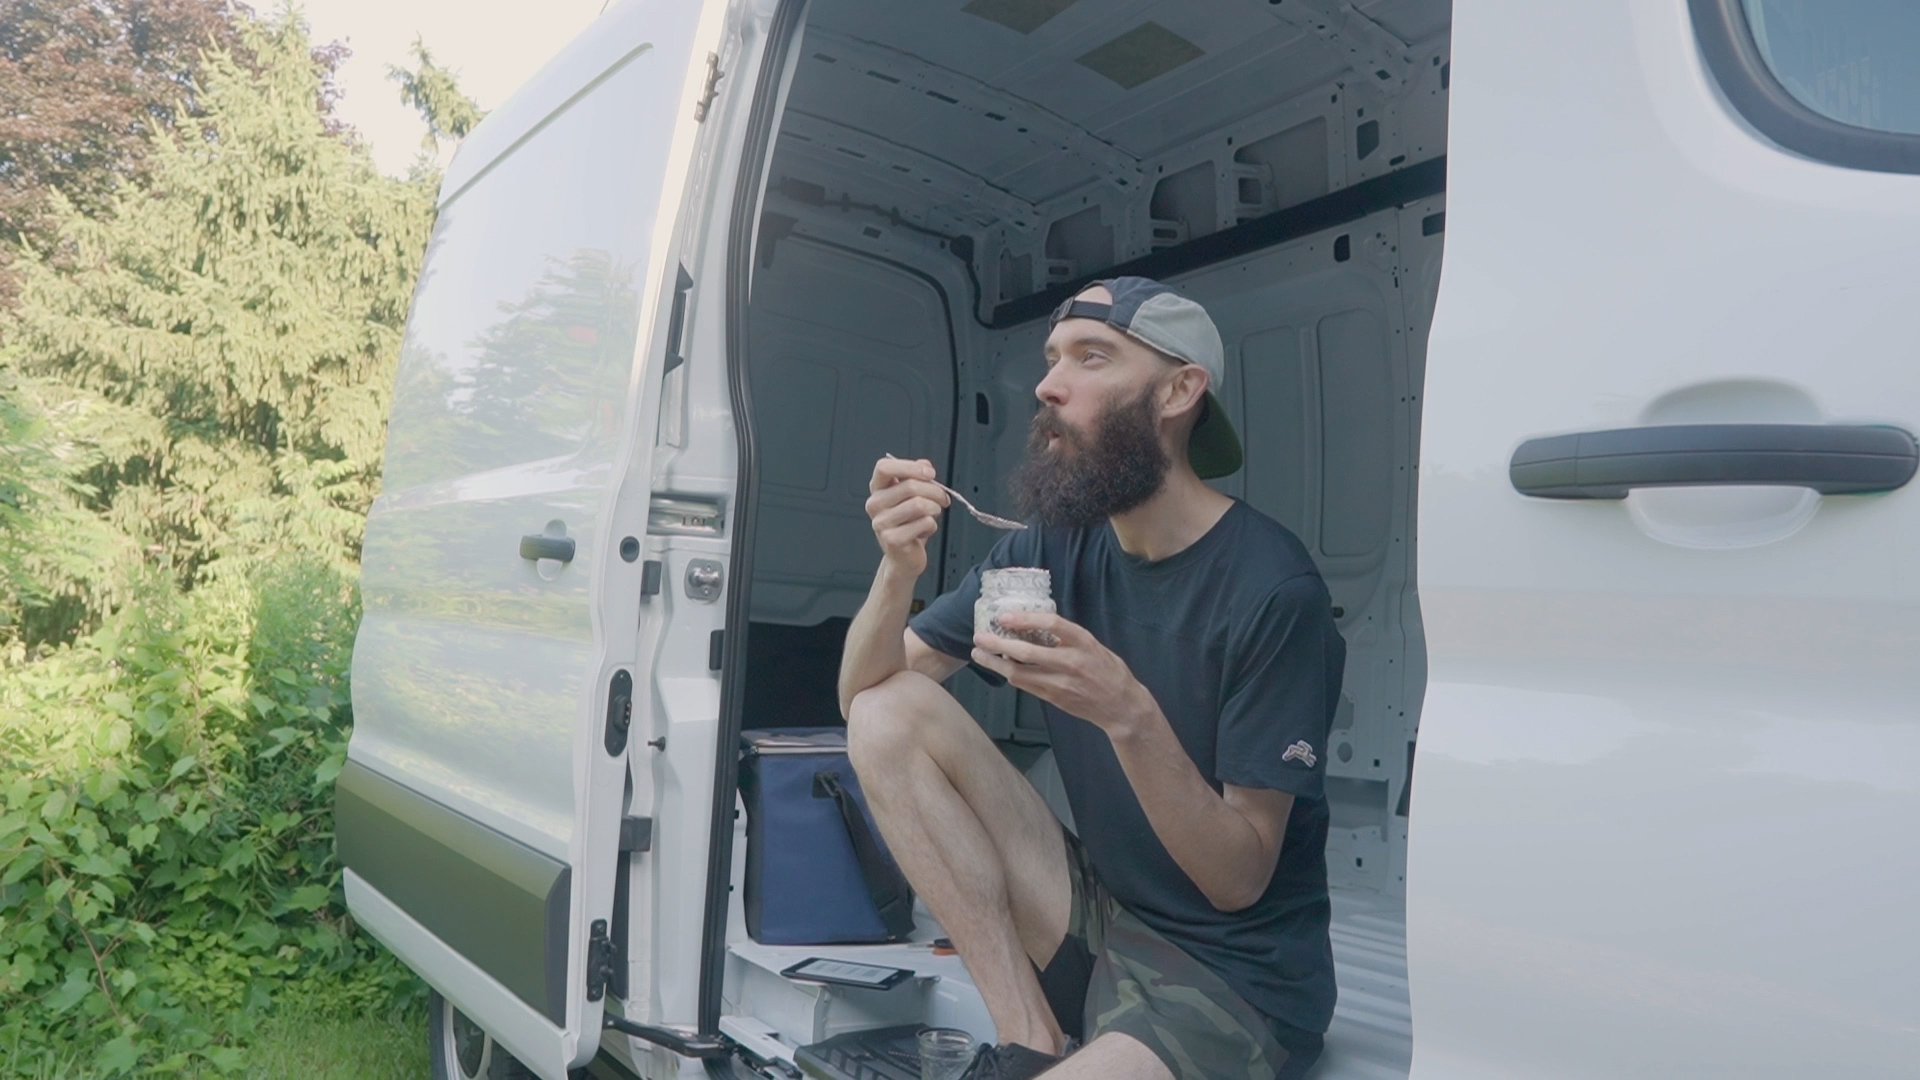
Partially because I liked that it was family-owned and made in the USA with rugged marine canvas and No-See-Umm netting, but also because the install seemed really simple and straightforward.

Tools & Materials
FYI, I’ve put links down below to all the tools I’ll be using in the video, as well as a written step-by-step instructions, and the official Bug Wall guide, where you can see the screen installed in real time.
That said, let’s get buggy…or, in this case, “un-buggy.” (:
Install
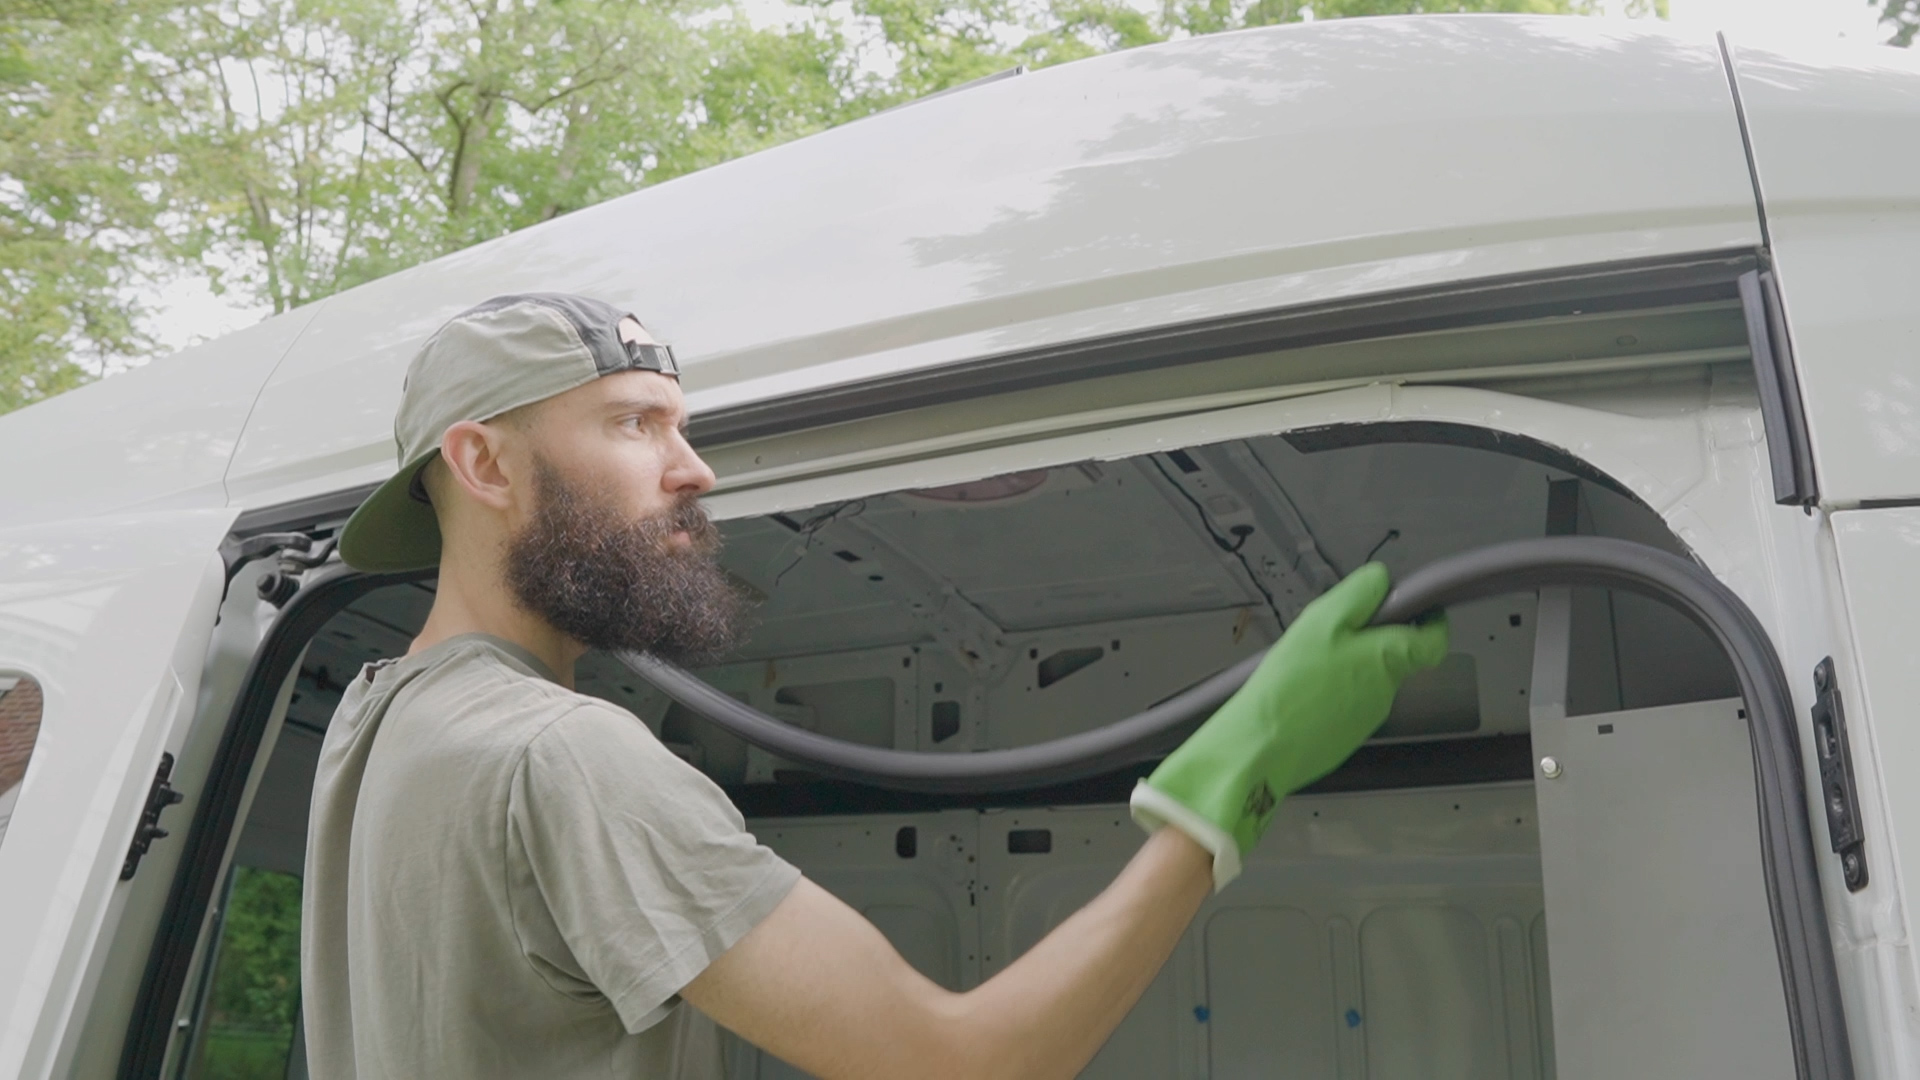
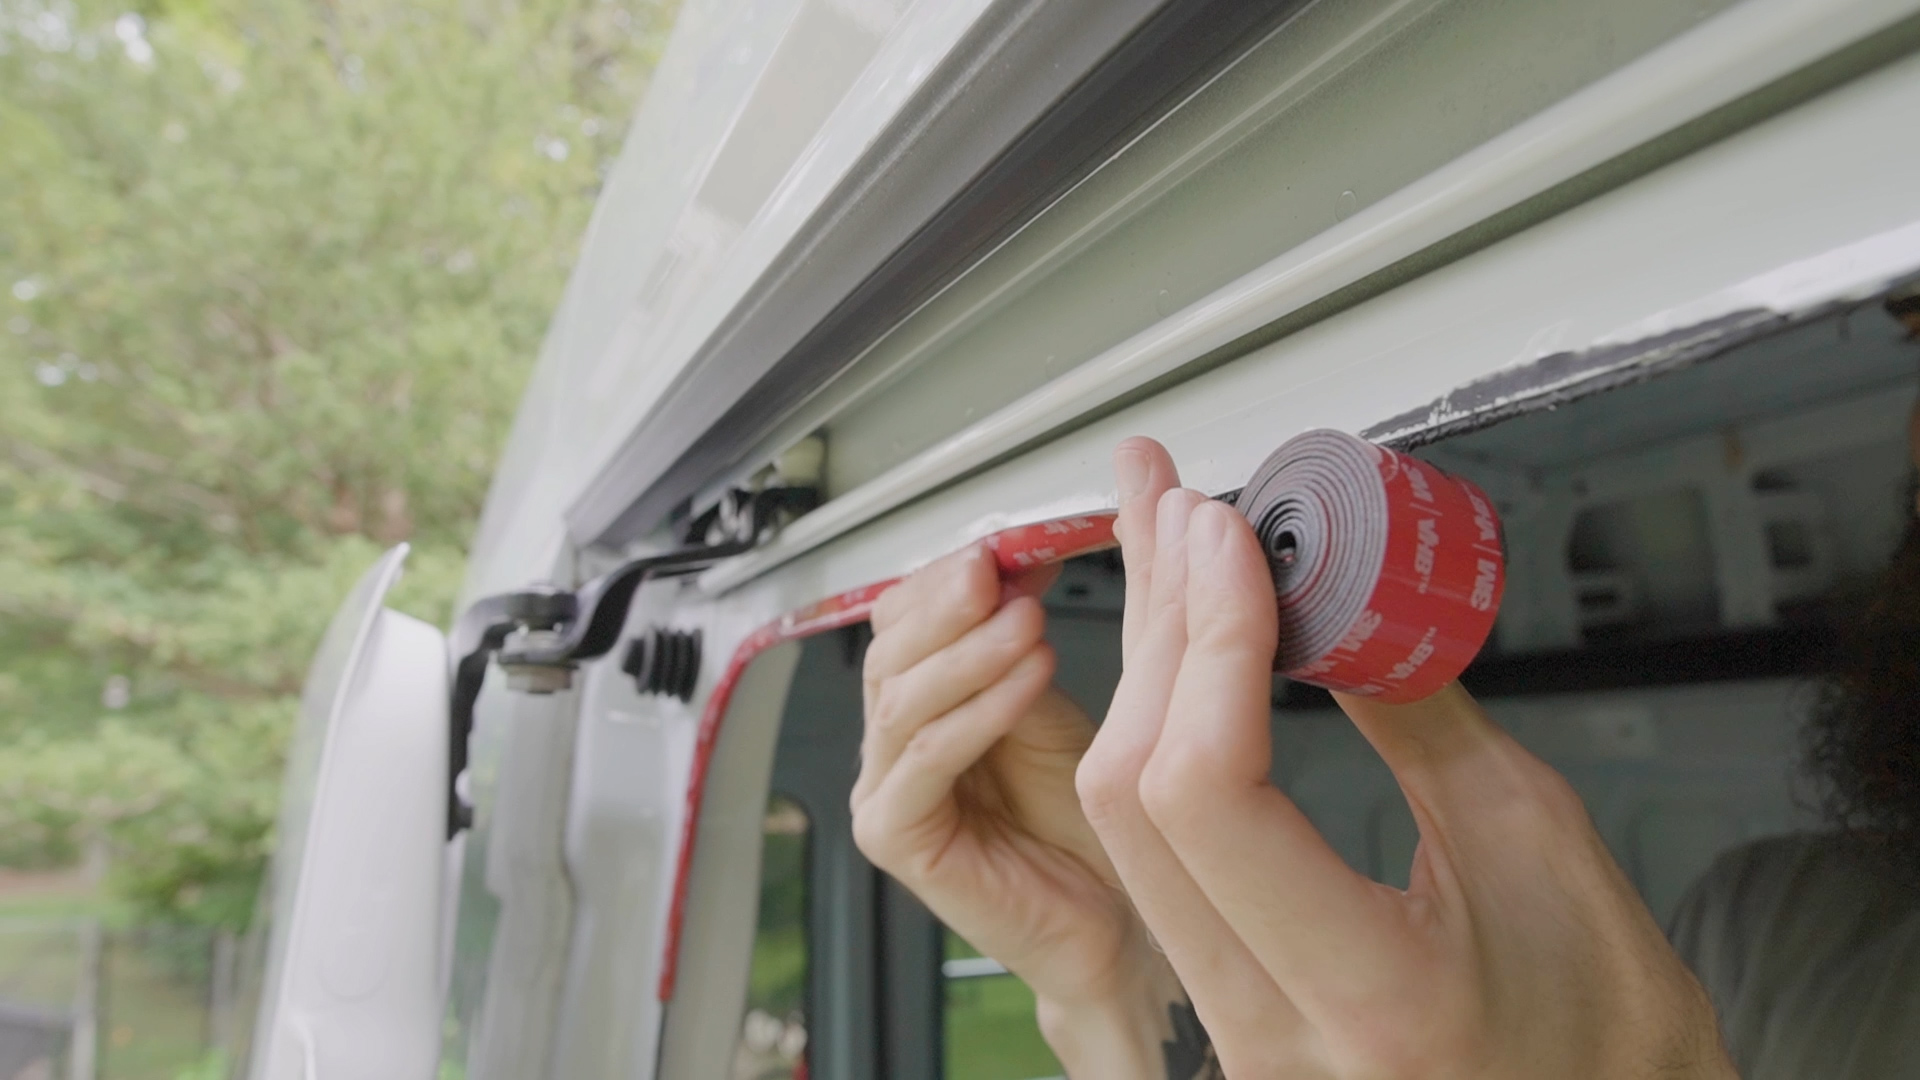
For starters I gently pulled down the rubber edging on the sliding cargo door of my Ford Transit, cleaned the metal with rubbing alcohol, bent the included sticky in half around the front and back of the door opening, and then peeled off the protective cover.
Positioning
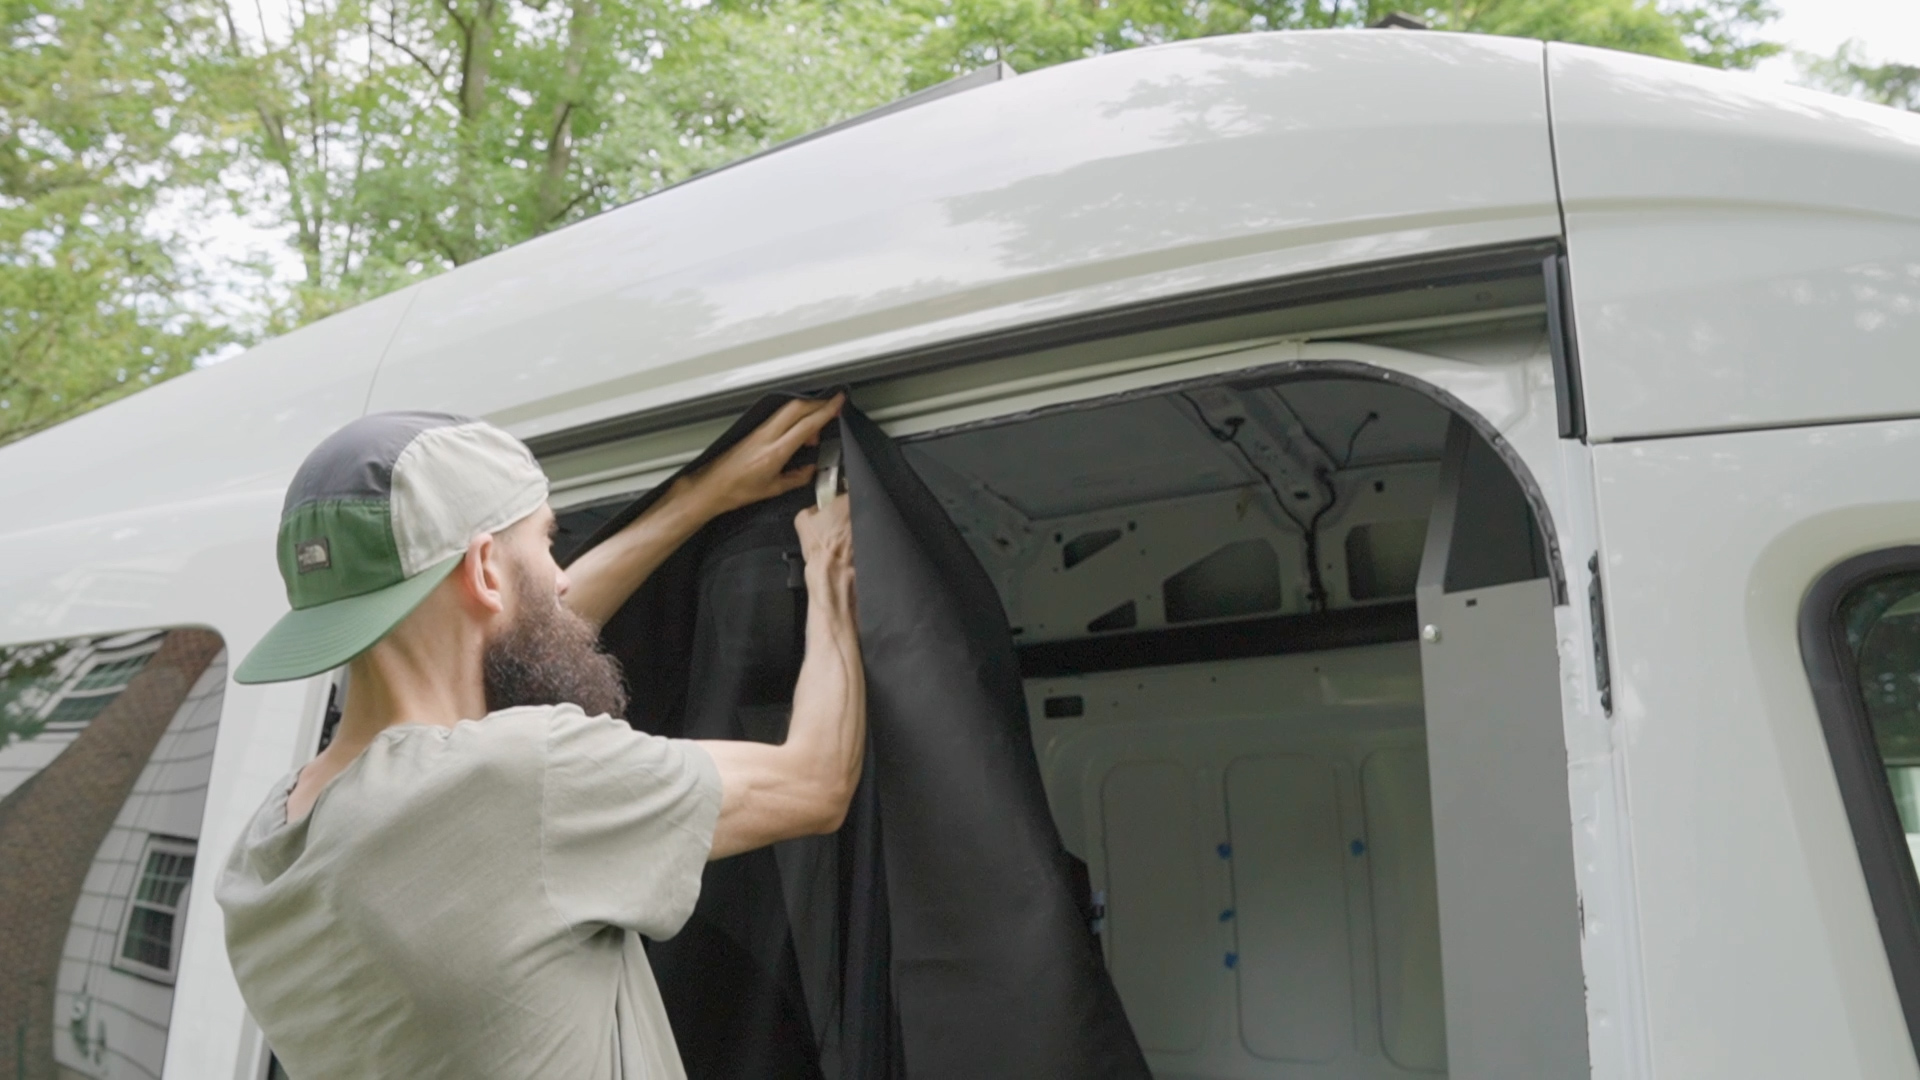
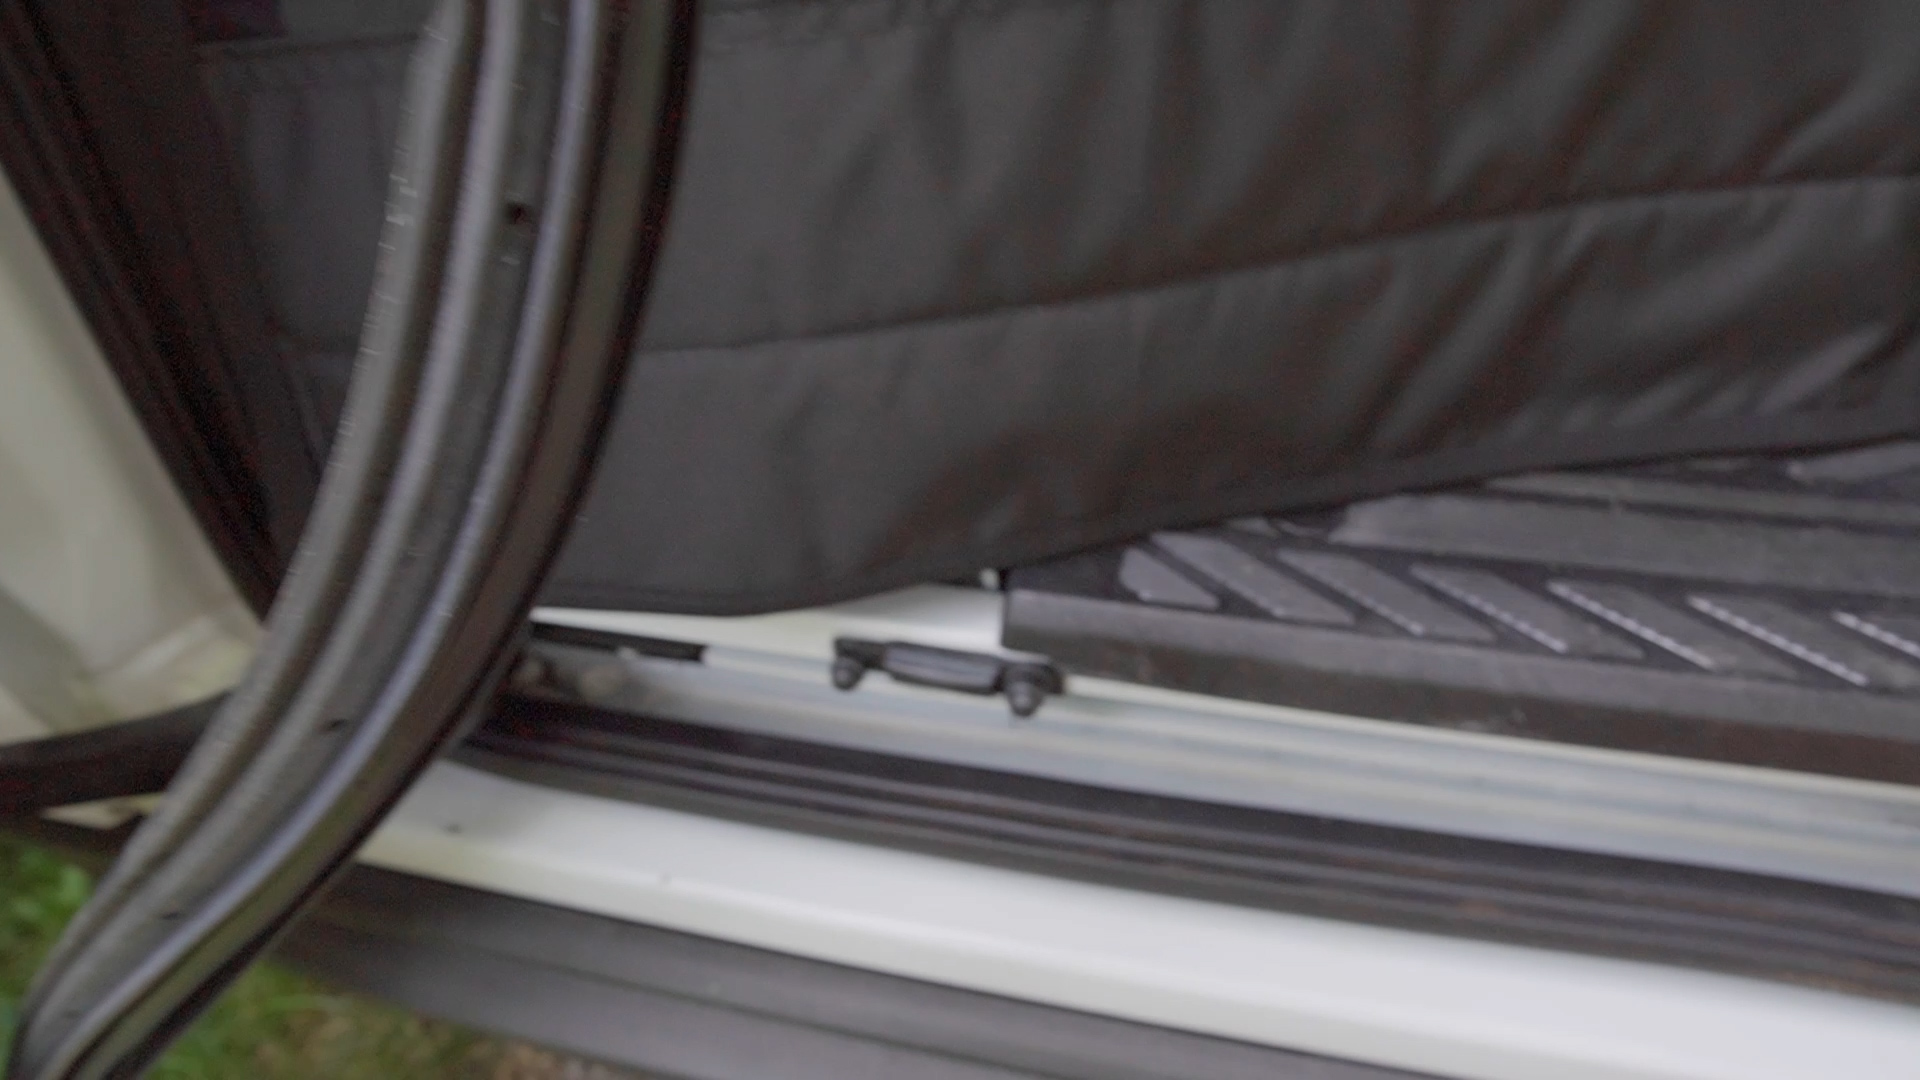
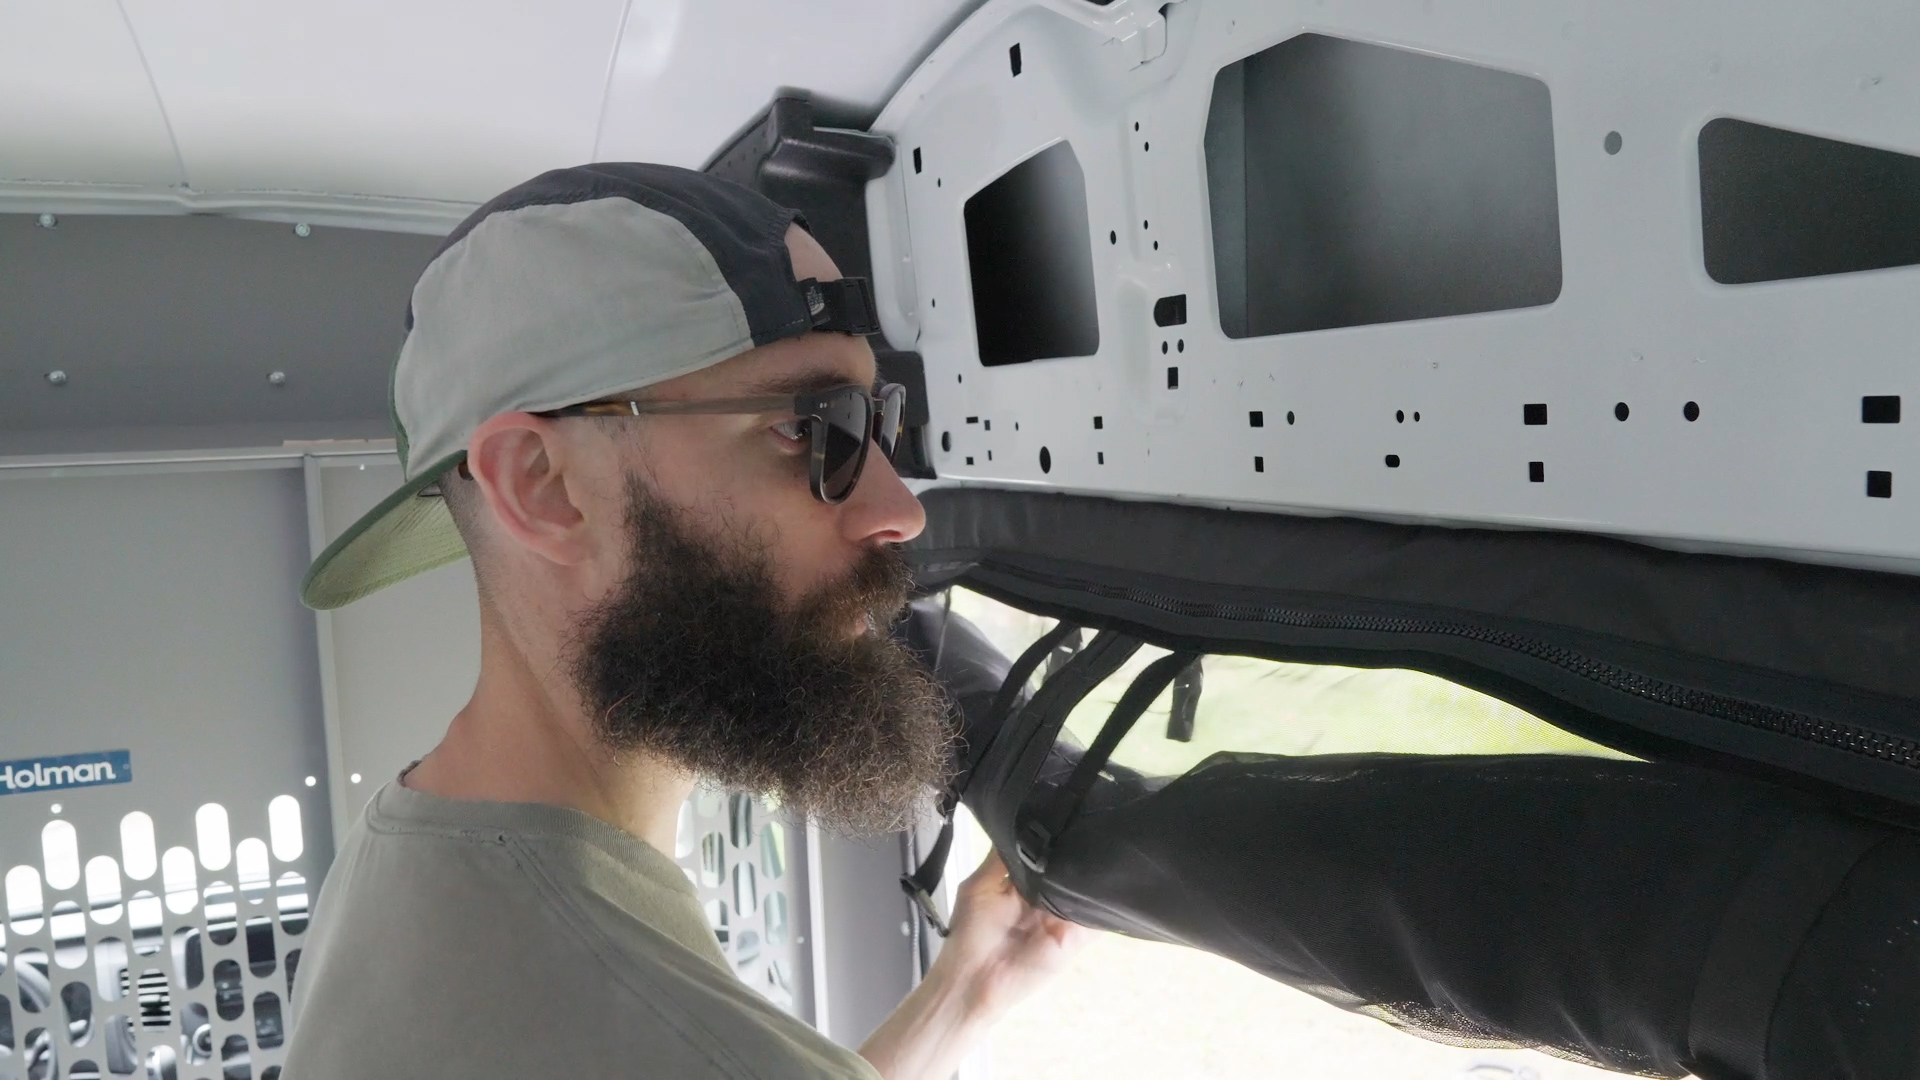
After that I used a metal clamp at the top center to hold The Bug Wall screen in place, so I could check that it was horizontally centered and hung down long enough to just barely graze the top of the cargo door step.
Clipping
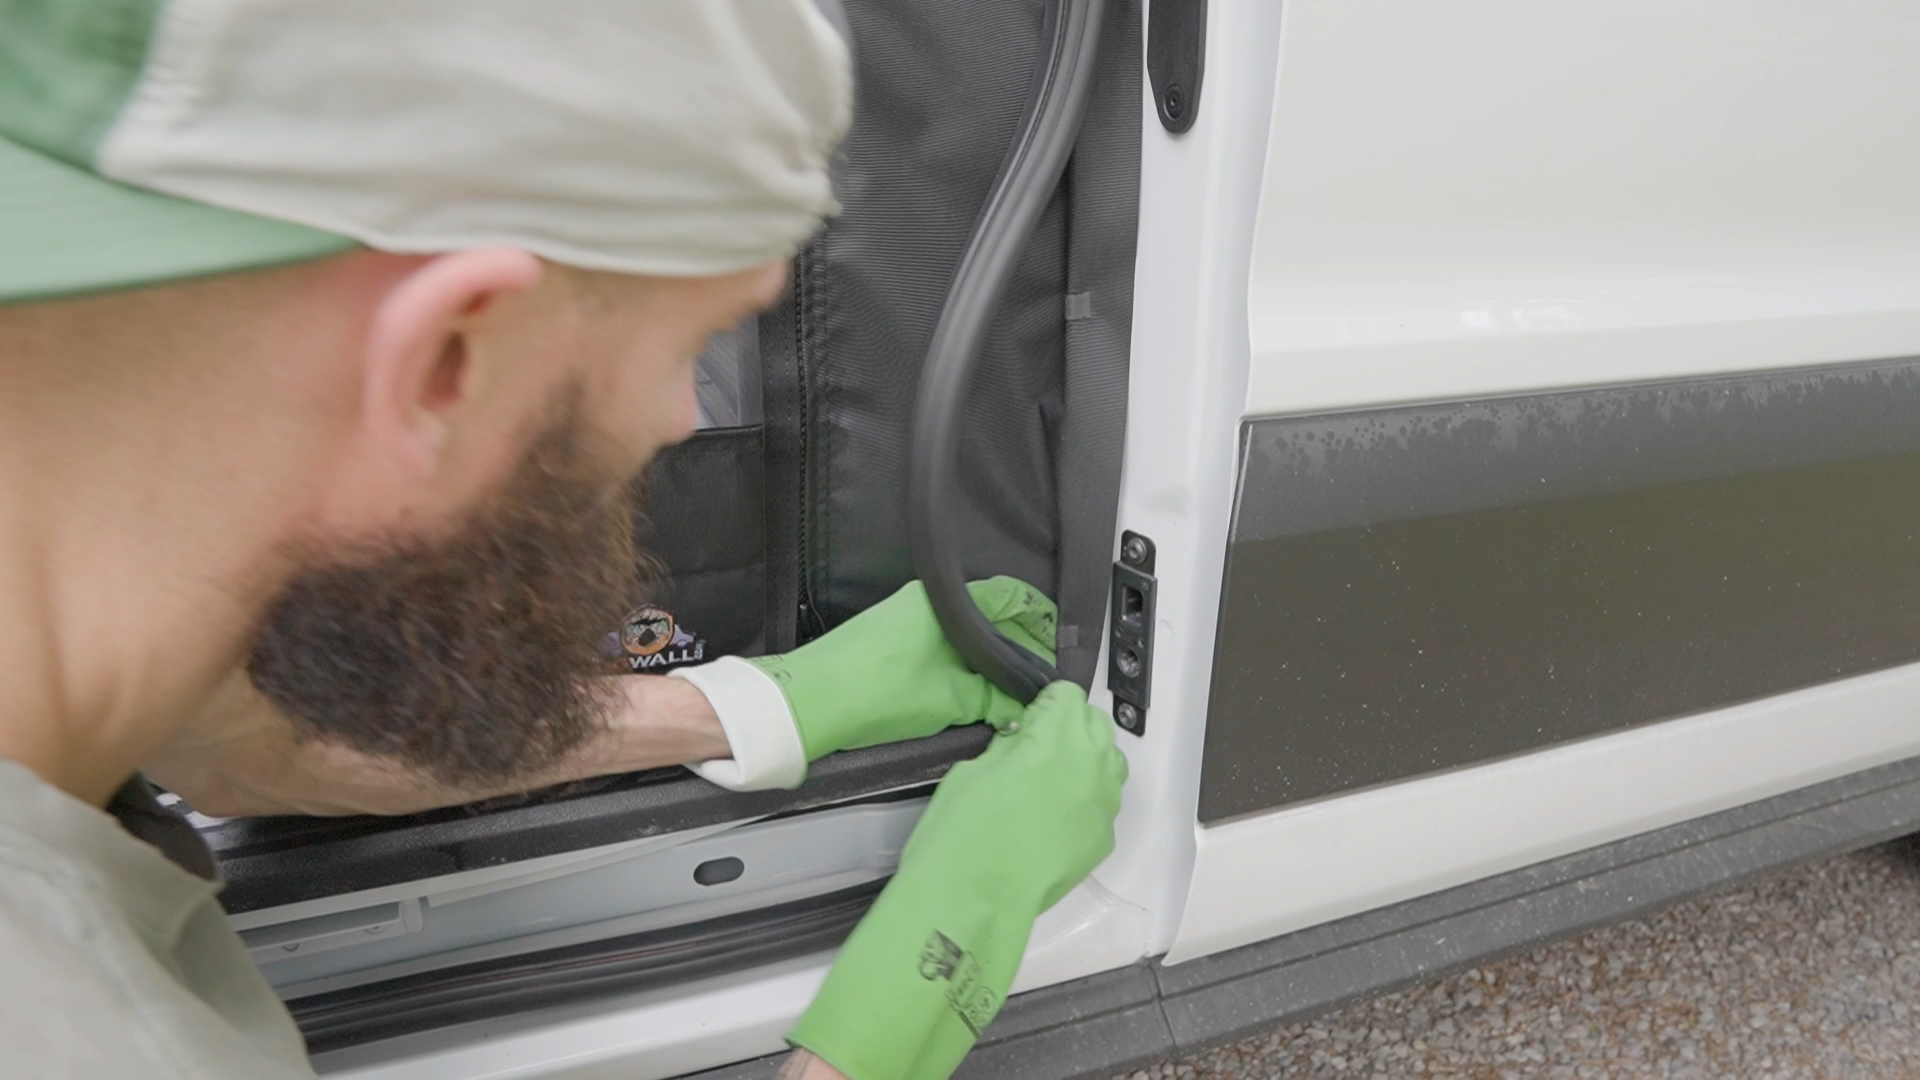
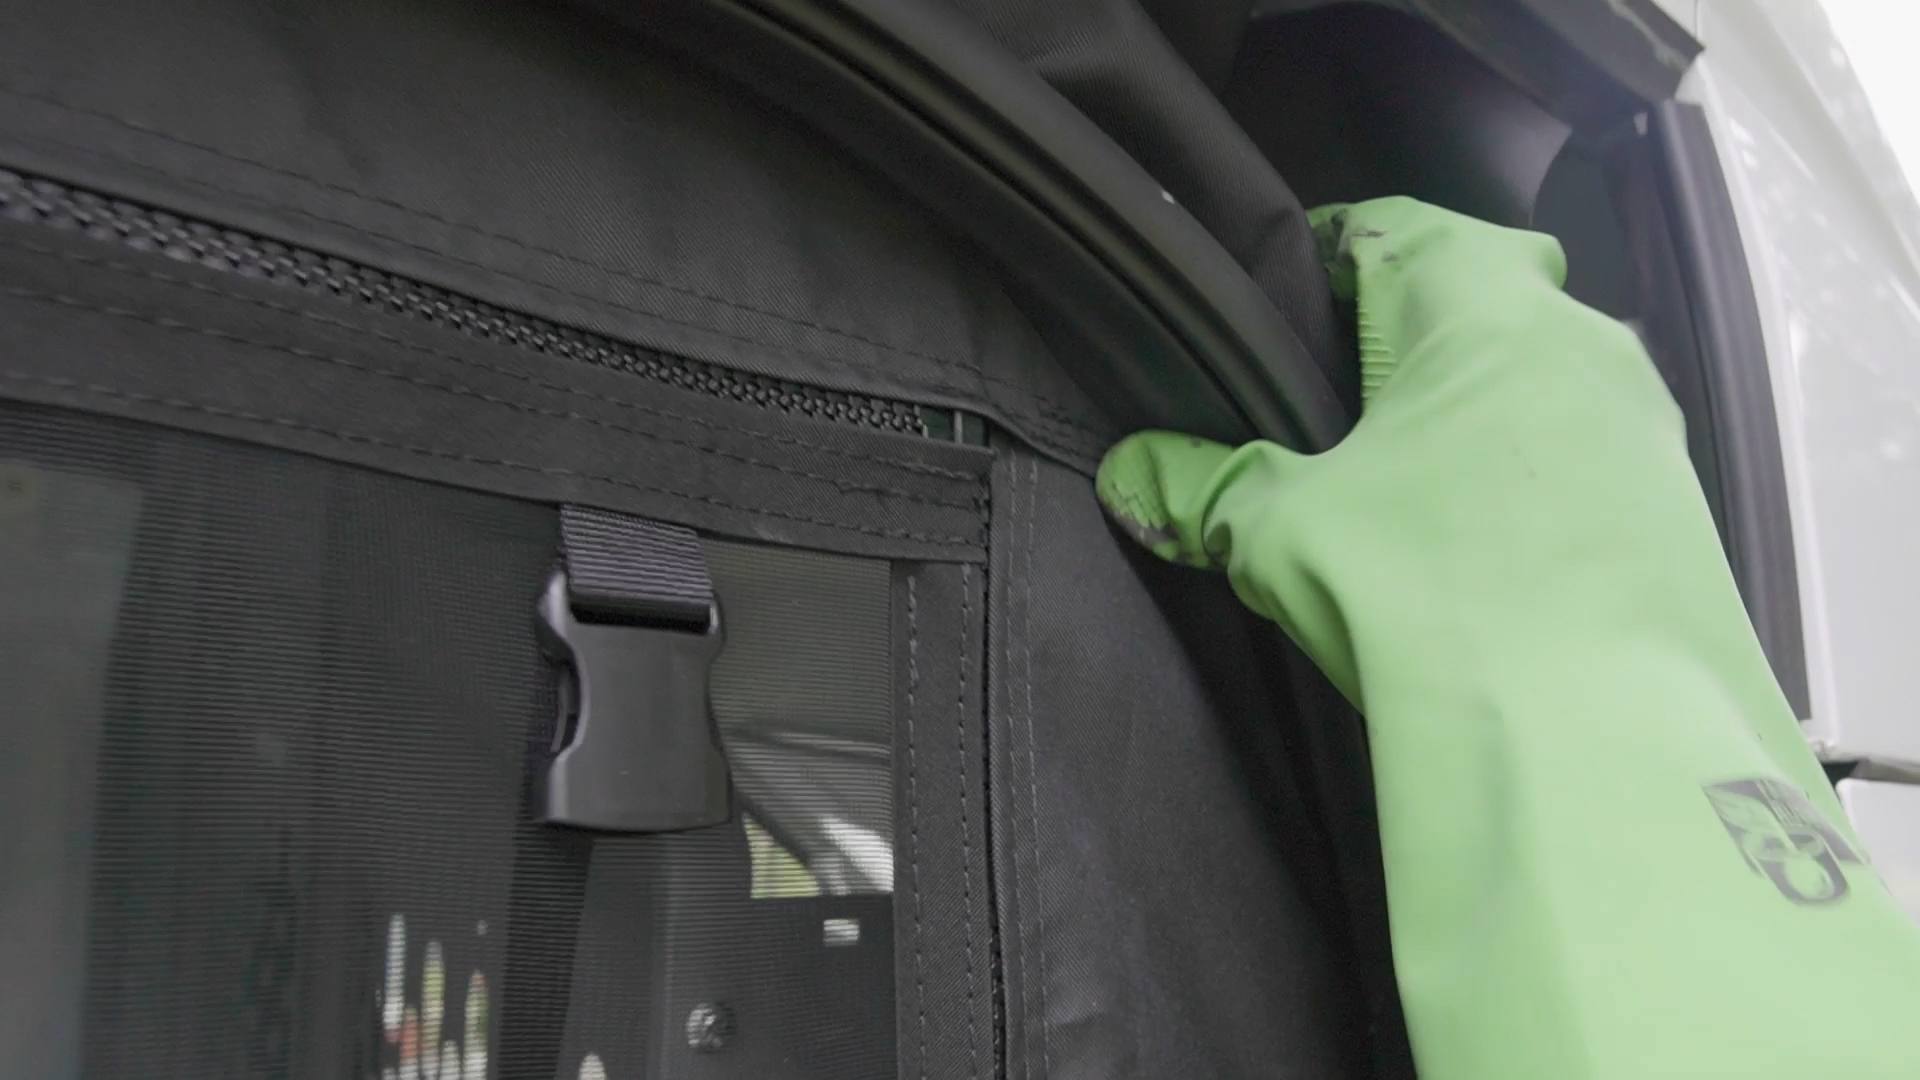
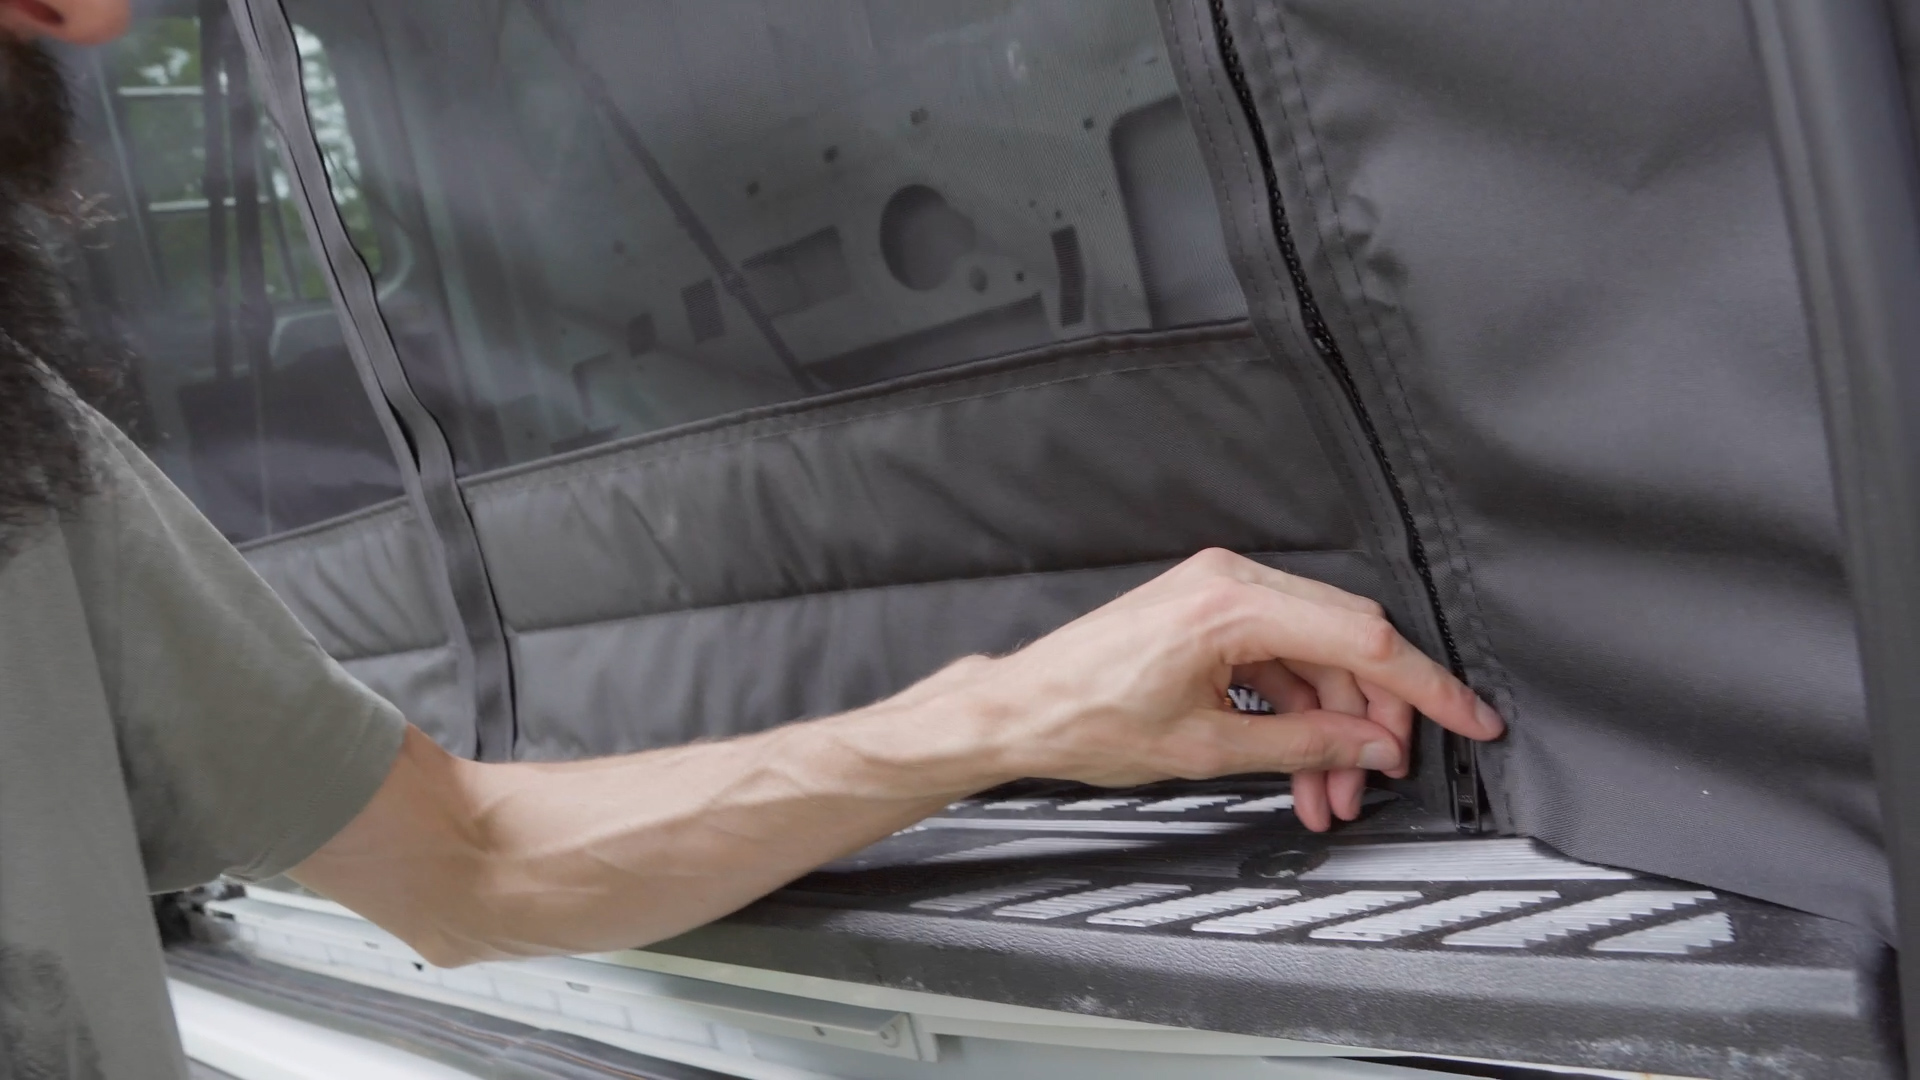
Once I was happy with the placement, I added two more clamps to the upper left and right corners, and then started adding the thick holding clips as I went…
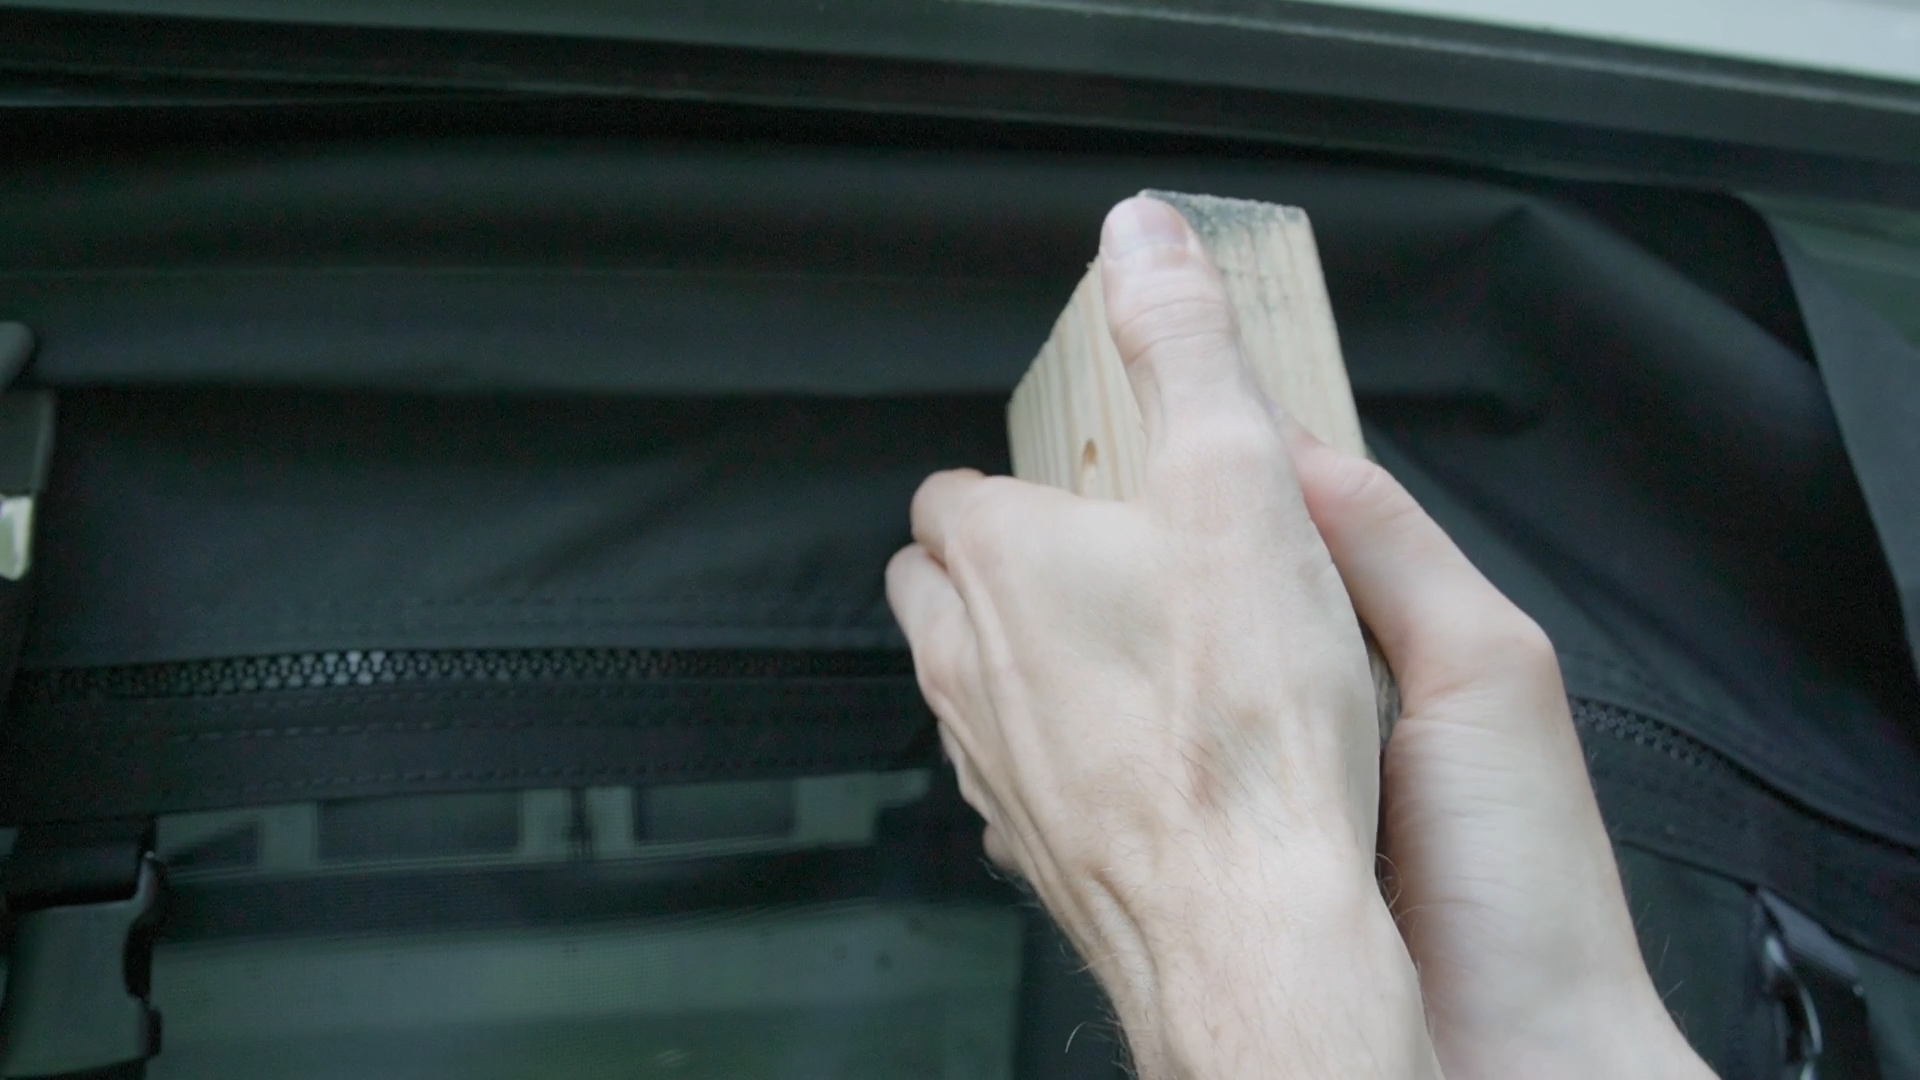
…pinching the screen around the metal with my fingers, pushing them on with a block of wood, and then stepping back occasionally to make sure The Bug Wall screen was still where I wanted it, and that it was snug but not tight, so the magnets would catch properly.
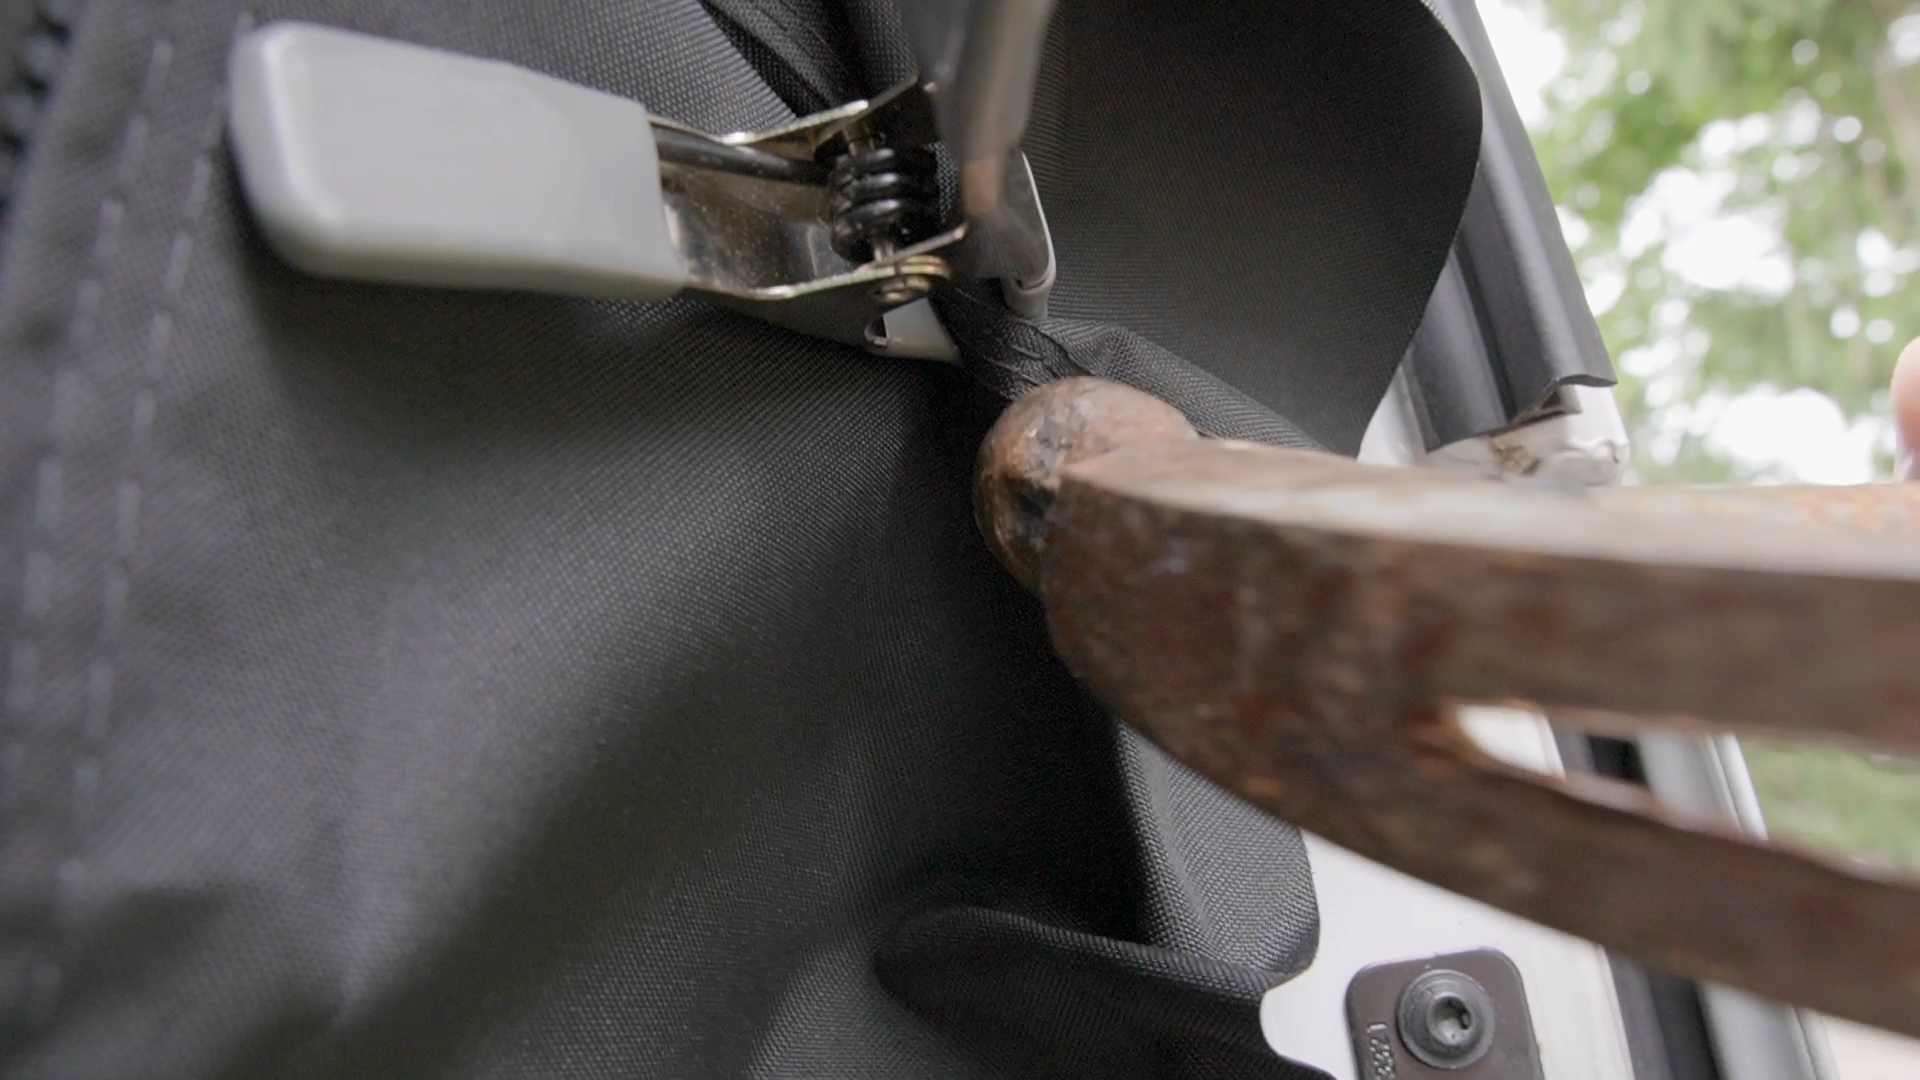
Pro tip, in tight areas I found it helpful to gently tap the clips with a hammer.
Edging
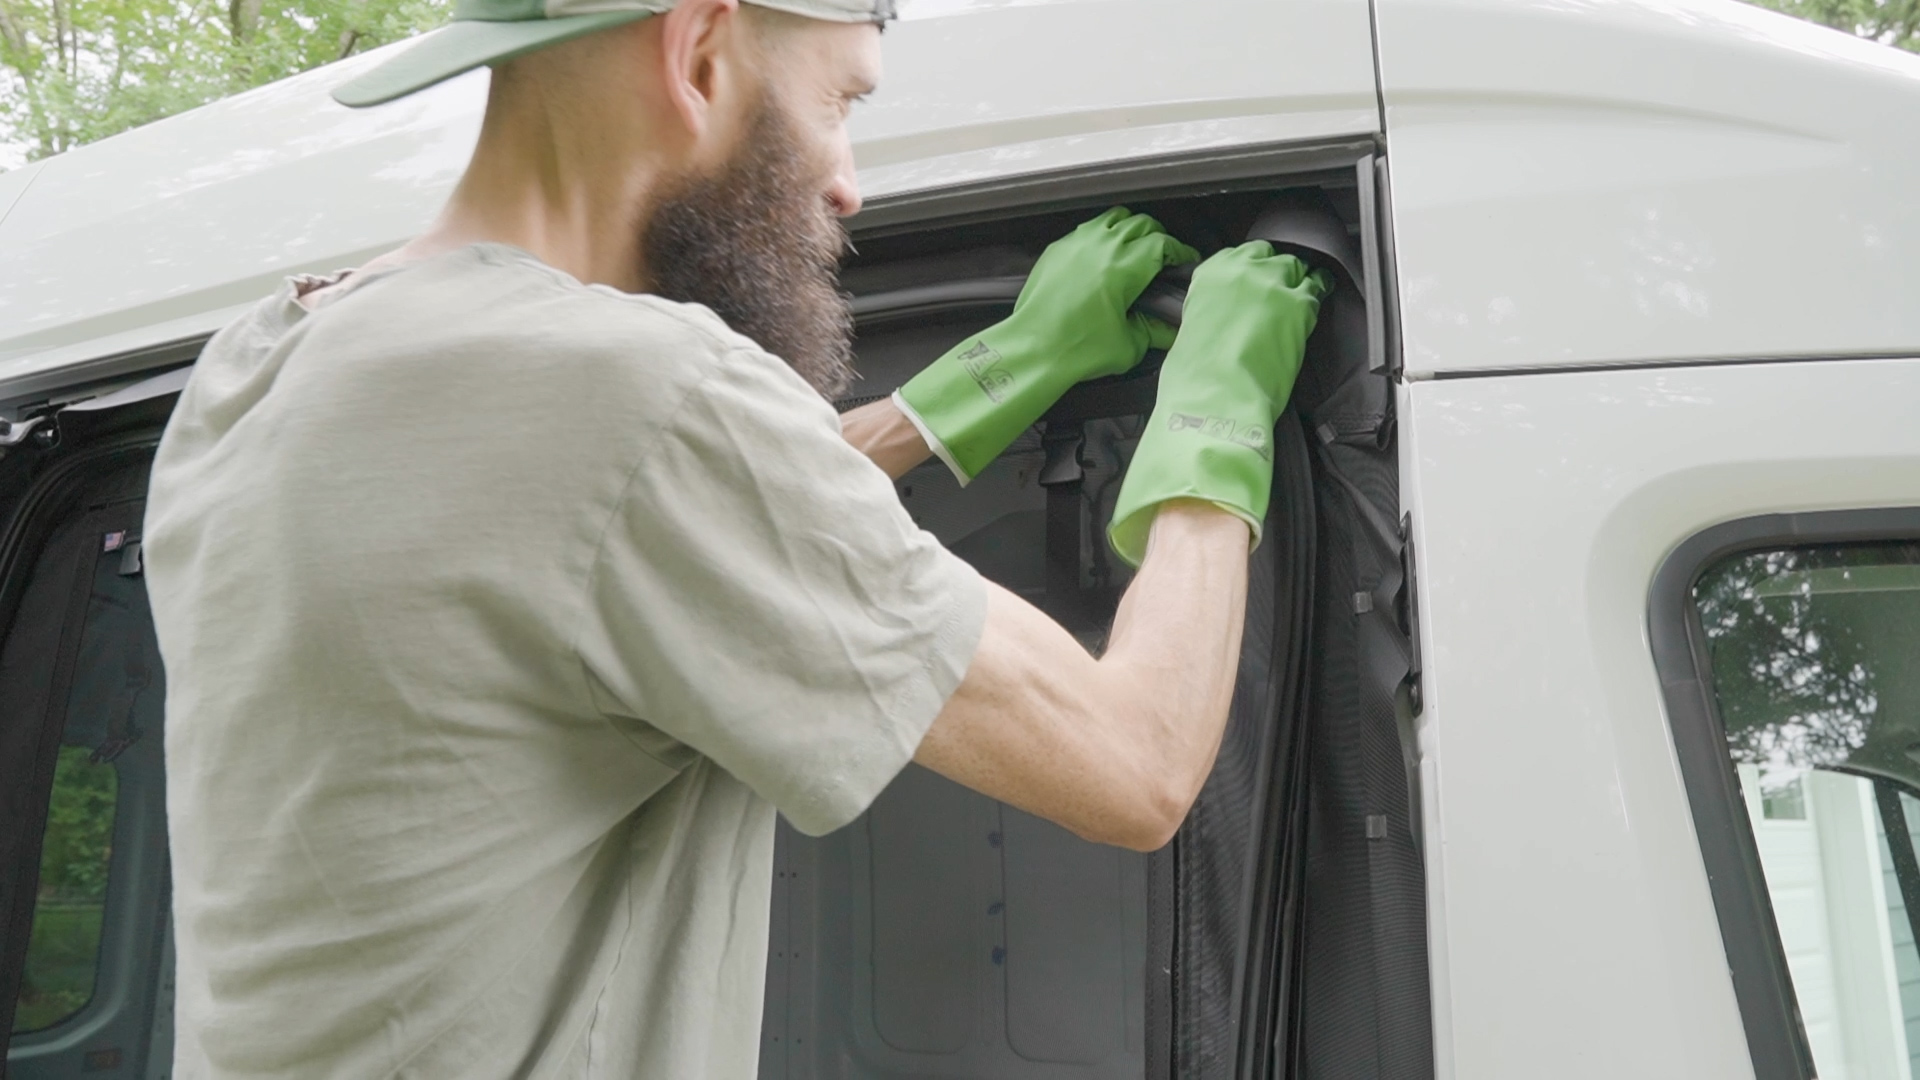
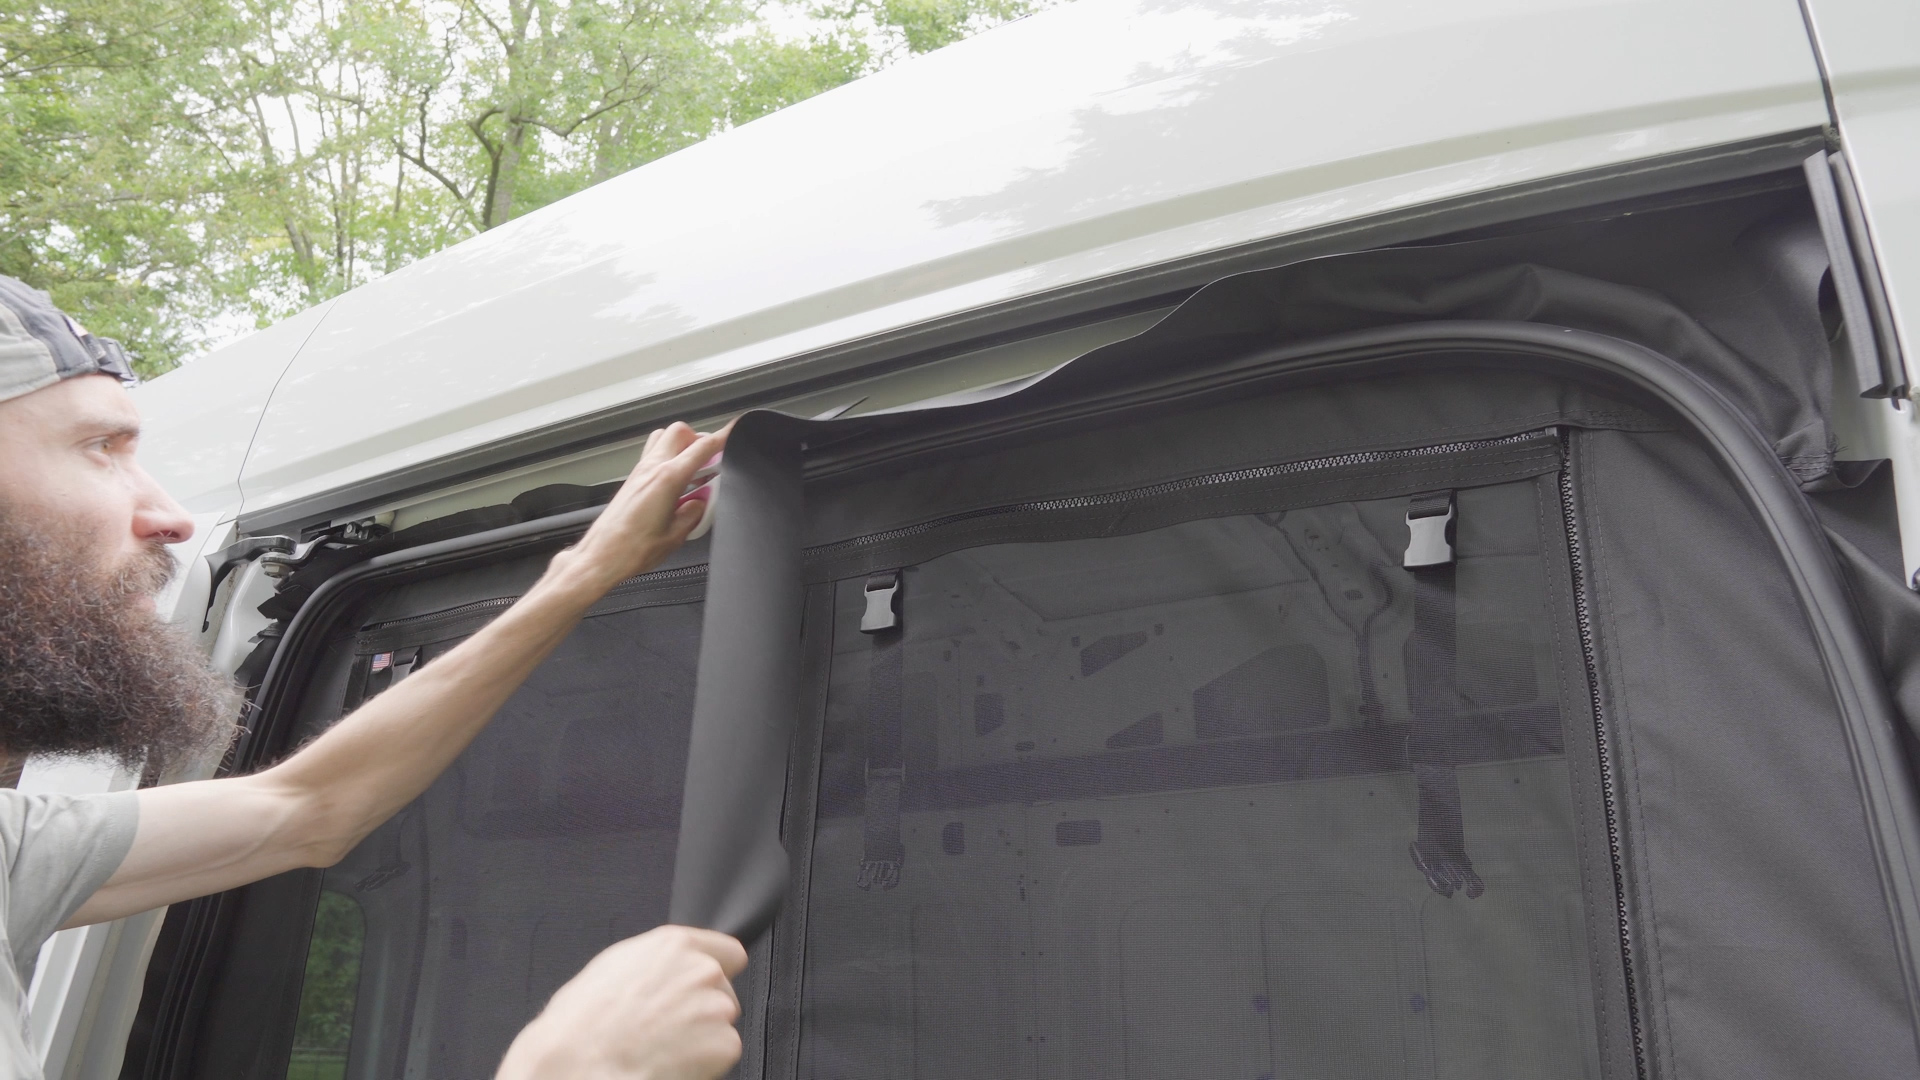
With all the clips on tight I started working the rubber edging back in place making sure to squeeze each section together before pushing it onto the screen, so as to create a stronger hold.
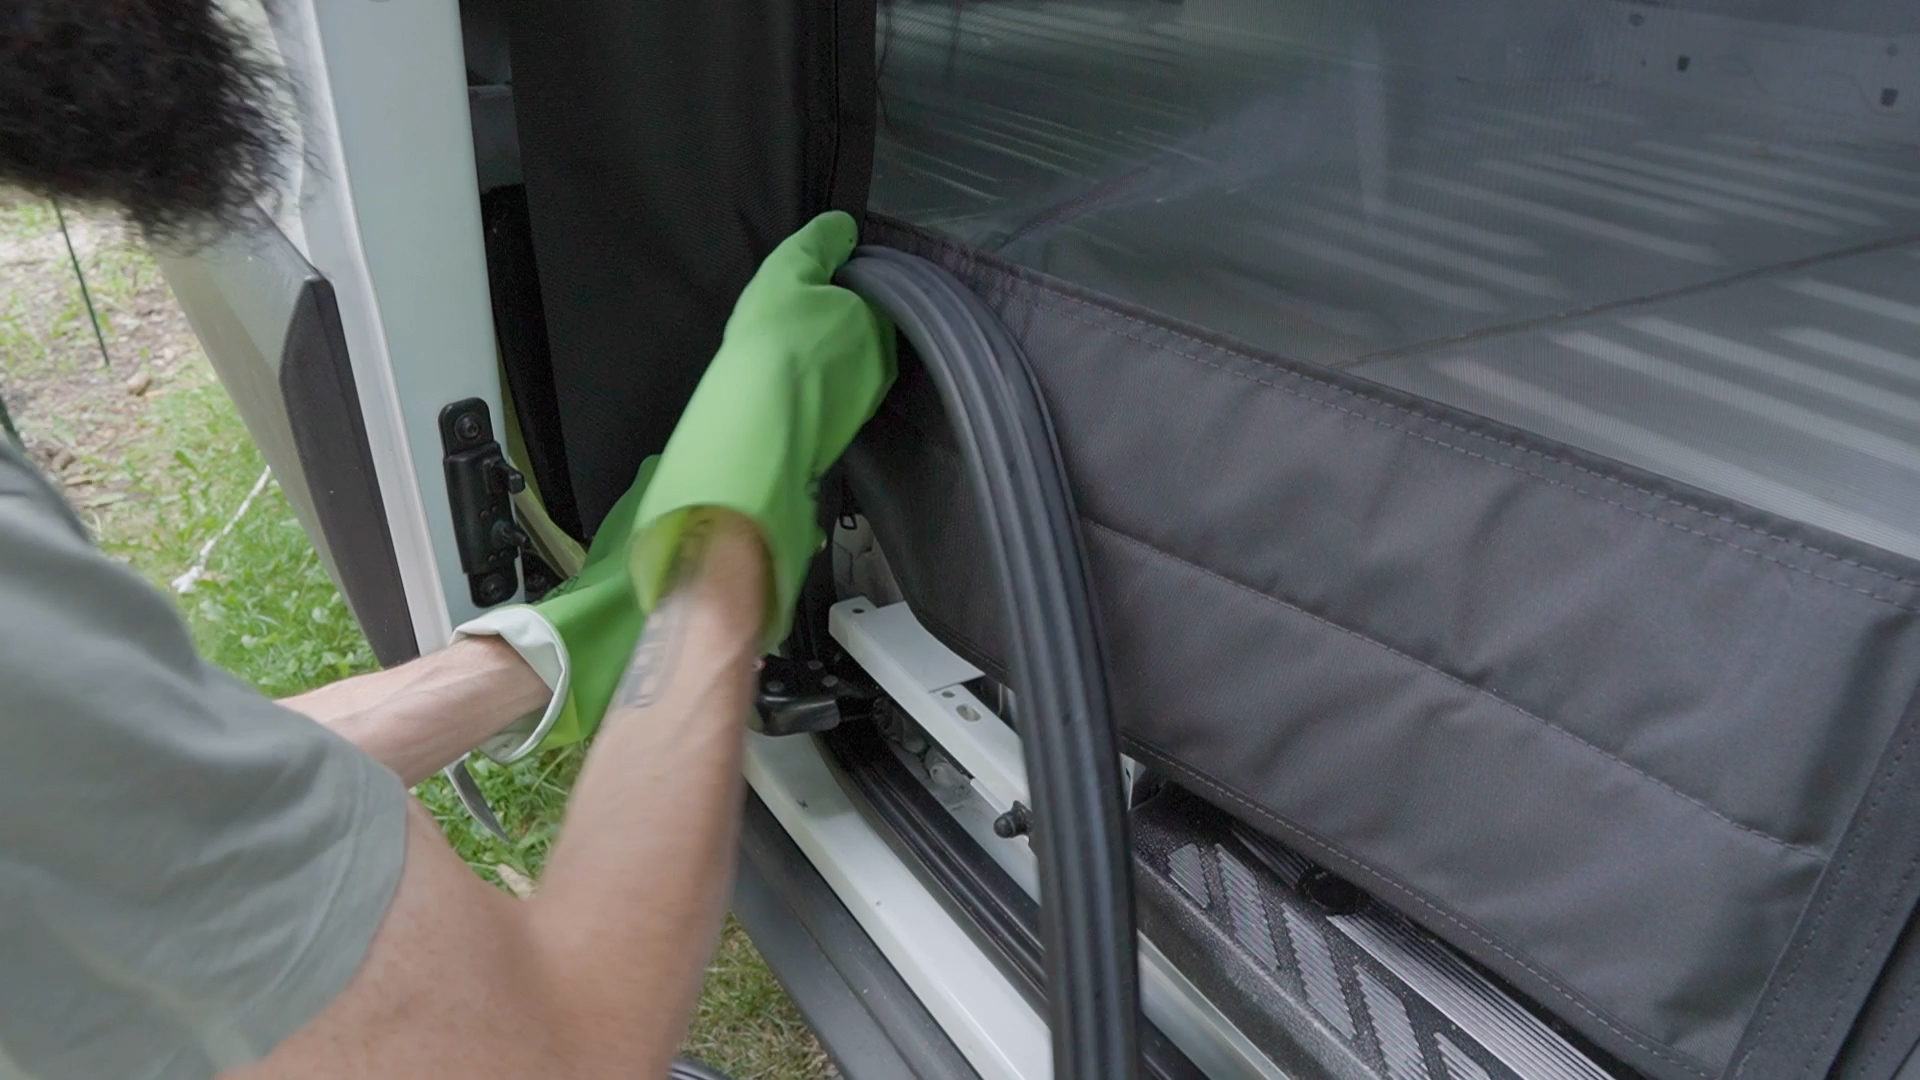
Generally, the rubber went on with no problems, but the upper corners did take some extra force, and I had to twist the edging inwards at the bottom right to get it through the small gap between the plastic step and rubber wall, as well as work the rubber backwards to even out a kink that had developed.
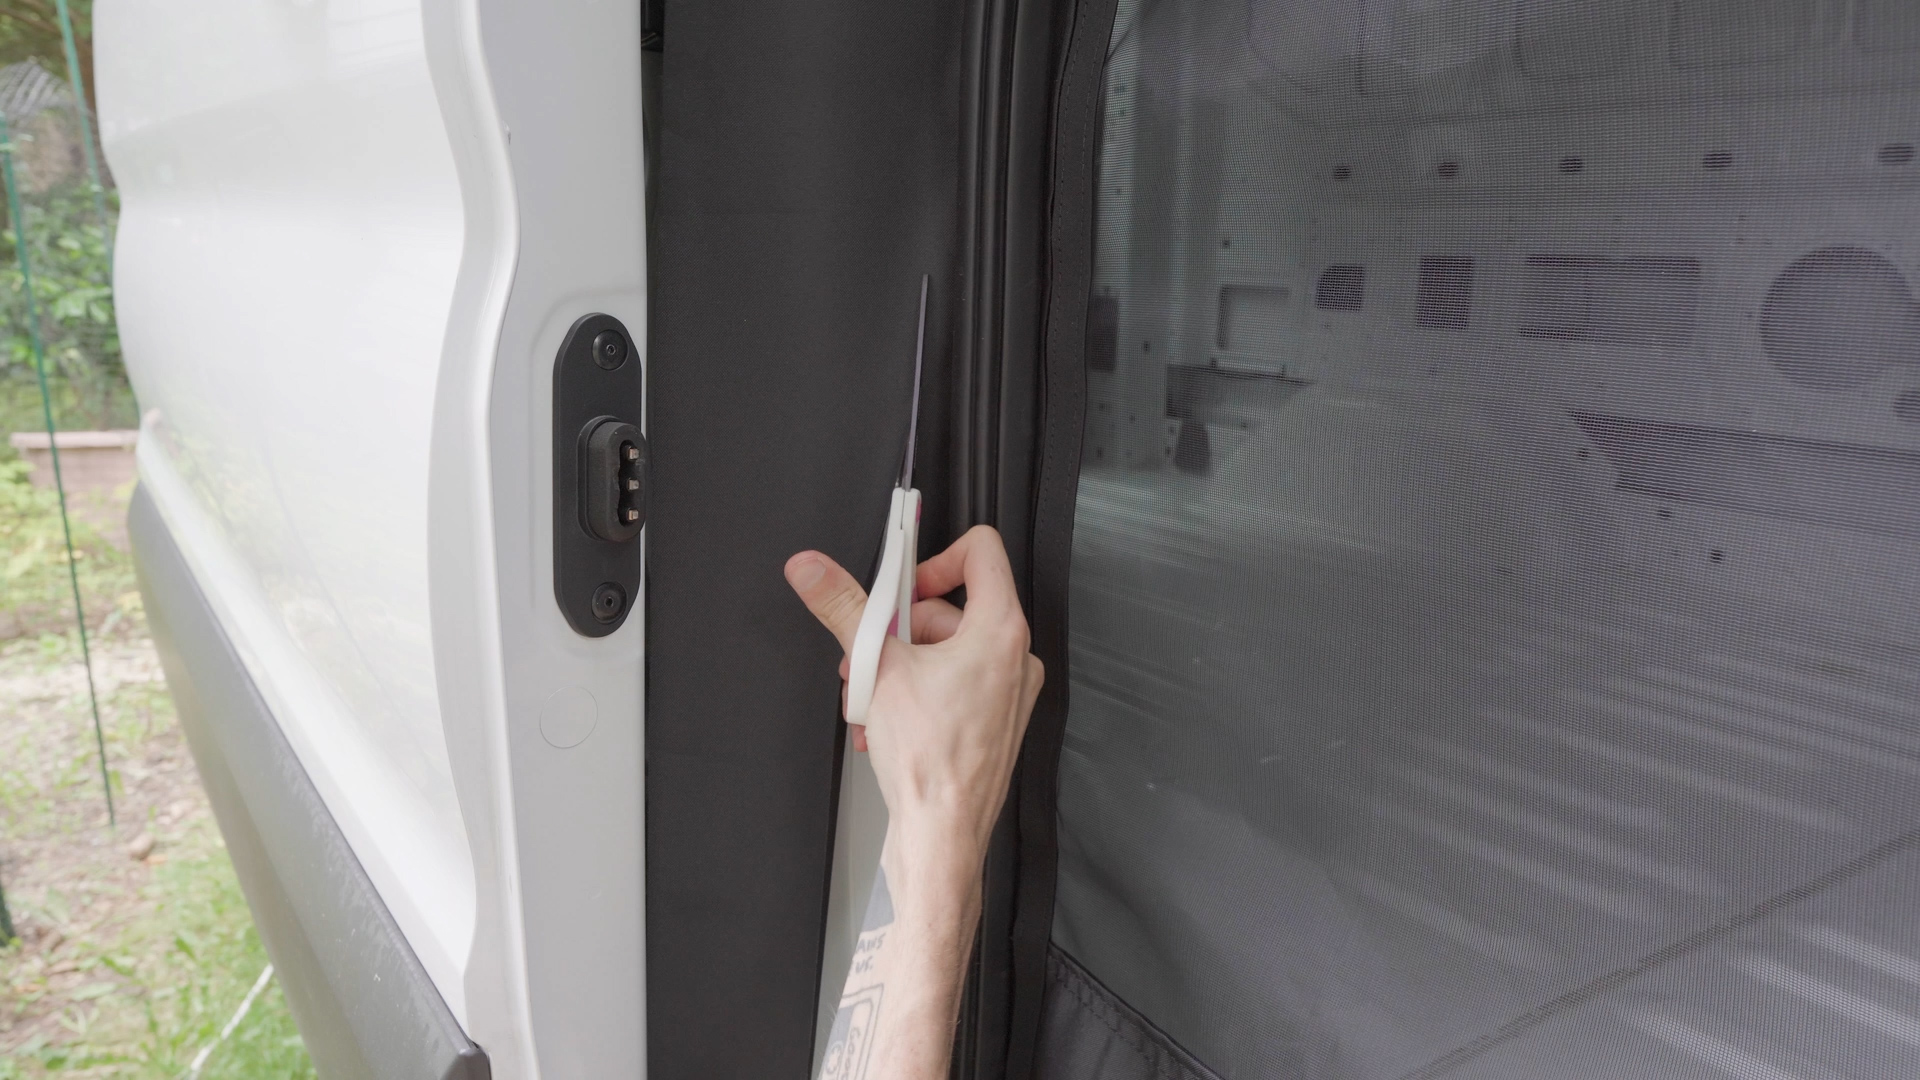
Trimming
Lastly, I trimmed off some excess Bug Wall screen material, so that the cargo door could open and shut, but didn’t go all the way to the rubber for the time being, since I wanted to leave a bit of wiggle room, in case I decide to readjust the fit at some point.
Testing
Honestly, installing The Bug Wall was the most rewarding part of my build up to that point, because I got to start using it right away, and it was kind of addictive diving in and out through the magnetic strips.

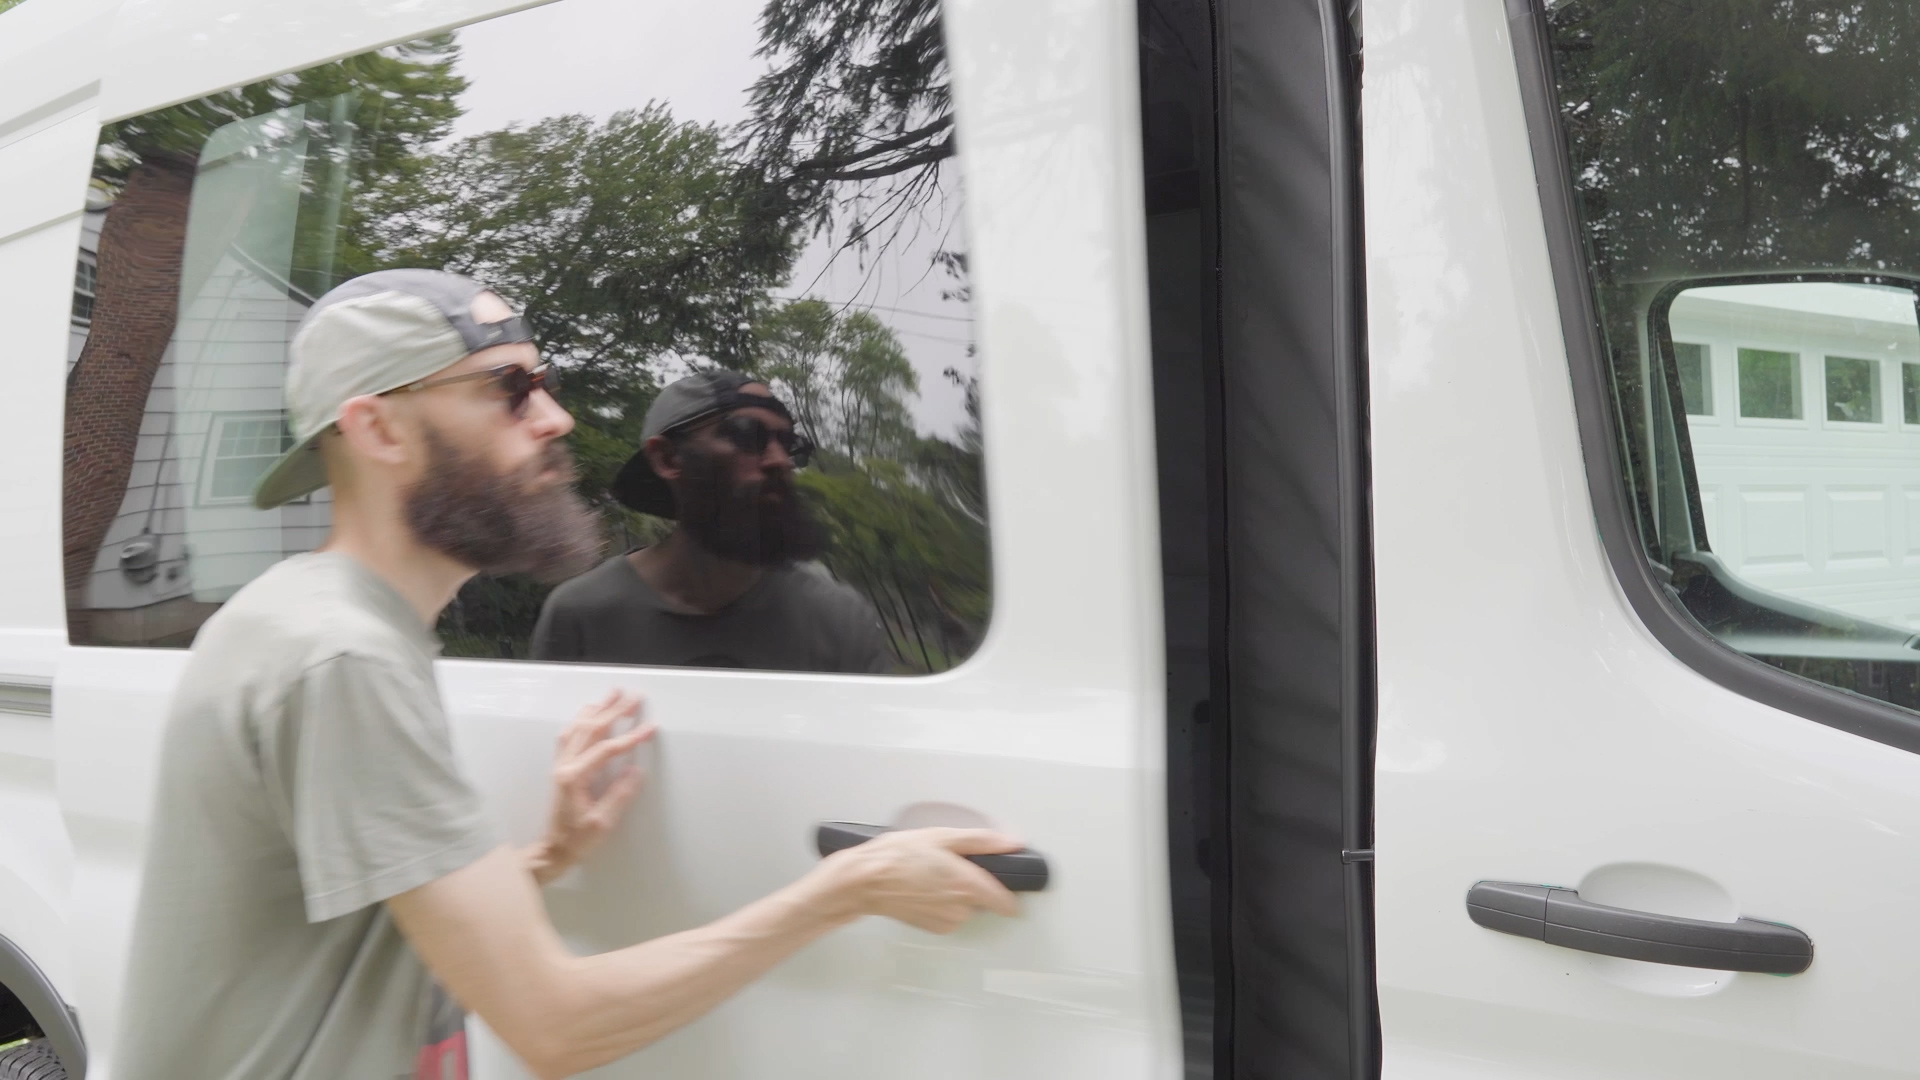
Entering/Exiting
Still, I noticed that the magnets had a habit of catching on the metal door step, so I developed this technique of bringing the edges together behind me as I moved through, which I mastered after a few test runs.

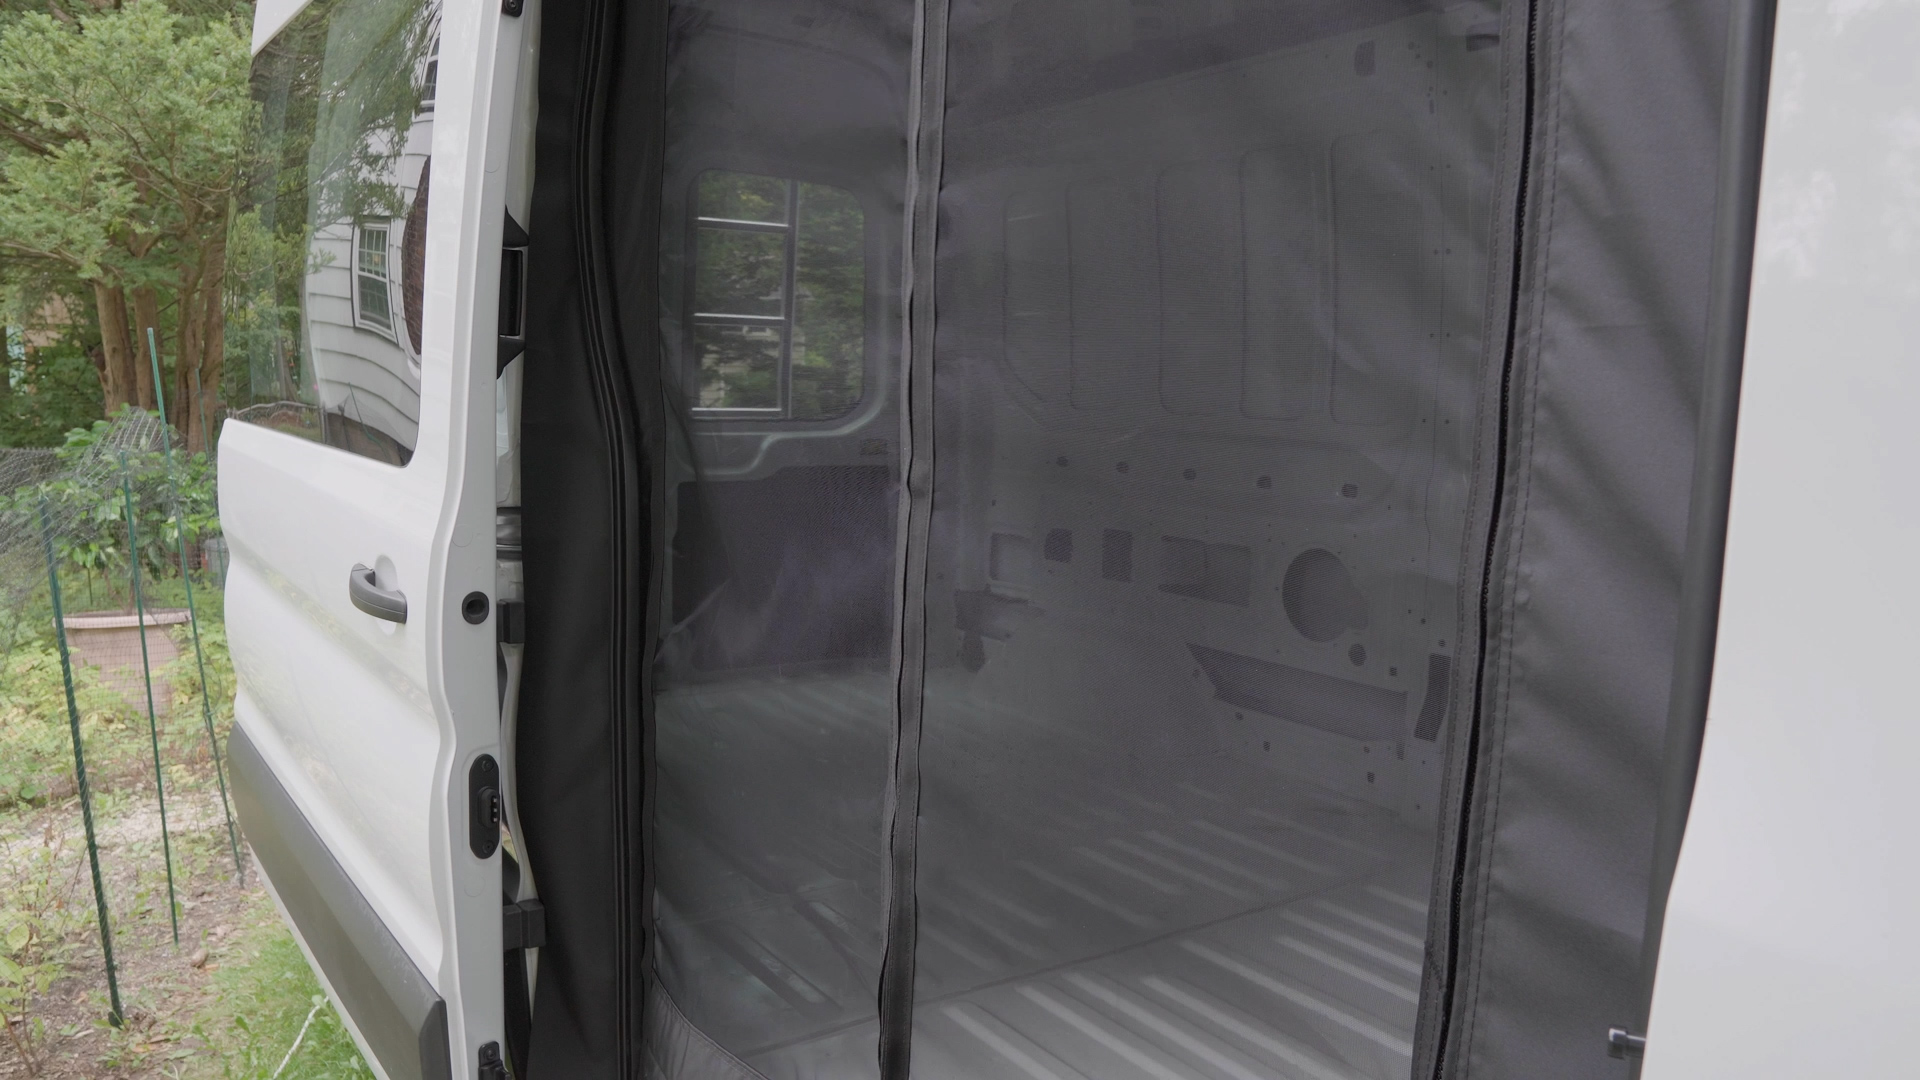
Light/Bugs
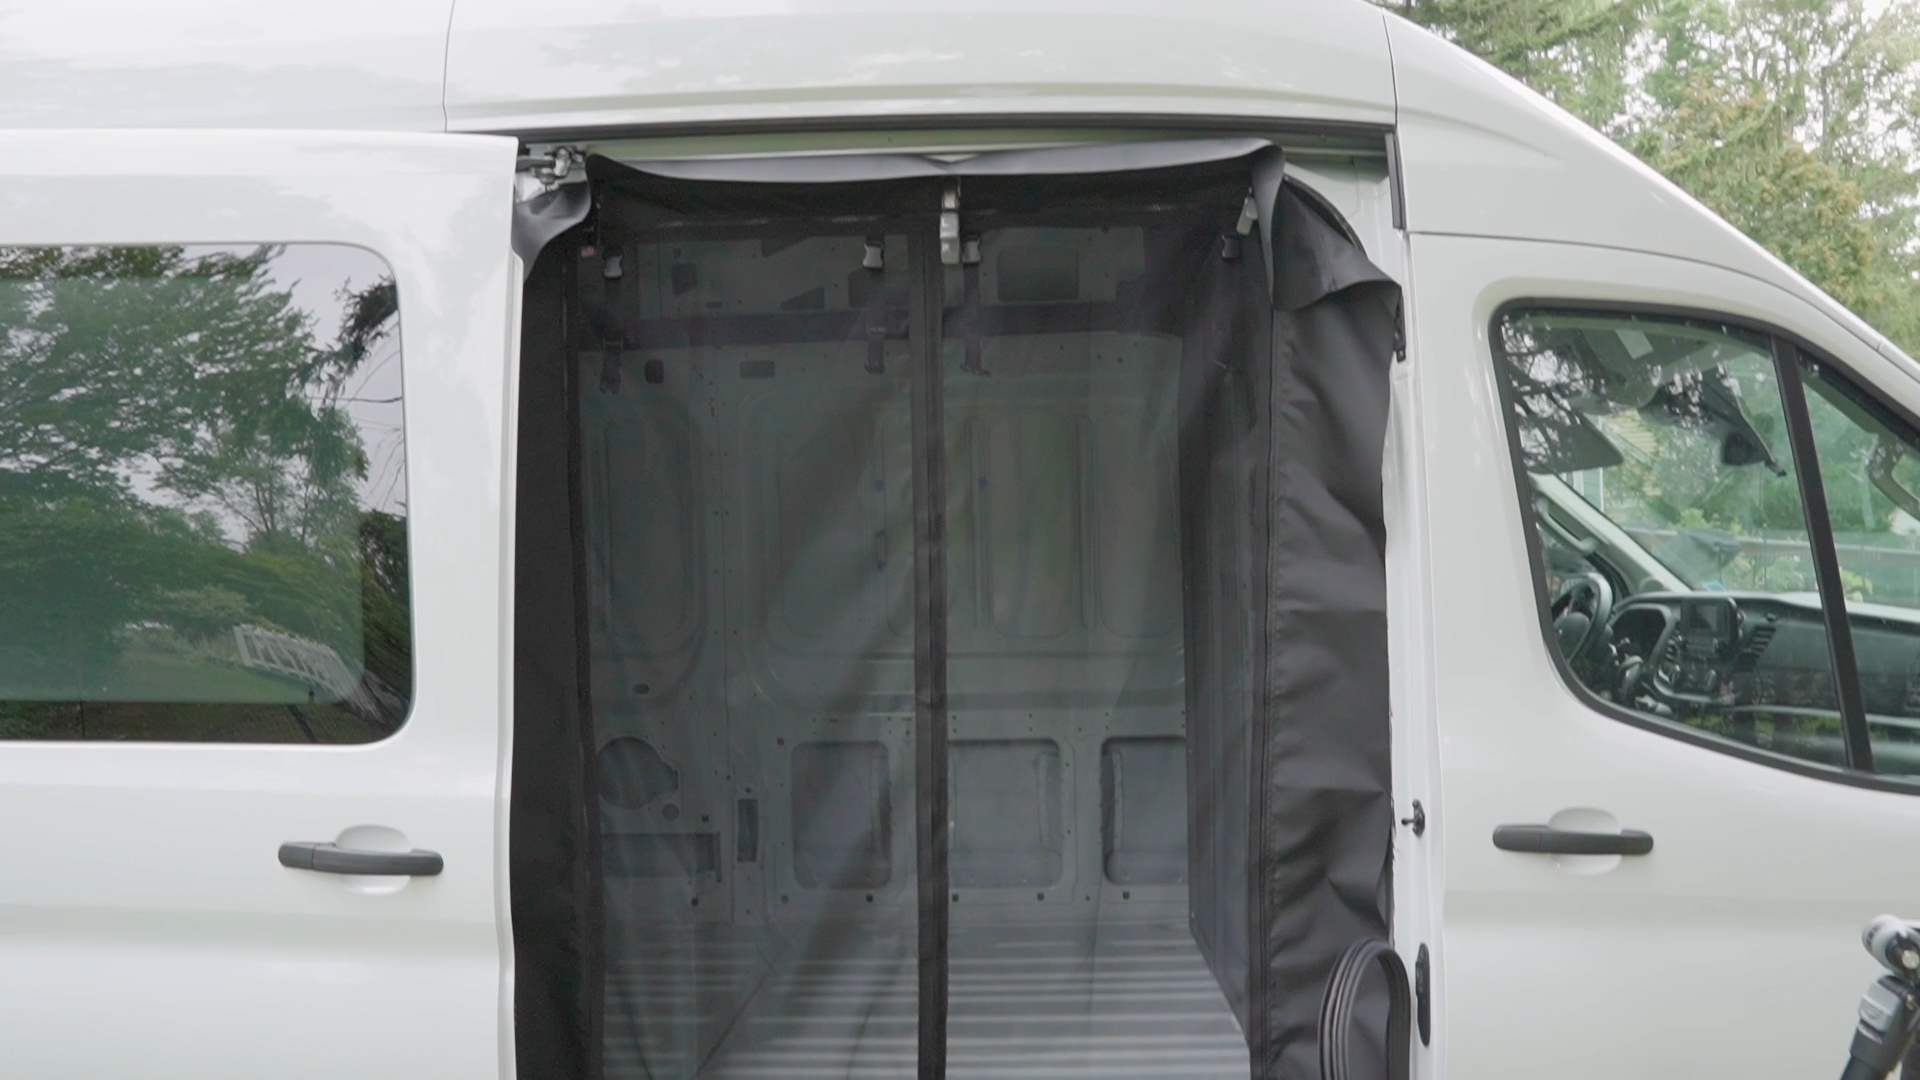
Also, The Bug Wall screen let in a lot more sunlight than my tinted cargo window, and the breeze cooled the van down by at least ten degrees, while keeping mosquitos and other biting insects from driving me crazy.

I did worry that they might come in through the small gap at the bottom, but apparently they’re not that smart, because I’ve yet to see a single bug inside.
Storage
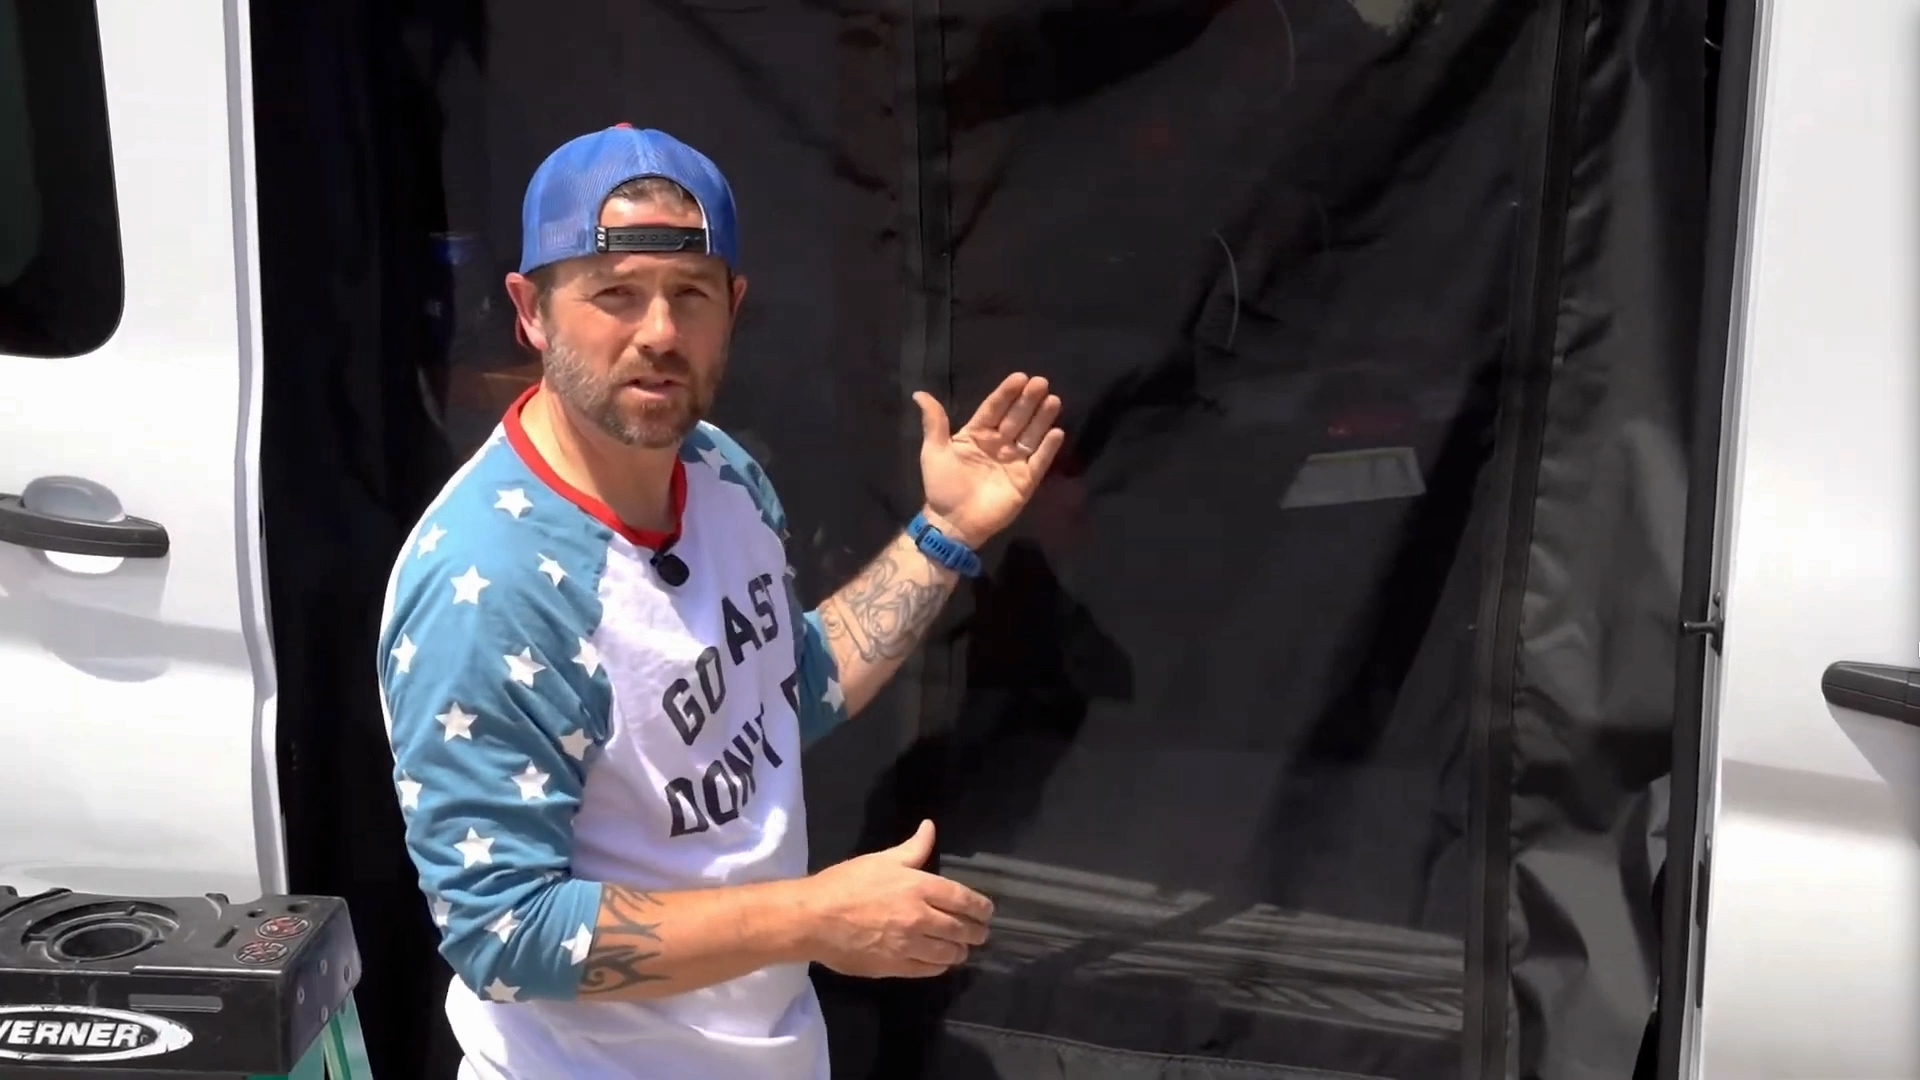
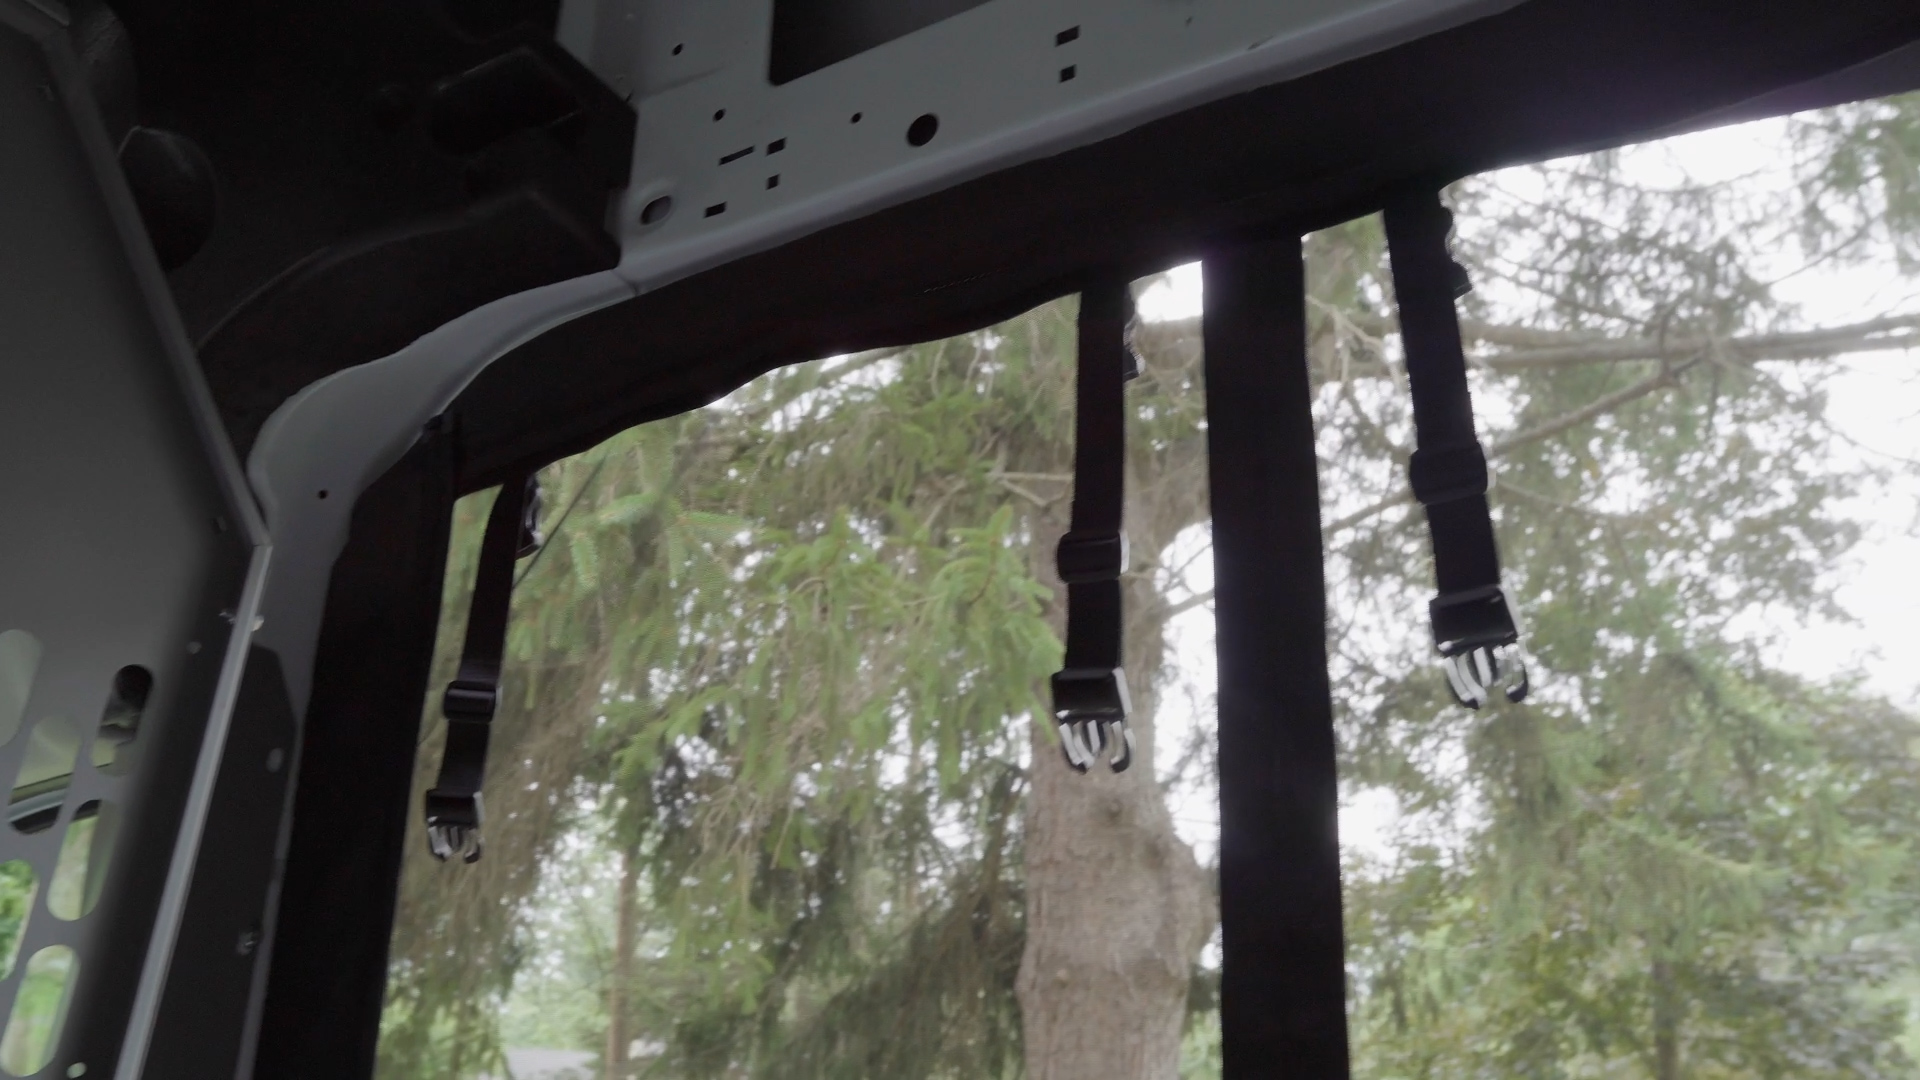
The last and best feature of The Bug Wall is that you can easily roll it up and clip it out of the way, or even unzip the whole screen without having to uninstall the trim, which is super convenient for winter.
Although you will have some black canvas left around the outline of your door, which is something to consider, aesthetically.
Conclusion
Overall, installing The Bug Wall takes a bit of time and effort, but being able to leave your van wide open without letting in unwanted guests is totally worth it.
Considerations
At this point I’ve only spent a few days using the screen, so going to keep testing over the next month to see how it performs in different conditions and I’ll let you guys know how that goes in my longterm review.
Resources
But if you’d like to support the channel, you can shop with the referral links above/below, check out my DIY van build playlist to see more install videos, or watch my Day One video to see what it’s like moving into a Ford Transit for the first time.
Finally, if you have a question about The Bug Wall screen, or about van life in general, let me know in the comments.
Thanks for reading, catch ya next time. Peace!
Andrew Folts
Andrew is a writer/filmmaker who creates video guides and reviews for a community of 25K+ creative rebels on YouTube.